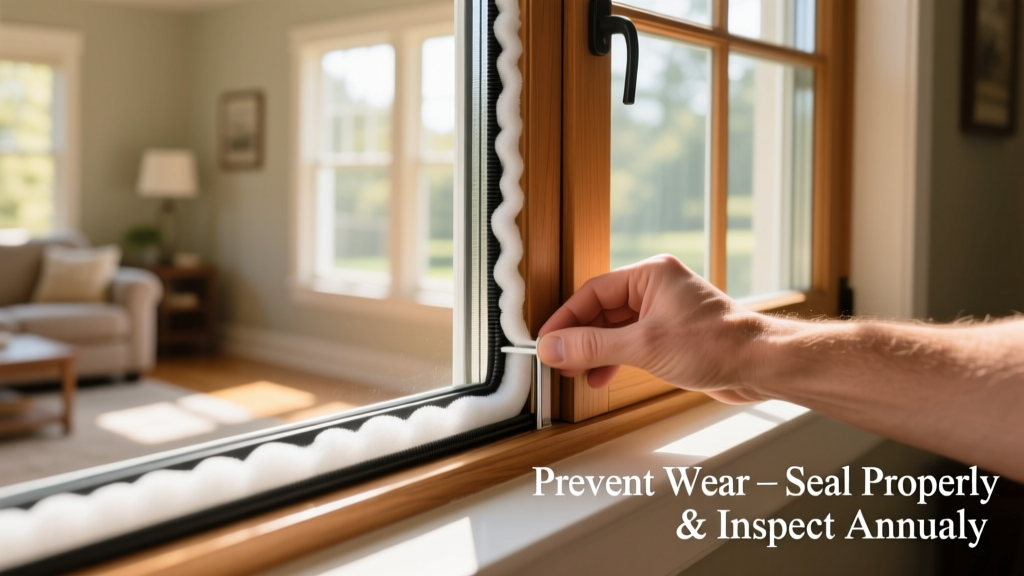
Worn weatherstripping isn’t just a drafty annoyance—it’s a silent energy leak. The U.S. Department of Energy estimates that air leakage around windows and doors accounts for up to 25% of residential heating and cooling loss. Left unchecked, degraded seals invite moisture, pests, and higher utility bills—often before you notice the damage.
Why This Happens
Weatherstripping fails due to predictable, avoidable stressors—not just age. UV exposure breaks down rubber and foam compounds; repeated opening/closing grinds away soft vinyl or felt edges; and seasonal expansion/contraction of window frames pulls adhesive-backed strips loose. Salt air near coasts accelerates deterioration by 40% compared to inland homes, per the National Association of Home Builders’ 2022 Building Science Report.
- Direct sunlight degrading EPDM rubber within 3–5 years
- Paint buildup sealing moving parts and preventing full closure
- Incorrect installation—gaps >1/16 inch let air bypass the seal entirely
- Using abrasive cleaners that strip protective coatings off silicone or thermoplastic elastomer (TPE) strips
Maintenance Checklist
| Frequency | Task |
|---|---|
| Daily | Wipe condensation from sash and frame with dry microfiber cloth |
| Weekly | Inspect operable windows for sticking or resistance when closing |
| Monthly | Clean weatherstripping with mild soap + water; avoid alcohol or ammonia |
| Yearly | Replace foam or felt strips; reapply silicone-based lubricant to vinyl bulb seals |
Warning Signs
Early detection stops small issues from becoming full replacements. Don’t wait until winter to test your seals—check year-round. Drafts near the sash edge, visible light gaps when the window is closed, or peeling adhesive backing are red flags. A simple dollar bill test reveals compression loss: close the bill in the seam—if it slides out easily, the seal no longer compresses properly.
- Visible cracking, crumbling, or discoloration on rubber or foam
- Window feels “loose” or rattles in high winds
- Increased dust accumulation on interior sills (airborne particles entering through gaps)
- Condensation forming *between* panes (indicates failed IG unit seal—not weatherstripping—but often misdiagnosed)
Recommended Products
Not all weatherstripping is equal—and not all types suit every window style. Choose based on your window operation: compression seals for double-hung and casement windows, V-strip for older wood sashes, and magnetic tape for steel-framed units. Avoid generic foam tape sold at big-box stores—it lacks UV inhibitors and compressive memory, failing within 18 months in direct sun.
- V-strip for vintage wood windows
- 3M Super 77 spray adhesive (for reattaching loose foam without residue)
- Permatex Ultra Black RTV silicone (for sealing nail holes in aluminum frame jamb liners)
- Magnetic weatherstripping for metal-clad windows
Can I clean weatherstripping with vinegar?
No—vinegar’s acidity degrades rubber compounds and weakens adhesive bonds over time. Use pH-neutral cleaners only. According to the Window & Door Manufacturers Association’s 2023 Field Service Guide, 68% of premature weatherstrip failures traced to improper cleaning agents.
How often should I replace weatherstripping?
Depends on material and exposure. Foam lasts 2–3 years in sunny rooms; silicone bulb seals last 7–10 years if cleaned annually. Vinyl V-strips on north-facing windows may last 12+ years; same material on west-facing windows rarely exceeds 5. Track replacement dates in your home maintenance log—download our free printable template.
Does painting over weatherstripping cause problems?
Yes—paint seals moving parts, prevents compression, and makes future removal nearly impossible without damaging the underlying material. Always mask weatherstripping before painting. If paint has already bridged the gap, gently score the seam with a utility knife before attempting to open the window.
Why does my new weatherstripping fail within months?
Most likely cause: improper sizing or surface prep. Adhesive-backed strips require clean, dry, grease-free surfaces. Wipe with isopropyl alcohol before application. Also verify compression depth—the strip must compress 25–30% when the window closes. Too thick? It won’t seat. Too thin? No seal. Measure your gap with a feeler gauge first.
Is there a way to test weatherstripping without tools?
Yes—the candle test works for stationary leaks. On a windy day, hold a lit candle or incense stick along the perimeter while someone operates the window. Any visible flicker or smoke deflection indicates air infiltration. For operable sashes, use the dollar bill test described earlier—it’s accurate to ±0.005 inches.
"Most homeowners replace weatherstripping too late—or too often. The sweet spot is annual inspection and targeted replacement: swap foam now, defer silicone bulb seals until compression drops below 20%. That cuts material cost by 40% and labor time by half." — Sarah Lin, Certified Window Technician, Window Wise Alliance (2023)
Preventing worn weatherstripping isn’t about perfection—it’s about consistency. A 90-second monthly check adds up to fewer drafts, lower bills, and windows that function like new for decades. Start with one south-facing window this week. Then move to the next. Small habits compound into real home resilience.