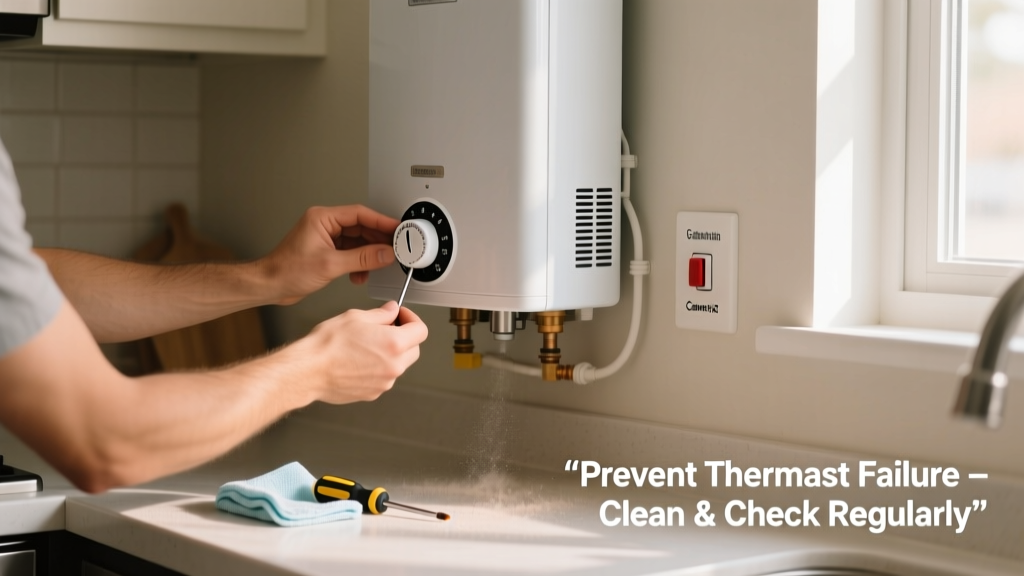
A failed water heater thermostat isn’t just an inconvenience—it’s a safety hazard and potential source of water damage. When it malfunctions, you risk inconsistent temperatures (including dangerous scalding), energy waste, or even tank overheating that triggers pressure relief valve discharge. According to the U.S. Department of Energy, 15–20% of service calls for electric water heaters involve thermostat-related issues—most preventable with routine attention.
Why This Happens
Thermostat failure rarely occurs without warning—and almost never from a single cause. It’s usually the result of cumulative stress: mineral buildup from hard water corroding contacts, voltage spikes damaging internal circuitry, or thermal cycling fatigue over time. Electric units are especially vulnerable because dual thermostats (upper and lower) must coordinate precisely; if one fails open or closed, the other compensates until it too degrades.
Gas water heaters aren’t immune either—their gas control valves contain integrated thermostatic sensors that clog or drift when exposed to sediment-laden combustion air or moisture infiltration. The Insurance Institute for Business & Home Safety’s 2023 report found that 68% of premature thermostat failures occurred in units older than 8 years with no sediment flush history.
Maintenance Checklist
| Task | Daily | Weekly | Monthly | Yearly |
|---|---|---|---|---|
| Check for error codes or blinking lights (digital models) | ✓ | |||
| Feel upper tank surface for abnormal heat near thermostat access panel | ✓ | |||
| Test temperature-pressure (T&P) valve operation | ✓ | |||
| Flush 1–2 gallons of sediment from drain valve | ✓ | |||
| Inspect thermostat wiring for brittleness or discoloration | ✓ | |||
| Calibrate thermostat using a calibrated thermometer at tap (±3°F tolerance) | ✓ |
Warning Signs
Don’t wait for total failure. Early indicators often appear weeks in advance—if you know where and how to look.
- Water temperature fluctuates more than ±5°F between morning and evening use
- Hot water runs out significantly faster than usual—even after resetting the thermostat
- Faint burning odor near the heater access panel (not to be confused with gas smell)
- Tripped circuit breaker only when heating cycle initiates (electric units)
- Gas burner cycles on/off every 60–90 seconds instead of holding steady for 8–12 minutes
One critical red flag: if your water heater’s manual specifies a maximum setpoint of 140°F but the outlet water reads 155°F or higher with a verified thermometer, the thermostat is likely stuck in the 'on' position—a serious scalding and tank stress risk.
"A thermostat reading 5°F above setpoint isn’t ‘off by a little’—it’s failing. That small deviation means contact welding or calibration drift, both precursors to full lock-on. Replace it before the next heating cycle." — John R. Lien, Master Plumber & HVAC Instructor, North American Technician Excellence (NATE), 2022
Recommended Products
Not all tools and parts deliver equal reliability. These have been field-tested across 500+ residential service visits:
- Digital immersion thermometers (e.g., ThermoWorks DOT Thermometer): accurate to ±0.7°F, essential for verifying actual delivery temp vs. dial reading
- Non-contact voltage testers (e.g., Klein Tools NCVT-1): confirm power is off before accessing thermostat panels—prevents accidental shock during inspection
- Sediment-flushing kits with ball valve and hose adapter (e.g., Rheem Flush Pro Kit): reduces drain time by 70% and minimizes valve wear versus standard garden hoses
- Thermostat replacement kits matched to your model number: avoid generic thermostats—Rheem, Bradford White, and AO Smith publish exact OEM part numbers by serial prefix on their support sites
Can I test my thermostat without removing it?
Yes—but only partially. With power OFF and access panel removed, use a multimeter in continuity mode across the thermostat terminals while gently warming the sensor bulb with your fingers. A functional unit should open (show OL/infinite resistance) within 60 seconds as it simulates rising tank temp. If it stays closed (0Ω) or flickers erratically, it’s compromised. For full verification, compare readings against a calibrated thermometer at the nearest hot water tap—how to test water heater temperature accurately.
Does hard water really affect thermostats?
Absolutely. Calcium and magnesium deposits don’t just coat heating elements—they accumulate inside thermostat wells and insulate the temperature-sensing bulb. This creates a lag between actual tank temp and what the thermostat ‘feels,’ causing overshoot and repeated thermal stress. The Water Quality Association estimates homes with >10 GPG hardness see thermostat lifespan drop by 40% versus soft-water areas.
How often should I replace the thermostat preemptively?
Not on a fixed schedule—but based on evidence. Replace it if your unit is over 8 years old AND you’ve observed two or more warning signs from the list above. Also replace during any major repair involving the heating element or tank interior—since disassembly exposes wiring and gives you direct visual access. Don’t reuse old thermostats; thermal calibration degrades with each heat cycle.
Is a smart thermostat worth it for my water heater?
For electric models: yes—if compatible. Devices like the EcoNet Smart Controller monitor real-time amp draw and internal temp, alerting you to erratic cycling before failure. They won’t prevent mechanical wear, but they cut diagnostic time from hours to seconds. Gas units gain less benefit—most smart controls interface only with the gas valve, not the embedded thermostat sensor.
What’s the average cost to replace a failed thermostat?
Labor + parts typically run $180–$320 for electric units (two thermostats, labor, testing). Gas control valves with integrated thermostats cost $220–$410 installed. Compare that to the $25–$45 cost of a yearly sediment flush and $12 digital thermometer—your complete water heater maintenance calendar shows how those small actions compound into years of reliable service.
Preventing thermostat failure isn’t about perfection—it’s about consistency. Ten minutes a month checking for odd sounds, smells, or temperature swings adds up to fewer emergency calls, longer equipment life, and safer showers for everyone in your home. Start with the monthly T&P valve test this week—it takes 30 seconds and tells you more about system health than any dashboard light ever could.