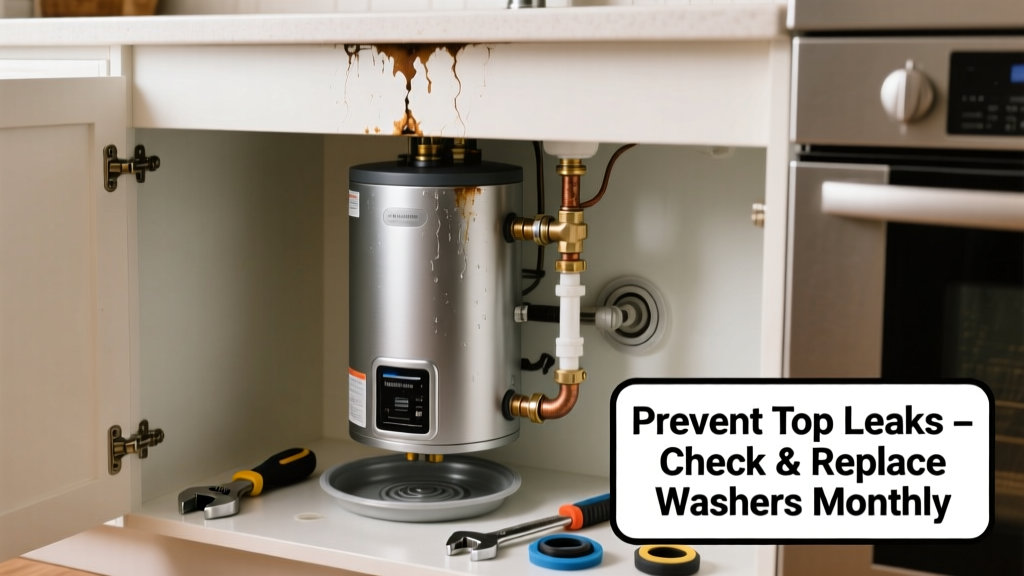
A leaking water heater from the top isn’t just an annoyance—it’s a red flag that pressure relief valves are failing, tank seals are degrading, or sediment is corroding critical connections. Left unchecked, a top leak can escalate into a flooded utility room, warped subflooring, or mold growth behind walls—costing homeowners an average of $4,200 in water damage repairs (Insurance Institute for Business & Home Safety, 2023).
Why This Happens
Leaks at the top almost always trace back to components mounted there: the temperature and pressure (T&P) relief valve, the cold water inlet, the hot water outlet, or the anode rod port. Corrosion from hard water, thermal expansion stress, and age-related gasket fatigue are the top three culprits. According to the U.S. Department of Energy, 68% of premature water heater failures stem from neglected T&P valve maintenance—not tank corrosion.
- Failed or mineral-clogged T&P valve (most common)
- Loose or degraded dielectric union at cold water inlet
- Cracked or improperly sealed hot water outlet nipple
- Anode rod removal without resealing the hex plug
- Over-pressurized system (>80 psi) stressing all top fittings
Maintenance Checklist
| Interval | Task | Tools/Notes |
|---|---|---|
| Daily | Check for visible moisture or dampness on top surface and around pipe connections | Use a dry white towel—stains show early seepage |
| Weekly | Inspect T&P valve lever for stiffness or mineral buildup | Do not force; if stiff, schedule professional cleaning |
| Monthly | Tighten hot/cold inlet/outlet nuts with a wrench (¼ turn max—over-tightening cracks brass) | Apply pipe thread sealant only if disassembling |
| Yearly | Test T&P valve by lifting lever fully; should release water then snap shut cleanly | If it drips after release or won’t close, replace immediately |
Warning Signs
Top leaks rarely appear without warning. Catch these early to avoid escalation:
- White chalky residue (calcium carbonate) near the T&P valve or inlet threads
- Faint hissing sound when the heater cycles on—indicates steam escaping under pressure
- Warm, damp insulation on the top access panel
- Water pooling inside the top access cover—even if no puddle on floor yet
- Rust-colored streaks running down the side from the top flange
Recommended Products
Not all parts are equal—and using inferior replacements invites repeat leaks. Stick with manufacturer-approved or UL-listed components:
- T&P valves: Watts 1156F (for residential gas/electric units up to 75 gal) — tested to 150 psi/210°F
- Dielectric unions: SharkBite 1/2" brass unions with PEX crimp rings for easy retrofitting
- Anode rod sealants: RectorSeal No. 5 pipe dope (non-hardening, rated for potable water)
- Pressure regulators: Watts 1155A if home supply exceeds 80 psi (confirmed with a water pressure test kit)
Can I replace the T&P valve myself?
Yes—if your unit is under warranty, check terms first. Turn off power/gas and cold water supply. Drain 2–3 gallons to relieve pressure. Use two wrenches: one to hold the valve body, one to loosen the nut. Install new valve hand-tight plus ¼ turn—never use Teflon tape on the threaded seat (it interferes with sealing). Test within 24 hours.
"Over 40% of DIY T&P replacements leak within 3 months because installers skip the drain step or overtighten—always verify pressure drop before removal." — Plumbing Code Handbook, 2022 edition
Why does my cold water inlet leak only when the heater is heating?
Thermal expansion. As water heats, it expands—but if your home lacks an expansion tank, pressure spikes upward of 120 psi, forcing past inlet gaskets. Install a 2-gallon expansion tank on the cold line (within 3 ft of the heater) and set pre-charge to match your home’s static water pressure. You’ll find more on this in our guide to fixing thermal expansion issues.
Is a small drip from the T&P discharge pipe normal?
No. Even a slow drip means the valve is either stuck open, overheating, or reacting to excessive pressure. A properly functioning T&P valve should remain completely dry until manually tested or triggered by over-temp/over-pressure. If dripping occurs regularly, replace it—don’t ignore it. The U.S. EPA estimates that 14% of household water usage is from leaks like this, adding $100+ annually to water bills.
My anode rod was recently replaced—and now there’s a leak at the top port. What went wrong?
Most likely, the hex plug wasn’t resealed properly. The factory-applied thread sealant wears off during removal. Always clean threads thoroughly, apply RectorSeal No. 5 (not Teflon tape), and torque to 25–30 ft-lbs—not finger-tight, not wrench-crushing. Also confirm the replacement rod’s hex size matches your heater (some require 1-1/16", others 1-1/8").
Should I insulate the top of my water heater to prevent condensation leaks?
No—and doing so can be dangerous. Insulating the top traps heat around the T&P valve and thermostat, risking false trips or delayed response during overheat events. Instead, fix the root cause: ensure proper venting (for gas units), check for high humidity in the space, and verify your heater isn’t oversized for your household’s demand. For help sizing correctly, see our water heater size calculator.
Preventing top leaks isn’t about waiting for failure—it’s about respecting the physics of pressure, heat, and corrosion. Consistent, targeted maintenance takes less than 10 minutes a month but extends your water heater’s life by 3–5 years on average. When you catch a chalky deposit or hear that faint hiss, act fast. That small effort today keeps your ceiling dry and your repair budget intact tomorrow.