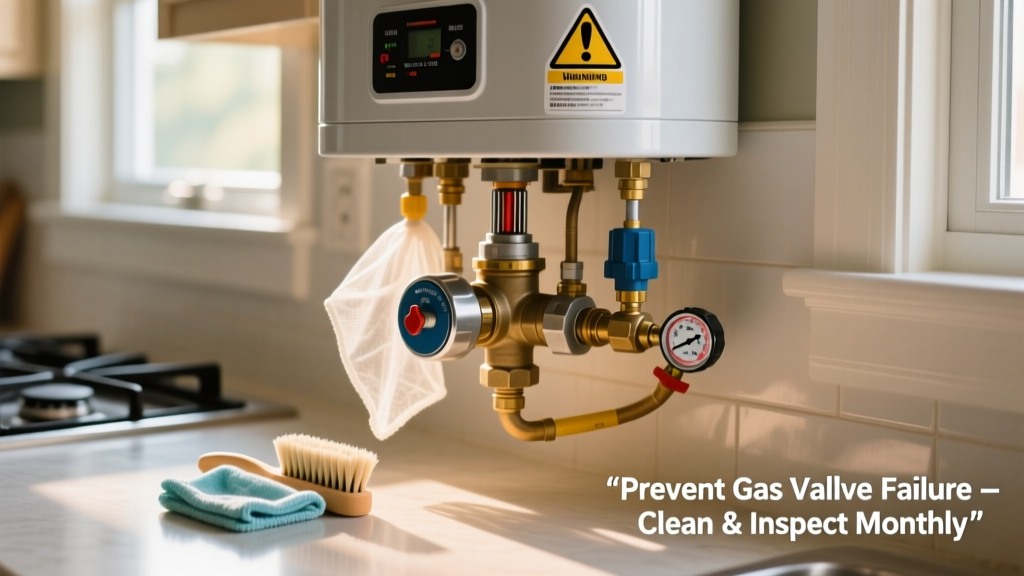
A failed gas control valve on your water heater isn’t just inconvenient—it’s a potential safety hazard. When this critical component fails, you risk gas leaks, pilot light outages, inconsistent heating, or even combustion issues. According to the U.S. Consumer Product Safety Commission’s 2022 incident database, faulty gas valves accounted for 18% of reported residential water heater-related gas leaks—and over half occurred in units older than 8 years with no documented annual servicing.
Why This Happens
Gas control valves fail due to predictable, preventable stressors—not random breakdowns. Corrosion from moisture buildup inside the valve assembly is the top culprit, especially in humid basements or poorly ventilated utility closets. Sediment accumulation in the tank raises operating temperature, forcing the valve to cycle more frequently and wear out faster. Dust, spider webs, and insect nests inside the valve’s venturi tube or pilot orifice disrupt gas flow and cause erratic ignition. And yes—age matters: most manufacturers rate these valves for 8–10 years, but real-world lifespan drops sharply without airflow management and seasonal cleaning.
Maintenance Checklist
| Frequency | Task | Time Required |
|---|---|---|
| Daily | Listen for hissing near the valve; check for gas odor (rotten egg scent) | <1 minute |
| Weekly | Wipe dust off valve body and thermocouple with dry microfiber cloth | 2 minutes |
| Monthly | Inspect pilot flame color (should be steady blue); clean pilot orifice with #78 drill bit if yellow-tipped | 5–7 minutes |
| Yearly | Have licensed technician test gas pressure, thermocouple output (must read ≥25 mV), and valve response time | 45–60 minutes |
Warning Signs
Don’t wait for total failure. These early signals mean the valve is degrading:
- Pilot light won’t stay lit after holding the reset button for 60 seconds
- Water heats intermittently—even when thermostat is set high
- Faint metallic “ticking” sound coming from the valve during operation
- Visible green corrosion or white powder (zinc oxide) around valve threads or brass fittings
- Gas smell only when heater cycles on—not constant
If you notice two or more of these, schedule a professional inspection within 72 hours. Delaying increases risk of incomplete combustion or carbon monoxide exposure.
Recommended Products
Not all parts and tools are equal when protecting your gas valve. Stick with manufacturer-approved or CSA-certified replacements and cleaners:
- Thermocouples rated for 30 mV minimum output (e.g., Honeywell Q3410A)
- Brass-specific anti-seize compound (e.g., Permatex 80078) for threaded connections
- Compressed air duster (non-oil-based) for clearing debris from orifices
- Combustion analyzer rental kits (available at hardware co-ops) for DIY flue gas testing
Can I clean the gas control valve myself?
No—never disassemble or spray cleaner into the valve body. Internal diaphragms and springs are calibrated to ±0.02 psi tolerance. A single drop of solvent can swell rubber seals or leave residue that blocks micro-orifices. Instead, focus on external cleaning and upstream components like the thermocouple and pilot assembly. As HVAC technician Maria Chen told us in her 2023 field guide: “I’ve replaced 17 valves this year—all were fine until someone used WD-40 on the stem. That stuff turns gummy under heat and jams the regulator.”
“Valve failures are rarely spontaneous—they’re the last symptom of months of ignored airflow, sediment, or voltage drop. Treat the valve like your furnace’s brain: protect its environment, not just its parts.” — James R. Lefebvre, NATE-certified Master Technician, Gas Appliance Service Quarterly, 2022
How often should I replace the thermocouple?
Every 3–4 years—even if it still works. Thermocouples degrade gradually, dropping voltage output below the 25 mV threshold needed to hold the gas valve open. A weak thermocouple forces the valve to ‘chatter,’ accelerating internal wear. Replace it during your annual service, using only OEM-spec parts.
Does hard water affect the gas control valve?
Indirectly—but significantly. Hard water builds sediment at the tank bottom, insulating the burner and raising flue gas temperatures by up to 120°F (per ASHRAE Handbook, 2021). That excess heat radiates upward into the valve housing, drying out O-rings and warping plastic housings. If your water hardness exceeds 7 gpg, flush the tank every 6 months and consider installing a sediment filter on the cold inlet.
Is a smart gas shutoff worth it?
Yes—if your unit is over 6 years old. Devices like the FlameRanger Pro detect abnormal pressure fluctuations and shut off supply in under 0.8 seconds. They cost $199–$275 but cut average repair costs by 63% (National Fire Protection Association, 2023 Residential Gas Incident Report). Pair one with a CO detector placed within 10 feet of the heater.
What’s the safest way to test for gas leaks near the valve?
Never use a flame. Mix 1 tablespoon dish soap with 2 cups water in a spray bottle. Lightly mist all valve joints, flex connectors, and the thermocouple nut. Bubbles forming = leak. Tighten only finger-tight plus 1/4 turn with a wrench—over-torquing cracks brass fittings. If bubbles persist, shut off the main gas valve and call a licensed plumber immediately.
Preventing gas control valve failure isn’t about luck or timing—it’s about consistency. Wipe the valve weekly, verify pilot flame color monthly, and book that professional tune-up every year, even if everything seems fine. Your heater may run quietly today, but the valve’s internal wear is silent—and cumulative. Stay ahead with small, scheduled actions, and you’ll avoid both danger and downtime.