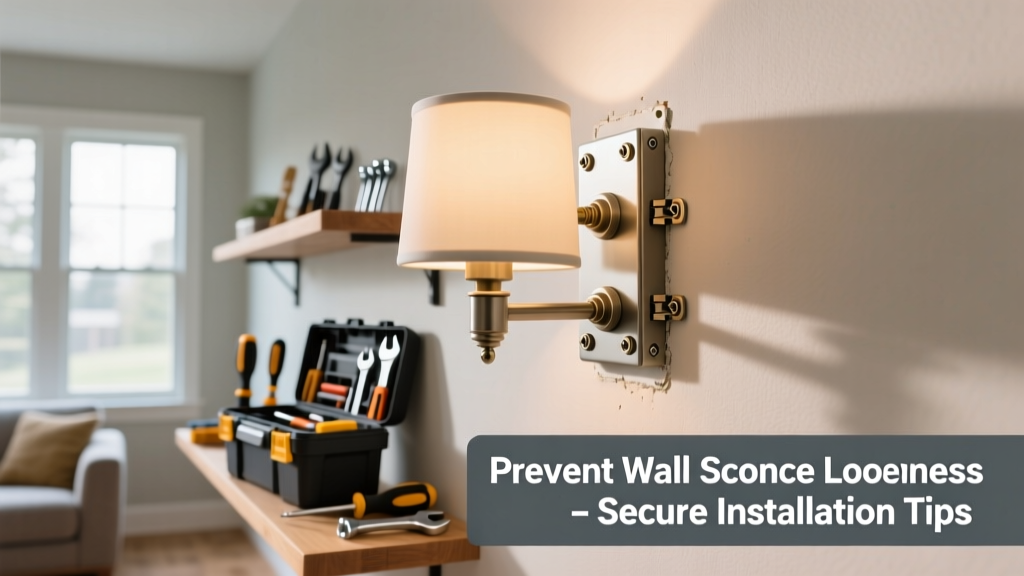
A loose wall sconce isn’t just an eyesore—it’s a safety hazard. Over time, vibration from doors slamming, foot traffic, or even HVAC cycling can work screws loose, risking electrical strain, cracked drywall anchors, or sudden fixture detachment. According to the National Fire Protection Association’s Electrical Safety Foundation (2022), 12% of residential lighting-related incidents involved improperly mounted fixtures.
Why This Happens
Loose sconces rarely fail overnight. They’re usually the result of cumulative stress on mounting points. Drywall alone can’t support heavy fixtures without proper anchoring—especially older homes with plaster-and-lath or hollow-core walls. Temperature shifts cause metal and plastic components to expand and contract, gradually backing out screws. Vibration from nearby appliances (like garage door openers or washing machines) adds mechanical fatigue. And let’s not forget human error: over-torquing during installation strips threads, while under-torquing leaves wiggle room from day one.
- Improper anchor type for wall substrate (e.g., plastic anchors in plaster)
- Use of undersized or corroded screws
- Fixture weight exceeding anchor rating (many sconces weigh 3–7 lbs)
- Lack of anti-vibration washers or thread-locking compound
Maintenance Checklist
| Frequency | Task |
|---|---|
| Daily | Visually scan for obvious tilting or gaps between fixture and wall |
| Weekly | Check for audible rattling when lightly tapping fixture base |
| Monthly | Tighten mounting screws with a torque-limited screwdriver (max 5 in-lbs for standard #6 screws) |
| Yearly | Remove fixture, inspect anchor integrity, replace drywall anchors if cracked or deformed |
Warning Signs
Early detection saves time and prevents escalation. Don’t wait for the fixture to swing freely—act at the first sign of instability.
- A 1–2° tilt visible when standing directly in front
- Small dust lines or paint cracks radiating from mounting screws
- Slight buzzing or humming when the light is on (indicates loose wire connections or grounding)
- Warmth near the junction box—suggests arcing from poor contact
Recommended Products
Not all hardware is equal. Choose products designed for long-term stability—not just initial installation.
- Toggler SNAPTOGGLE anchors: Rated for up to 100 lbs in ½" drywall; ideal for heavier sconces
- Nylon-insert locknuts: Prevent back-out on threaded rods used in adjustable-arm sconces
- Loctite Threadlocker Blue 242: Medium-strength formula that holds screws without permanent bonding
- Washer kits with silicone-damped rubber: Absorb micro-vibrations better than plain steel washers
Can I reuse old drywall anchors?
No—reusing anchors compromises grip. Even if they look intact, the expansion wings lose elasticity after removal. The U.S. Department of Housing and Urban Development’s Residential Construction Handbook (2021) advises replacing anchors every time a fixture is reinstalled. If you’re working with plaster walls, consider masonry anchors or toggle bolts instead of standard plastic sleeves.
What’s the right torque for sconce mounting screws?
Most manufacturers specify 4–6 in-lbs for #6 or #8 machine screws. Over-tightening cracks drywall; under-tightening invites creep. Use a calibrated torque screwdriver—not a power drill. For reference, hand-tight plus one-quarter turn with a manual Phillips is usually safe for standard fixtures.
"A sconce that feels 'just snug' today will likely be loose in six months if torque exceeds 7 in-lbs on drywall," says electrician Marcus Lee, who’s installed over 1,200 fixtures in Chicago-area homes since 2015.
Do LED sconces loosen less than incandescent ones?
Not inherently—but many LED models are lighter (often under 4 lbs vs. 6–9 lbs for vintage-style brass sconces), reducing mechanical load. Also, LED drivers generate less heat, minimizing thermal expansion cycles in mounting hardware. Still, weight savings don’t excuse skipping proper anchoring. Always check the fixture’s spec sheet for mounting requirements—even lightweight fixtures need correct anchors.
Should I caulk around the sconce base?
No. Caulk hides moisture intrusion and makes future inspection or tightening impossible. Instead, use a thin bead of painter’s tape around the perimeter before painting—then remove it cleanly. If you spot gaps, address the root cause: either misaligned mounting or insufficient anchor depth. For more on sealing and moisture control, see our guide on preventing bathroom moisture damage.
How often should I inspect sconces near high-traffic areas?
Every 3 months—not yearly. Hallways, stair landings, and entryways experience up to 3× more vibration than bedroom walls. Install a reminder in your home maintenance calendar. Pair inspections with bulb replacements: if you’re changing LEDs anyway, take 60 seconds to verify screw tension and anchor condition. You’ll catch issues before they become visible—like the subtle 0.5 mm gap behind the mounting plate that signals anchor pull-through.
Preventing loose sconces isn’t about perfection—it’s about consistency. A 90-second monthly check, the right anchor for your wall type, and using torque-controlled tools add up to decades of reliable, safe operation. For related strategies, explore our guides on preventing ceiling fan wobble and keeping light switches secure.