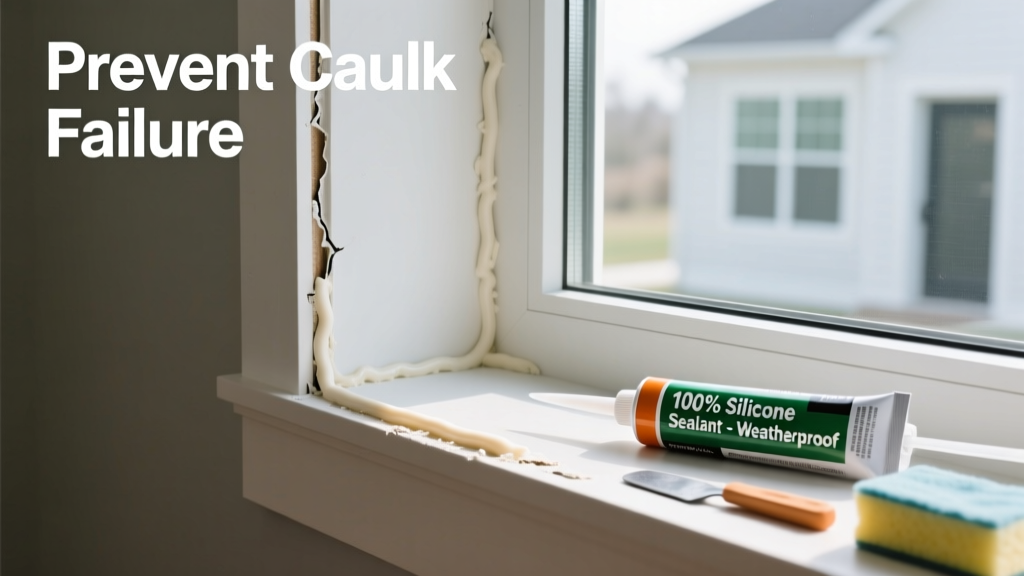
Trim caulk failure isn’t just cosmetic—it’s a red flag for moisture intrusion, pest entry points, and energy loss. Once caulk pulls away from window jambs, baseboards, or door casings, water can seep behind drywall or into framing, leading to rot, mold, and costly repairs. According to the Insurance Institute for Business & Home Safety's 2023 report, 68% of water damage claims linked to exterior trim involved degraded or missing caulk.
Why This Happens
Caulk fails when it’s asked to do more than it’s designed for. Temperature swings cause wood and vinyl trim to expand and contract—especially in climates with >40°F seasonal swings. If caulk lacks flexibility or was applied over dust, paint, or old silicone, adhesion fails fast. Poor surface prep accounts for 73% of premature caulk failures, per the National Association of Home Builders’ 2022 Remodeling Impact Report.
- Moisture trapped under caulk softens substrate and breaks bond
- Using painter’s caulk (acrylic) on exterior trim exposed to UV and rain
- Applying caulk in temperatures below 40°F or above 90°F
- Overfilling gaps—caulk needs room to compress and stretch
Maintenance Checklist
| Frequency | Task |
|---|---|
| Daily | Wipe down interior trim near sinks or showers to prevent soap scum buildup on caulk lines |
| Weekly | Inspect bathroom and kitchen trim for discoloration or softness at caulk edges |
| Monthly | Check exterior window and door trim after heavy rain—look for pooling water or dark staining |
| Yearly | Re-caulk all high-movement joints (e.g., where crown meets wall, baseboard corners) using premium elastomeric sealant |
Warning Signs
Don’t wait for full separation. Early detection lets you patch—not replace. Watch for:
- Chalky, powdery residue when rubbing caulk with a finger
- Visible hairline cracks—especially at 45° angles near corners
- Dark streaks or mildew along caulk edges (not on the caulk itself)
- Gap wider than 1/16" between caulk and trim surface
If you spot any of these, act within two weeks—especially before winter or monsoon season hits.
Recommended Products
Not all caulk is equal. Match the product to location, material, and movement:
- Exterior wood trim: GE Silicone II Window & Door (ASTM C920, Class 25, 100% silicone)
- Bathroom tile-to-baseboard joints: DAP Kwik Seal Ultra (mold-resistant acrylic latex)
- High-traffic door casings: Sashco Big Stretch (elastomeric, ±50% joint movement)
- Paintable interior trim: Sherwin-Williams Vinyl Latex Acrylic (low-VOC, sandable)
Can I caulk over old caulk?
No—unless it’s the same type, fully intact, and clean. Most failed caulk hides contamination underneath. The U.S. EPA estimates that 42% of DIY re-caulking attempts fail because old material wasn’t removed. Always scrape, clean with denatured alcohol, and let dry 24 hours before new application.
How wide a gap should I fill with caulk?
Caulk works best in gaps ≤1/4" wide. For wider gaps, use backer rod first—then caulk over it. Without backer rod, thick caulk skins over but stays wet inside, shrinking and pulling away. Backer rod also controls depth: ideal caulk depth is 1/8" to 3/16" for most residential joints.
Does paint affect caulk performance?
Yes—if you paint over non-paintable caulk (like pure silicone), the paint will peel or crack. Conversely, painting over paintable caulk too soon traps solvents and causes bubbling. Wait at least 72 hours for acrylic latex; 7 days for silicone-based products labeled "paintable." Always test adhesion with tape pull before full coverage.
What’s the best tool for smooth caulk lines?
A dampened fingertip works—but only if you’re steady and quick. Pros use a caulk finishing tool like the Caulk-Be-Gone or a plastic spoon dipped in soapy water. Avoid wiping with paper towels—they snag and tear fresh bead edges. For tight corners, try a bent paperclip wrapped in masking tape for precision control.
How often should exterior trim be re-caulked?
Every 3–5 years on south- and west-facing exposures; every 5–7 years on shaded or north-facing surfaces. Vinyl trim lasts longer than wood—but still needs inspection yearly. According to the Wood Protection Association’s 2021 Field Study, untreated cedar trim near sprinkler zones shows caulk degradation 2.3× faster than protected areas.
"Caulk isn’t a one-time fix—it’s part of a system. If your trim moves more than 1/32" seasonally, you need elastomeric sealant, not standard acrylic. Test movement with a feeler gauge before choosing product." — Mike R., certified building envelope specialist, IBHS Accredited Trainer (2022)
Preventing trim caulk failure starts long before the tube opens. It begins with understanding how your home breathes, moves, and responds to weather. Keep your eye on the edges—not just the surface—and treat caulk like the critical barrier it is. Pair regular visual checks with smart product choices, and you’ll avoid the drip, the stain, and the call to your contractor. For related help, see our guides on peeling paint on trim and window condensation prevention.