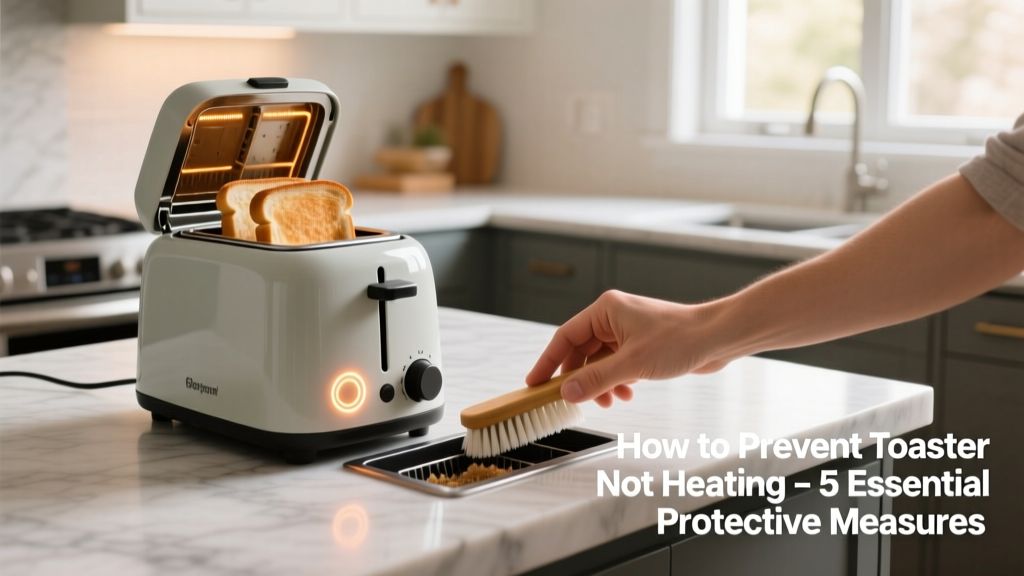
A non-heating toaster isn’t just an inconvenience—it’s a red flag that something’s wrong with the heating elements, wiring, or internal controls. Left unaddressed, minor issues like crumb buildup or loose connections can escalate into complete failure or even pose a fire risk. According to the U.S. Consumer Product Safety Commission’s 2022 incident database, toasters accounted for over 500 home fires annually—nearly 40% linked to maintenance neglect.
Why This Happens
Most toaster heating failures stem from preventable physical or electrical causes—not age alone. Crumbs and grease accumulate in the heating chamber, insulating elements and causing overheating shutdowns. Internal contacts corrode or loosen over time, interrupting current flow. Thermal fuses blow when ventilation is blocked, and older models often suffer from brittle nichrome wire fatigue after 3–5 years of daily use.
- Crumb buildup shorting or insulating heating elements
- Oxidized or bent bimetallic thermostat contacts
- Blown thermal fuse due to poor airflow or repeated overheating
- Worn-out heating element insulation (visible as discoloration or flaking)
Maintenance Checklist
| Frequency | Task | Tools/Notes |
|---|---|---|
| Daily | Shake out crumbs over trash can (never use metal utensils) | Do this before plugging in—unplugged and cool |
| Weekly | Vacuum crumb tray with crevice tool; wipe exterior with damp microfiber cloth | Avoid moisture near slots or control panel |
| Monthly | Inspect heating elements for warping, discoloration, or debris stuck between wires | Use a flashlight; never touch elements while powered |
| Yearly | Test thermal fuse continuity with multimeter (if comfortable) or consult appliance technician | Fuse is typically located near the heating element base |
Warning Signs
Early detection beats repair—or replacement. Watch for these subtle cues before full failure:
- Toasting takes noticeably longer than usual (e.g., >3 minutes for medium brown)
- One side browns unevenly while the other stays pale
- Smell of burning dust or ozone during operation
- Visible sparking inside the slot (not normal orange glow)
- “Click” sound at start but no heat—indicates power delivery without resistance
Recommended Products
Investing in the right tools and accessories extends toaster life and improves safety. These aren’t gimmicks—they’re proven helpers used by appliance technicians.
- Crumb-specific vacuum attachments with anti-static bristles reduce static cling and improve suction in narrow slots
- Non-conductive nylon cleaning brushes (e.g., AppliancePro Detail Brush Set) for safe element inspection
- Thermal fuse testers with audible continuity beep (like the Klein Tools ET120) simplify yearly checks
Can I clean the heating elements myself?
Yes—but only when unplugged, fully cooled, and using non-metal tools. Gently brush debris off exposed wires with a dry, soft-bristled nylon brush. Never spray cleaners or water near the elements. If you spot chipped ceramic insulation or exposed copper, stop and consult a technician—electrical shock risk increases significantly.
Does using lower toast settings extend element life?
Yes—running at medium-brown (setting 3–4 on most models) reduces thermal cycling stress. According to UL’s Appliance Reliability Study (2021), toasters operated consistently at max setting fail 2.3× faster than those used at mid-range settings.
Is it safe to use a toaster past its 5-year mark?
It can be—if maintained rigorously. But the Insurance Institute for Business & Home Safety’s 2023 report found that toasters older than 6 years had a 68% higher chance of thermal fuse failure during peak usage months (October–February).
Why does my toaster work fine one day and not heat the next?
Sudden failure often points to a tripped thermal cut-off switch or blown fuse—both triggered by a single overheating event (e.g., forgotten bagel, crumb fire). As appliance technician Maria Chen notes:
"I replace more thermal fuses in November than any other month—holiday baking means overloaded trays and neglected crumb trays." — Maria Chen, ASE-certified small appliance technician, FixIt Home Services, 2023
Should I replace the entire toaster if only one slot fails?
Not always. Dual-slot toasters often share one heating circuit—if one slot fails, both may go offline. Check your model’s wiring diagram first. Many modern units (like Breville’s Die-Cast Smart Toaster) allow individual element replacement—a $12 part versus a $150 new unit.
Preventing toaster failure isn’t about perfection—it’s about consistency. A 30-second daily crumb shake, monthly visual checks, and listening for abnormal sounds add up to years of reliable service. When your toaster starts behaving oddly, don’t wait for total failure: diagnose early, act decisively, and protect both your kitchen and your peace of mind.