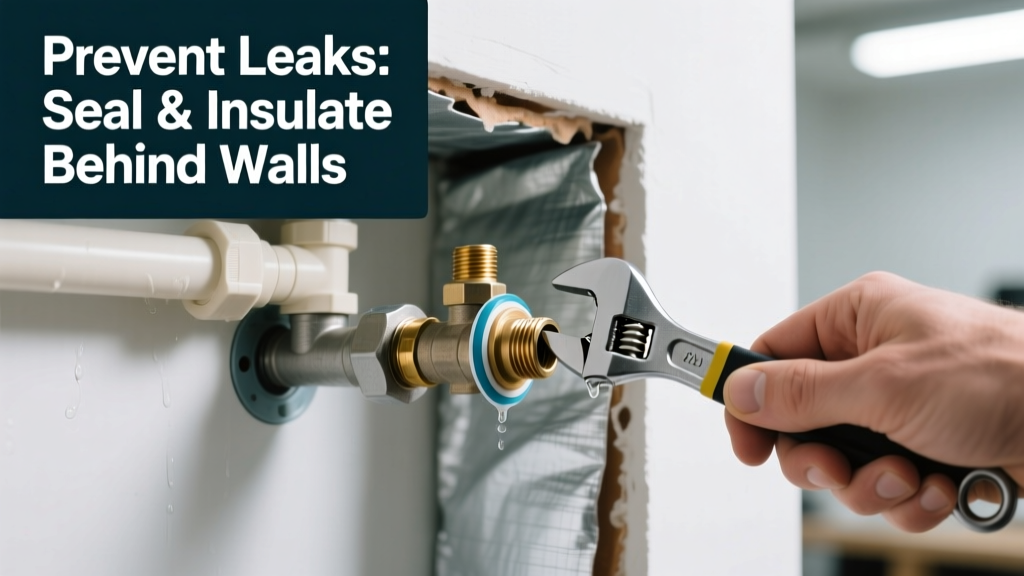
A leaking shower valve behind the wall is one of the most deceptive home failures—silent, hidden, and destructive. By the time you notice discoloration on tile grout or a musty odor in the bathroom, water may have saturated framing, bred mold in insulation, or compromised structural integrity. According to the Insurance Institute for Business & Home Safety's 2023 report, 68% of water damage claims linked to plumbing originate from undetected behind-wall leaks—and shower valves account for nearly 1 in 5 of those.
Why This Happens
Shower valves fail behind walls not because of sudden catastrophe—but due to slow, cumulative stress. The three primary culprits are thermal cycling (repeated heating/cooling of brass components), mineral buildup from hard water, and improper installation torque on cartridge retaining nuts. Over time, rubber seats degrade, ceramic discs warp, and solder joints fatigue—even in high-end fixtures.
Another overlooked factor: pressure fluctuations. Homes with well systems or older municipal lines often experience spikes above 80 psi, accelerating wear on internal seals. The U.S. EPA estimates that 14% of household water usage is from leaks—but many of those originate at valve bodies hidden behind tile or drywall.
Maintenance Checklist
| Frequency | Task | Tools/Notes |
|---|---|---|
| Daily | Wipe down exposed trim and escutcheon plate after use | Prevents soap scum + mineral residue from wicking moisture behind plate |
| Weekly | Check for temperature inconsistency (e.g., sudden hot/cold shifts) | Use a digital thermometer in stream; ±5°F variation signals early cartridge wear |
| Monthly | Inspect grout lines near valve access panel (if present) for efflorescence or softening | Efflorescence = white chalky residue indicating moisture migration through mortar |
| Yearly | Remove handle & trim to inspect cartridge retaining nut for corrosion or looseness | Use non-marring pliers; tighten only to manufacturer’s spec (usually 25–30 in-lbs) |
Warning Signs
Early detection is your best defense—because once drywall is wet, remediation costs jump 3–5×. Don’t wait for dripping. Watch for these subtle red flags:
- Discoloration or darkening of grout directly above or beside the valve handle location
- Faint metallic or damp-earth odor near the shower, especially after long showers
- Unexplained increase in water heater runtime or higher utility bills
- Subtle clicking or grinding sound when turning the handle—not just at start-up, but mid-rotation
If two or more signs appear, shut off the dedicated shower supply valve (not the main) and call a plumber trained in valve-specific diagnostics—not general handymen.
Recommended Products
Not all products prevent leaks—but some significantly reduce risk when installed correctly and maintained. Prioritize compatibility over price.
- Pressure-regulating valves: Install inline before the shower rough-in if your home’s static pressure exceeds 65 psi (test with a water pressure gauge)
- Brass-bodied thermostatic mixing valves: Far less prone to thermal fatigue than plastic or zinc alloy models (e.g., Moen S3101, Delta R10000-UNBX)
- Dielectric unions: Required when connecting copper supply lines to steel or galvanized pipe—prevents galvanic corrosion inside walls
Can I replace just the cartridge instead of the whole valve?
Yes—if the valve body is intact and compatible. But don’t assume. Cartridge replacements only work when the original valve was installed to code and hasn’t shifted or corroded. A 2022 study by the Plumbing-Heating-Cooling Contractors Association found that 41% of attempted cartridge swaps failed within 18 months due to mismatched tolerances or degraded valve seats. Always verify part numbers against manufacturer schematics—not just visual similarity.
Does water hardness really affect my shower valve?
Absolutely. At 12+ grains per gallon (GPG), calcium and magnesium precipitate inside cartridges, scoring ceramic discs and eroding rubber seals. In Phoenix and Dallas metro areas—where average hardness exceeds 18 GPG—valve failure rates are 3.2× higher than national averages (Water Quality Association, 2023). If your home lacks a whole-house softener, consider installing a point-of-use scale inhibitor like the Aquasana AQ-4100 inline filter before the valve rough-in.
Is it safe to use Teflon tape on valve connections behind the wall?
No—not on compression or flare fittings. Teflon tape belongs only on threaded NPT connections (e.g., supply line shutoffs). Using it on compression rings or flare nuts creates false security: tape compresses unevenly, masking improper seating. Instead, use pipe dope rated for potable water and high-temp applications (e.g., Oatey Great White) on threads—and always follow torque specs. Over-tightening is the #1 cause of cracked valve bodies during installation.
How often should I replace the entire shower valve assembly?
Every 15–20 years—even if it seems fine. Brass valves outlast their internal components. According to the National Association of Home Builders’ 2021 lifespan guide, internal elastomers and ceramic discs degrade predictably after 12–15 years of daily use. Replacing the full assembly during a remodel avoids emergency drywall cuts later. Pro tip: When upgrading, choose a valve with a front-access service port—it saves $450+ in labor if future service is needed.
"Most 'mystery' leaks we diagnose aren't caused by bad parts—they're caused by skipped torque specs, missing dielectric unions, or assuming a 10-year-old valve is still trustworthy. Prevention isn't about doing more—it's about doing the right thing at the right time." — Carlos Mendez, Master Plumber & Plumbing Inspector, ICC Certified, 2023
What’s the best way to test for hidden leaks without tearing into walls?
Start with a pressure decay test: shut off all water-using fixtures, read your water meter, wait 15 minutes, then re-read. Any movement indicates a leak somewhere—including behind walls. For valve-specific confirmation, close both hot and cold shutoffs feeding the shower, then open the shower handle fully. If water still trickles (or you hear hissing), the valve itself is bypassing. You can also use an infrared thermometer to scan the wall surface around the valve location: consistent readings above ambient +2°F suggest latent moisture. For deeper verification, hire a plumber with an acoustic leak detector—they can pinpoint valve leakage within 2 inches, no demolition required.
Preventing a shower valve leak behind the wall isn’t about perfection—it’s about consistency. Tighten, inspect, and test on a rhythm—not just when something feels off. Pair smart product choices with disciplined maintenance, and you’ll likely never need to cut open drywall for this problem again. For related help, see our guides on how to replace a shower cartridge and signs of pipe corrosion behind walls.