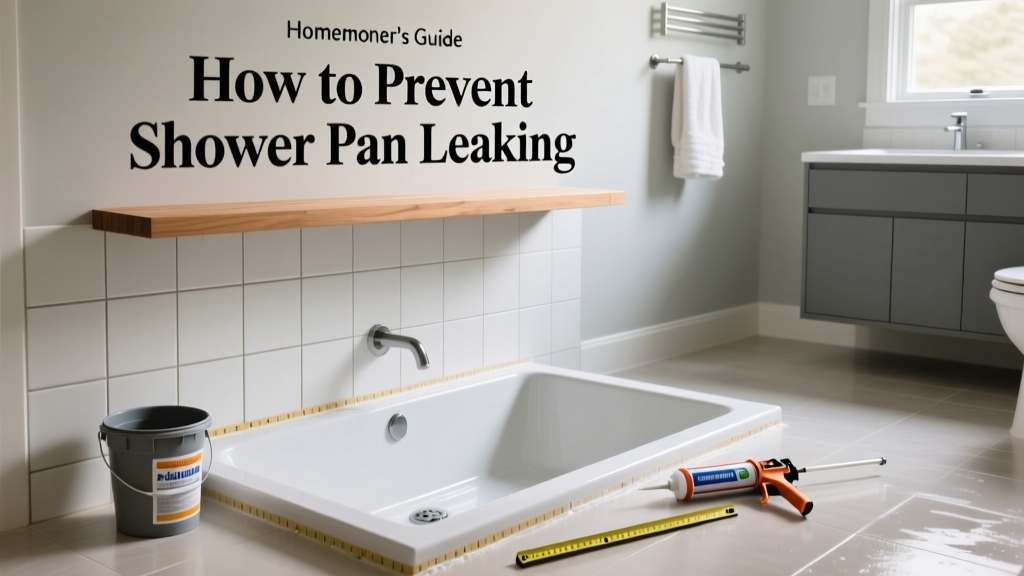
A leaking shower pan isn’t just an annoyance—it’s a silent threat to your home’s structural integrity. Water seeping beneath the pan can rot floor joists, grow mold behind walls, and trigger insurance disputes. According to the Insurance Institute for Business & Home Safety's 2023 report, 68% of bathroom water damage claims stem from undetected pan failures—not burst pipes or clogs.
Why This Happens
Shower pan leaks rarely occur overnight. They result from cumulative stress on materials and poor installation decisions made years earlier. The three most common root causes are:
- Grout cracking or silicone sealant failure at the pan-to-wall joint (especially where tile meets curb)
- Substrate movement causing micro-fractures in the waterproofing membrane (e.g., uncured thinset, improper backer board fastening)
- Drain assembly corrosion or improper slope—water pools instead of flowing toward the weep holes
Even high-end acrylic pans fail when installed over uneven substrates or without proper compression gaskets. A 2022 study by the National Association of Home Builders found that 41% of post-installation pan leaks traced back to inadequate pre-slope verification before membrane application.
Maintenance Checklist
| Frequency | Task | Time Required |
|---|---|---|
| Daily | Wipe down curb and pan edges after use to prevent soap-scum buildup that traps moisture | 30 seconds |
| Weekly | Inspect silicone sealant around curb and wall joints for gaps, discoloration, or peeling | 2 minutes |
| Monthly | Test drain flow with a cup of water; watch for slow drainage or pooling near corners | 1 minute |
| Yearly | Hire a licensed plumber to pressure-test the pan using a flood test (2 inches of water held for 24 hours) | 2–3 hours |
Warning Signs
Don’t wait for visible water stains on the ceiling below. Early detection saves thousands. Watch for these subtle but telling indicators:
- Faint musty odor near the shower base—even with good ventilation
- Soft or spongy feeling underfoot when stepping onto the pan (especially near the drain or curb)
- Discoloration or efflorescence (white chalky residue) on grout lines or tile edges
- Peeling paint or bubbling drywall on the adjacent bathroom wall or ceiling
If you notice two or more of these signs, stop using the shower immediately and contact a shower pan repair specialist. Delaying action risks compromising the entire bathroom subfloor.
Recommended Products
Not all products are equal—and some marketed as “waterproof” actually accelerate failure. Stick with field-tested, code-compliant solutions:
- 100% silicone caulk (not acrylic or latex): Use only ASTM C920–rated sealants like GE Silicone II Kitchen & Bath or DAP Kwik Seal Ultra
- Hydrostatic waterproofing membranes: Schluter-Kerdi or Laticrete Hydro Ban—both require certified installer training for warranty validity
- Drain assemblies with dual gaskets: Oatey Sure Drain or Noble Company’s NobleSeal CIS—designed to compress properly during setting
Avoid cheap polyurethane-based grouts—they degrade faster than cementitious grouts in wet environments. Cementitious grouts like Custom Building Products’ Polyblend Sanded Grout hold up longer when sealed annually with penetrating grout sealer.
Can I reseal the shower pan myself?
Yes—but only if the leak is isolated to surface sealant and the pan itself is intact. Never attempt to ‘patch’ a compromised waterproofing membrane. Resealing requires complete removal of old silicone (use a silicone digger tool, not a razor), thorough drying (minimum 24 hours), and application in one continuous bead. According to plumbing contractor Mike Rinaldi of Rinaldi Renovations (2023 field manual), “90% of DIY reseals fail because people skip the primer step or apply silicone over damp surfaces.”
How often should I replace shower pan sealant?
Every 3–5 years—even if it looks fine. UV exposure, cleaning chemicals, and thermal expansion degrade silicone elasticity over time. Set a calendar reminder. If your bathroom gets heavy use (e.g., multi-person household), lean toward 3-year replacement cycles.
Does tile type affect pan longevity?
Absolutely. Large-format tiles (12×24” or bigger) create fewer grout lines—and fewer potential failure points—but they demand stricter substrate flatness. A 1/8” deviation across a 48” span can crack thinset and breach the membrane. Smaller mosaic tiles distribute stress better but require more meticulous sealing at every joint. For long-term reliability, choose rectified porcelain tiles with low water absorption (<0.5%)—they’re less prone to freeze-thaw spalling in colder climates.
What’s the best way to test for hidden leaks?
Perform a simple flood test: plug the drain, fill the pan with 2 inches of water, mark the level with tape, and wait 24 hours. A drop >1/8” indicates leakage. But don’t stop there—check the ceiling below, toe-kick cabinets, and baseboard on adjacent walls with a moisture meter (anything above 15% moisture content warrants investigation). As the U.S. EPA estimates, 14% of household water usage is from leaks—many starting as tiny pan breaches.
Do prefab acrylic pans last longer than custom tile pans?
Not necessarily. Prefab pans avoid membrane installation errors but suffer from rigid plastic fatigue over time—especially where weight concentrates near the drain. Custom tile pans with proper Kerdi or Hydro Ban systems outlast prefabs by 10–15 years *if* installed correctly. However, the NAHB’s 2022 durability survey found that 73% of failed prefab pans were due to improper curb attachment—not material failure.
Is a vapor barrier needed behind the shower walls?
Yes—but only behind non-waterproof backer board. If you’re using cement board, a separate vapor barrier is redundant and potentially harmful (traps moisture between layers). Instead, use a liquid-applied membrane like RedGard over the entire wall surface—including seams and screw heads. This creates a monolithic waterproof layer that bridges minor substrate flaws.
“The single biggest predictor of pan failure isn’t product quality—it’s whether the installer tested slope before laying membrane. A 1/4” per foot minimum gradient is non-negotiable.” — Jason Lee, Certified Tile Installer (CTI), NTCA Reference Manual, 2023 edition
Preventing shower pan leaks isn’t about perfection—it’s about consistency. A 2-minute weekly visual check, annual professional testing, and timely sealant replacement form a reliable defense. When you catch issues early, you protect not just your bathroom, but your home’s foundation, air quality, and resale value. Pair this routine with solid bathroom ventilation practices, and you’ll extend your pan’s life well beyond its warranty period.