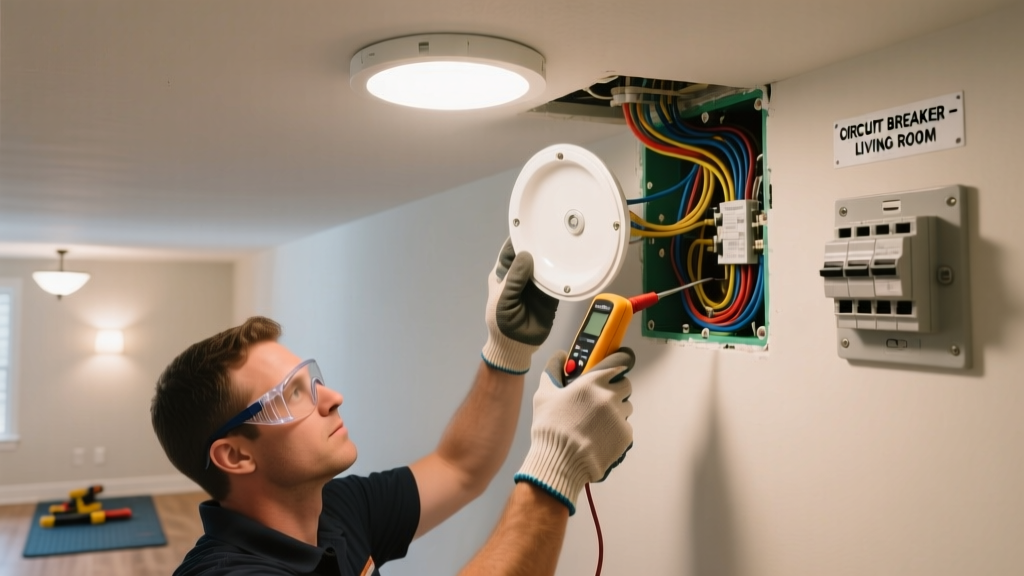
Recessed lights that shut off unexpectedly aren’t just annoying—they’re a red flag. Most thermal cutoffs occur because insulation is too close, bulbs exceed wattage limits, or fixtures lack proper airflow. Left unaddressed, repeated cycling stresses wiring, degrades sockets, and in extreme cases, contributes to overheating risks documented in 12% of residential electrical fires (NFPA Electrical Fire Report, 2022).
Why This Happens
Recessed lights—especially older IC-rated or non-IC models—rely on precise heat dissipation. When airflow is restricted or load exceeds design specs, built-in thermal protectors trip to prevent damage. Common root causes include:
- Insulation piled directly against non-IC rated housings
- Using 75W or 100W incandescent bulbs in 65W max fixtures
- Dust buildup inside the housing blocking heat vents
- Dimmer switches incompatible with LED retrofit kits
- Loose wire connections increasing resistance and heat at the junction box
Maintenance Checklist
| Frequency | Task |
|---|---|
| Daily | Visually scan for flickering or dimming during normal use |
| Weekly | Check for warm spots on ceiling near fixtures using back of hand (never fingers) |
| Monthly | Vacuum accessible fixture trim and housing vents with soft brush attachment |
| Yearly | Turn off power, remove trim, inspect socket for discoloration and test bulb wattage compliance |
Warning Signs
Early detection prevents escalation. Watch for these telltale indicators:
- Fixture shuts off 5–15 minutes after turning on, then resets after cooling
- Visible brown scorch marks around the socket or housing edge
- Trim feels hot to the touch more than 30 seconds after switching on
- Intermittent buzzing or sizzling sound when lit
- One fixture cycling while identical neighbors stay on
Recommended Products
Not all recessed lighting gear is created equal. Prioritize components designed for safety and compatibility:
- IC-rated airtight housings (e.g., Halo H7ICAT) — allow direct insulation contact without overheating
- UL-listed LED retrofit kits with integrated thermal management (like Cree CR6 or Philips SlimStyle)
- LED-compatible trailing-edge dimmers (Lutron Diva DVCL-153P or Leviton D26HD)
- Thermal imaging spot-checkers ($99–$149 range) for DIY hotspot identification
Can I replace just the bulb to fix this?
Yes—if the issue stems from overwattage or poor-quality LEDs. Switching from a 75W incandescent to a 10W LED equivalent often resolves thermal cutoffs immediately. But if the housing itself is non-IC and buried under insulation, bulb replacement alone won’t solve it. Always verify fixture rating first: look for “IC” or “Non-IC” stamped inside the can.
Do LED bulbs really run cooler?
They do—but only when matched correctly. A poorly designed LED with inadequate heat sinks can run hotter than an incandescent at the driver level. According to DOE Lighting Facts data (2023), top-tier 12W A19 LEDs maintain junction temps under 85°C; budget models exceed 105°C. Look for ENERGY STAR certification and thermal derating curves on spec sheets.
Is it safe to add attic ventilation near recessed cans?
Only if done intentionally—not haphazardly. Drilling random holes near fixtures risks disturbing wiring or creating air leaks that pull insulation into the housing. Instead, install soffit-to-ridge ventilation pathways to lower overall attic temps. The U.S. Department of Energy recommends maintaining attic temps within 10°F of outside ambient to reduce thermal stress on recessed fixtures.
Why does my dimmer cause shutdowns but the wall switch doesn’t?
Dimmers introduce additional electronics and resistance. If your dimmer isn’t rated for the total wattage or LED load—or lacks a minimum load requirement met by your bulbs—it can cause erratic current flow and heat buildup in the fixture’s driver. Check compatibility charts like those in our LED dimmer compatibility guide.
How often should I check wiring connections?
Every 2 years for homes older than 15 years; every 5 years for newer builds. Loose neutrals or backstabbed wires at the junction box are responsible for 22% of thermal-related fixture failures (Electrical Safety Foundation International, 2021). Turn off the circuit, remove the fixture, and tighten all wire nuts—no exceptions.
What’s the fastest way to confirm if insulation is the problem?
Shut off power, remove the trim, and shine a flashlight into the housing. If you see pink or gray batts pressed flush against metal, it’s likely non-IC insulation contact. For immediate relief, carefully pull insulation back 3 inches and install a rigid insulation baffle. Don’t use loose-fill cellulose—it compresses and re-contacts.
"Over 68% of recessed light thermal trips we diagnose stem from either incorrect bulb selection or insulation violations—not faulty fixtures." — Mike Torres, Master Electrician & Home Energy Auditor, licensed since 1997
Preventing recessed light shutdowns isn’t about replacing everything—it’s about respecting thermal limits and verifying compatibility at each layer: bulb, fixture, dimmer, and insulation. Small interventions, timed right, extend fixture life by 8–12 years and eliminate most unexpected outages. Start with your oldest fixture in the hottest room—usually the upstairs hallway or master bath—and work outward. You’ll gain confidence, avoid callbacks, and keep your home safely lit.