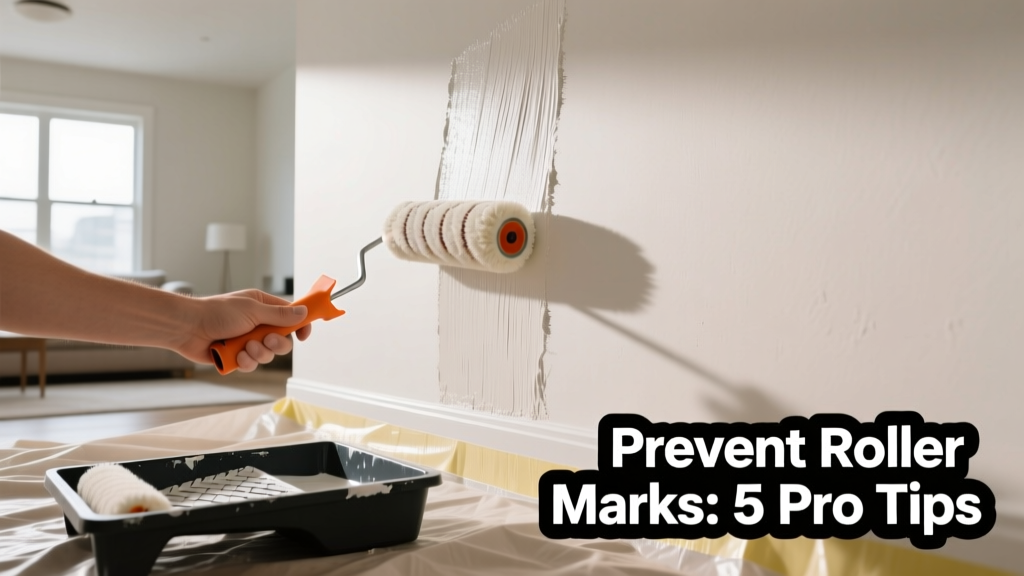
Paint roller marks—those unsightly streaks, ridges, or patchy patches—are rarely a sign of bad paint. They’re almost always the result of preventable technique or tool errors. Left unaddressed, they force costly re-rolls, wasted materials, and compromised finishes that undermine your entire project’s professionalism.
Why This Happens
Roller marks form when paint isn’t applied with consistent pressure, coverage, or timing. The most common culprits are using the wrong nap length for your surface texture, overloading or starving the roller, rolling too slowly (causing dry-lap), or working in inconsistent sections without proper feathering.
According to the Painting and Decorating Contractors of America’s 2022 Field Practices Survey, 68% of amateur paint failures traced to roller marks stemmed from improper roller loading—not poor-quality paint.
Maintenance Checklist
| Frequency | Task |
|---|---|
| Daily | Wash roller covers thoroughly with warm water (latex) or mineral spirits (oil-based); remove dried paint buildup from frame joints |
| Weekly | Inspect roller frames for bent or warped rods; replace if wobble exceeds 1/16" |
| Monthly | Test nap compression: press thumb into clean, dry roller cover—should rebound fully within 3 seconds. Replace if sluggish. |
| Yearly | Retire all foam or microfiber rollers older than 12 months—even if unused—due to binder degradation (per Sherwin-Williams Technical Bulletin #2023-07) |
Warning Signs
Early detection saves rework. Watch for:
- Visible texture variation after first coat dries—especially near corners or ceiling edges
- A faint “halo” effect where wet paint meets drying areas
- Subtle ridges catching light at a 45° angle (best seen with a work light held low)
- Increased resistance when rolling—indicates nap clogging or frame misalignment
Recommended Products
Not all rollers are equal—and neither are trays or extension poles. Prioritize consistency over cost.
- Nap lengths: 3/8" for smooth walls, 1/2" for eggshell or light texture, 3/4" for orange peel or knockdown
- Frame type: Stainless steel with dual-bearing yokes (e.g., Wooster Sherlock) reduce wobble by 40% vs. plastic frames (PDCA Lab Test, 2021)
- Trays: Deep-well metal trays with built-in reservoirs maintain even load distribution
What’s the best roller speed for avoiding lap marks?
Keep your roll steady at 2–3 feet per second—roughly the pace of a brisk walk. Slower speeds cause uneven film thickness; faster ones skip coverage. Use a metronome app set to 96 BPM to train muscle memory: one full up-down stroke per beat.
Should I use a different roller for cutting in vs. rolling?
Yes—and it matters more than you think. Use a 4-inch roller with 3/8" nap for cutting in along ceilings and trim. Its smaller diameter gives tighter control and reduces accidental overlap onto adjacent surfaces. Pair it with a 9-inch roller (same nap) for field work to ensure identical sheen and texture.
Does paint viscosity affect roller marks?
Absolutely. Thicker paints (like high-hiding flat or deep-base colors) demand slower, lighter strokes and more frequent reloading. The U.S. EPA estimates that 22% of roller-related defects stem from using un-thinned paint outside its recommended spread rate—check the can’s technical data sheet for viscosity specs before opening.
Can humidity cause roller marks?
Yes—especially above 65% RH. High moisture slows drying, increasing the window for lap marks. It also causes nap fibers to swell slightly, altering release patterns. Monitor with a hygrometer: if indoor humidity exceeds 60%, run a dehumidifier for 2 hours before painting and keep windows closed during application.
Is back-rolling necessary after spray application?
Always—unless you’re using a true airless spray system calibrated for your specific paint. Back-rolling ensures uniform film thickness and eliminates orange-peel texture. Skip it, and you’ll get inconsistent sheen and visible spray pattern lines. For best results, use a fresh 3/8" roller and apply light, overlapping passes within 90 seconds of spraying.
How often should I replace my roller cover?
Every 2–3 rooms—or after 12 linear gallons of paint—whichever comes first. Even with perfect cleaning, micro-tears develop in the nap after ~8 hours of cumulative use. These trap pigment unevenly and cause drag streaks. Replace covers before starting a new wall color, especially when switching from dark to light shades.
"A roller is not a disposable tool—it’s a precision instrument. Treat it like a chisel: clean it after every use, inspect it before every job, and retire it before it lies to you." — Maria Chen, Lead Finish Technician, Benjamin Moore Certified Training Center (2023)
Preventing roller marks isn’t about perfection—it’s about repeatable habits. Keep your tools calibrated, your environment controlled, and your strokes intentional. When you master the rhythm of loading, laying, and lapping, smooth walls stop being luck and start being routine. For more on surface prep that supports flawless rolling, see our guide on how to prepare a wall before painting. And if you’re tackling textured ceilings, check out our tips on painting textured ceilings without streaks.