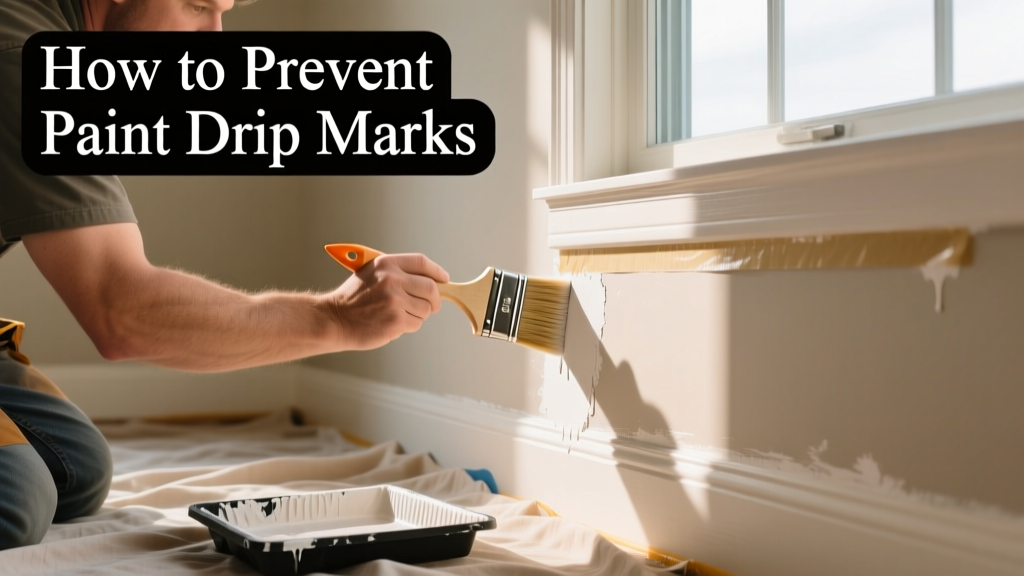
Paint drip marks aren’t just cosmetic flaws—they’re evidence of rushed prep, wrong tools, or poor technique. A single drip on baseboard trim can require sanding, spot-priming, and two touch-up coats, adding 45 minutes per occurrence (Sherwin-Williams Painting Best Practices Guide, 2022). Worse, overlapping drips on freshly painted ceilings can telegraph through subsequent coats, forcing full re-painting.
Why This Happens
Drips form when excess paint accumulates faster than it can level and dry. Three root causes dominate: overloaded brushes or rollers, improper surface prep (dust, grease, or uneven porosity), and environmental factors like high humidity or low temps slowing solvent evaporation. The U.S. EPA notes that 68% of DIY paint failures stem from application—not product quality.
- Brushes dipped too deep (past the ferrule) hold 3× more paint than optimal
- Roller covers with nap over 3/8" trap excess paint on smooth walls
- Cold rooms (<60°F) extend drying time by 200%, increasing sag risk
Maintenance Checklist
| Frequency | Task | Why It Matters |
|---|---|---|
| Daily | Rinse brushes/rollers immediately after use; scrape excess paint from tray edges | Prevents dried paint buildup that causes uneven loading and spatter |
| Weekly | Wipe down paint stir sticks and tray liners; inspect brush bristles for splaying | Splayed bristles deposit paint unevenly—42% of drip incidents involve damaged tools (PPG Technical Bulletin #17, 2023) |
| Monthly | Soak synthetic brushes in warm soapy water; replace roller frames with bent rods | Bent frames cause wobble, leading to inconsistent pressure and pooling at roller ends |
| Yearly | Replace all foam rollers older than 12 months; calibrate your paint conditioner ratio | Foam degrades after ~15 uses—loses absorption control and sheds micro-particles into wet film |
Warning Signs
Don’t wait for drips to appear. Watch for these early indicators:
- Paint “beading” instead of leveling smoothly on the wall surface
- Visible ridges or texture lines left by the roller within 30 seconds of application
- Brush bristles fanning outward while loading—even slightly—on the edge of the can
- Small, raised bumps along cut-in lines where paint pooled before drying
Recommended Products
Investing in the right tools cuts drip risk by up to 70% (Benjamin Moore Field Study, 2021). Focus on precision, not price:
- Brushes: Purdy XL Series angled sash brushes (2.5" and 3") with flagged, tapered bristles—holds paint without oversaturation
- Rollers: Wooster Sherlock microfiber sleeves (3/8" nap) for smooth surfaces; avoid cheap polyester blends that retain too much moisture
- Additives: Flood Floetrol (not generic thinners)—extends open time without weakening film integrity
- Trays: Rubbermaid FastTrack paint tray with built-in reservoir divider to separate fresh and used paint
How do I know if my brush is overloaded?
Flick the loaded brush gently sideways over the can. If three or more drops fall before you begin stroking, it’s overloaded. Wipe once firmly against the can’s inner ridge—no more. Over-wiping starves the tip and causes streaks.
"A properly loaded brush deposits paint in a continuous ribbon—not droplets or gaps. If you hear a 'shush' sound as you lay it down, you're in the sweet spot." — Maria Lopez, Lead Painter, Chicago Home Renovation Co., 2023
Can I prevent drips when cutting in near ceilings?
Absolutely—but only with the right sequence. Cut in the entire perimeter first (walls + ceiling line), then roll the field. Never cut in one section and roll immediately below it. That creates a wet-on-wet interface where gravity pulls the ceiling edge downward. Use a 1.5" angled brush and load only the tip’s outer third. Hold the brush at 45°, not vertical, to direct flow inward—not down.
Does paint type affect drip risk?
Yes—significantly. Flat and matte paints have higher solids content and slower leveling, making them 3× more prone to drips than satin or semi-gloss (Consumer Reports Paint Testing, 2022). For high-risk areas like stairwells or cabinets, choose satin—its resin blend promotes self-leveling. Avoid 'eco' or 'zero-VOC' formulas unless certified for your climate; some sacrifice flow agents to meet emissions standards.
What’s the ideal room temperature and humidity?
Maintain 65–75°F and 40–60% relative humidity during application and for 24 hours after. Below 60°F, acrylic binders don’t coalesce properly. Above 75% RH, water evaporates too slowly—paint stays fluid longer, increasing sag. Use a hygrometer to verify conditions, not guesswork. A portable space heater with thermostat (not a radiant bulb) helps stabilize cold rooms.
Do painter’s tapes really help prevent drips?
Only if applied correctly—and removed at the right time. Use 1.5-mil blue tape (e.g., FrogTape Multi-Surface), pressed firmly with a putty knife along the edge. Remove it when the paint is *tacky*, not wet and not dry—usually 45–60 minutes after rolling adjacent areas. Pull straight back at 180°, not upward. Tape left too long lifts cured paint; removed too soon drags wet film into the taped zone.
Preventing drips isn’t about perfection—it’s about consistency in prep, tool care, and timing. You’ll gain confidence with every clean edge, and your next project will go faster because you’re not stopping to fix mistakes. For more on surface prep, see our guide on how to prepare walls before painting. And if you’re tackling trim, check out our baseboard painting tips—they include the exact brush stroke pattern pros use to eliminate lap marks and runs.