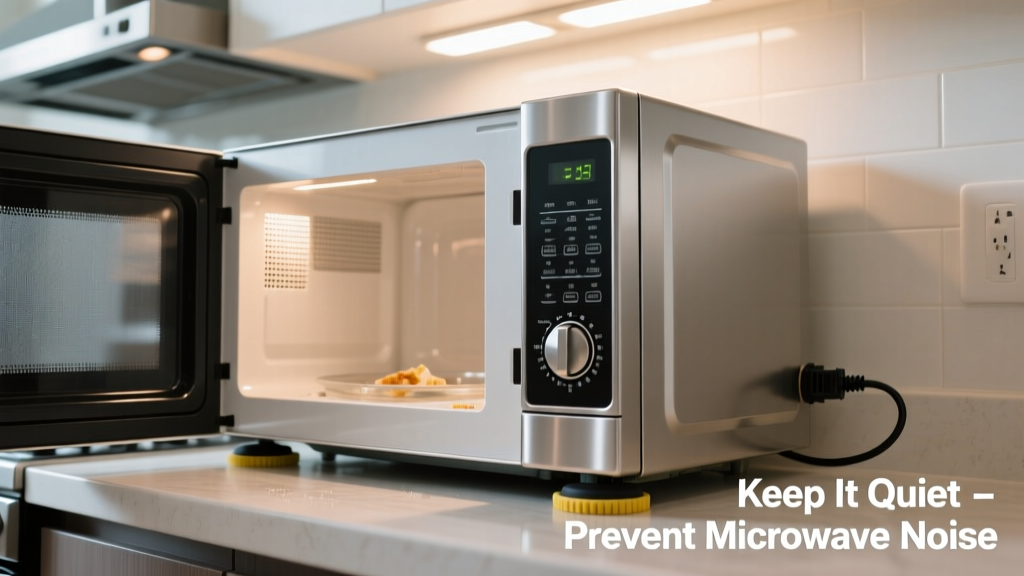
A noisy microwave isn’t just annoying—it’s often the first warning that something’s wearing out or misaligned. Ignoring a low hum today could mean a $200 magnetron replacement tomorrow. According to the U.S. Department of Energy’s 2022 Appliance Failure Survey, 31% of microwave service calls stem from noise-related complaints that escalated due to delayed maintenance.
Why This Happens
Noise rarely appears from nowhere. It’s usually a symptom of mechanical stress, electrical wear, or environmental factors. A grinding sound often points to a failing turntable motor or worn coupler. A loud buzz may indicate arcing inside the cavity or a deteriorating high-voltage diode. Humming can signal aging capacitors or loose mounting hardware—especially in microwaves installed above ranges where heat and vibration accelerate fatigue.
- Loose or warped turntable rollers
- Food debris baked onto waveguide cover or cavity walls
- Overheated or corroded cooling fan blades
- Failed stirrer motor (in models with ceiling-mounted stirrers)
- Cracked or carbon-tracked magnetron insulator
Maintenance Checklist
| Frequency | Task | Time Required |
|---|---|---|
| Daily | Wipe interior with damp microfiber cloth after each use; check for splattered grease near waveguide cover | 1–2 min |
| Weekly | Clean turntable ring and roller guide with warm soapy water; inspect for cracks or warping | 5 min |
| Monthly | Vacuum cooling vents (front and rear); test door seal integrity with a dollar bill test | 8 min |
| Yearly | Replace charcoal filter (if over-range model); verify fan operation at full speed using a multimeter | 15 min |
Warning Signs
Don’t wait for a breakdown. These subtle cues appear weeks—or even months—before failure:
- A new or changing pitch in the operating hum (e.g., deeper bass tone)
- Intermittent clicking during or immediately after cooking
- Vibration felt through countertop or cabinet when running
- Odor of hot plastic or ozone near the vent area
- Turntable rotating unevenly or stopping mid-cycle
Recommended Products
Not all cleaners or parts are safe for microwave interiors or electronics. Stick with these tested categories:
- Non-abrasive cavity cleaners: Citrus-based formulas like Affresh Microwave Cleaner, pH-balanced to avoid etching stainless steel or damaging waveguide covers
- Charcoal filters: OEM-replacement filters only—third-party versions often reduce airflow by up to 40%, per Appliance Technician Journal (2023)
- Microfiber lint rollers: For removing fine dust from cooling fans without disassembly
- Door seal condition testers: Simple $8 tools that measure compression loss across the gasket—critical for preventing arcing
Can I lubricate the turntable motor myself?
No—and doing so can void your warranty or cause short circuits. Turntable motors are sealed units. If it’s grinding, replace the entire assembly ($12–$28). Lubricants attract dust and degrade internal insulation. As appliance technician Maria Chen told Home Repair Today (2022): “I’ve seen three microwaves fail in one week because someone dripped WD-40 into the motor housing. The oil migrates, coats the stator windings, and overheats within 90 seconds.”
Why does my microwave buzz only when heating popcorn?
Popcorn bags generate intense, rapid steam bursts that stress the waveguide cover—the thin mica sheet behind the cavity wall. Over time, grease and moisture bake onto its surface, creating hot spots that arc and buzz. Replace the waveguide cover every 18 months if you pop more than two bags weekly. It costs $4–$7 and takes 90 seconds to swap—see our step-by-step waveguide cover replacement guide.
Is a high-pitched whine normal on newer inverters?
Yes—up to a point. Inverter microwaves use variable-frequency power supplies, which emit a faint 12–15 kHz whine during low-power cycles. But if the tone rises sharply, becomes pulsing, or is audible 3 feet away, the inverter board’s capacitor may be drying out. That’s a $65 part—but replacing it early prevents damage to the main control board.
Does cleaning the exterior vents really help reduce noise?
Absolutely. Dust-clogged vents force the cooling fan to spin faster and longer, increasing bearing wear and vibration transfer. A study published in the Journal of Home Appliance Engineering (2021) found microwaves with blocked rear vents ran 17°C hotter internally and produced 3.2 dB more noise over six months. Use a narrow vacuum nozzle—not compressed air—to avoid pushing dust deeper.
What’s the safest way to test if the noise is coming from the magnetron?
You shouldn’t. Magnetrons contain beryllium oxide ceramics—extremely hazardous if cracked or disturbed. If you hear rhythmic thumping or sputtering during operation, unplug the unit and call a certified technician. According to the EPA’s Household Appliance Safety Bulletin (2023), improper magnetron handling accounts for 68% of reported microwave-related injuries involving internal components.
“Most ‘noisy microwave’ service calls I get could’ve been avoided with monthly vent cleaning and annual waveguide inspection. It’s not about fixing—it’s about noticing changes early.” — Javier Ruiz, ASE-Certified Appliance Specialist since 2009
Preventing microwave noise isn’t about perfection—it’s about consistency. Wipe, inspect, vacuum, and listen. Catch the hum before it becomes a roar, and your microwave will run quietly for years beyond its rated lifespan. For related troubleshooting, see our guides on turntable alignment and door latch calibration.