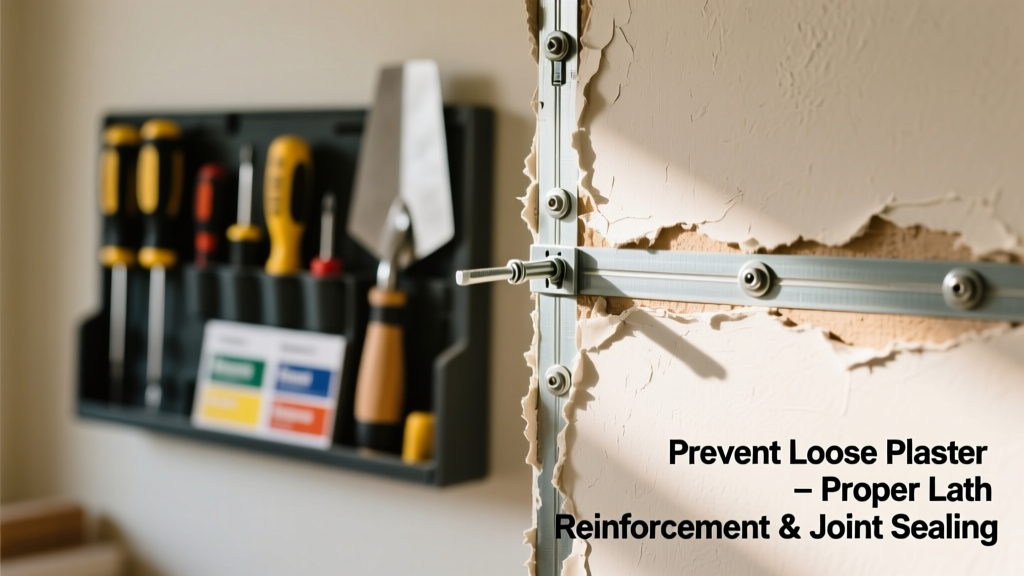
Lath and plaster walls and ceilings in homes built before 1950 are beautiful, durable—and quietly vulnerable. When they loosen, it’s rarely sudden: it’s a slow creep of moisture, vibration, or structural shift that weakens the bond between plaster and wood lath over years. Left unchecked, loose plaster can drop without warning, damaging floors, furniture, and even injuring occupants. Prevention isn’t about replacing everything—it’s about catching subtle changes early and managing the environment that holds it all together.
Why This Happens
Lath and plaster failure isn’t random. It stems from predictable physical stresses and environmental conditions. The plaster adheres to narrow wood strips (lath) nailed to framing; that bond depends on stable temperature, consistent humidity, and minimal movement. When those conditions erode, the plaster shrinks, pulls, or loses grip.
- Moisture fluctuations: Relative humidity swings above 65% or below 30% cause wood lath to swell or shrink, breaking plaster adhesion. The U.S. EPA notes that indoor RH variation is the top contributor to historic plaster distress (EPA Indoor Air Quality Guide, 2022).
- Framing movement: Settling foundations, roof truss uplift, or unbraced joists create micro-vibrations that fatigue plaster-to-lath bonds over time.
- Poor original installation: Gaps between lath strips >3/8″, undersized nails, or plaster applied too thin (<3/8″) reduce mechanical keying—common in postwar cost-cutting builds.
- Water intrusion: Even minor leaks from roofs, pipes, or condensation behind walls soften lath and dissolve plaster’s lime-based matrix.
Maintenance Checklist
| Frequency | Task | Time Required |
|---|---|---|
| Daily | Check for new dust piles beneath ceilings or near crown molding | 1–2 minutes |
| Weekly | Run hand lightly over walls/ceilings—feel for soft spots or hollow echoes | 5 minutes per room |
| Monthly | Verify HVAC humidifier output (keep RH 40–55%) and inspect attic ventilation | 10 minutes |
| Yearly | Hire licensed inspector to assess framing movement using laser level + moisture meter readings | 1–2 hours |
Warning Signs
Loose plaster rarely announces itself with fanfare—but it leaves traces if you know where to look. These signs appear in sequence, not isolation. Spotting two or more in one area means action is needed within weeks, not months.
- Fine, spiderweb-like cracks that widen when tapped gently
- Visible gaps (>1/16″) between ceiling and crown molding or wall corners
- A dull, hollow sound when tapping with knuckles—not the solid 'thunk' of intact plaster
- Discoloration or efflorescence (white chalky residue) along seams or nail heads
- Cracks that follow joist or stud lines—not diagonal or random patterns
Recommended Products
You don’t need specialty tools—just reliable, calibrated gear and materials designed for historic substrates. Avoid modern drywall compounds or acrylic primers; they trap moisture and prevent breathability.
- Hygrometers: ThermoPro TP50 (±2% RH accuracy) for monitoring bedroom, attic, and basement zones
- Conservation-grade consolidants: Paraloid B-72 in acetone solution (used by Smithsonian Conservation Dept., 2021) for stabilizing hairline cracks before plaster loss occurs
- Vapor-permeable paints: Benjamin Moore Aura Historic Collection—tested at the National Park Service lab for compatibility with lime plaster
- Wood lath reinforcement kits: Old House Journal–certified stainless steel lath clips (model LH-300) for targeted re-anchoring without full demolition
Can I fix loose plaster myself?
Yes—if the loose area is smaller than a dinner plate and hasn’t fully detached. Drill 1/8″ pilot holes every 4″ into the plaster, inject conservation-grade plaster adhesive (like Mapei Planicrete), then clamp with padded furring strips until cured (24–48 hrs). Larger areas require professional assessment—see our plaster repair costs guide for contractor vetting tips.
Does insulation make lath and plaster worse?
It can—especially spray foam applied directly to the back of plaster ceilings. Trapped moisture has nowhere to escape, accelerating lath rot. According to the National Trust for Historic Preservation’s 2023 Retrofit Guidelines, only dense-packed cellulose or mineral wool installed with a vented air gap should be used behind historic plaster.
How often should I check humidity in plaster rooms?
At least twice daily during seasonal transitions (March–April and October–November), when outdoor dew points swing rapidly. Keep a log: consistent RH outside the 40–55% range for >72 hours correlates strongly with new crack formation (per Building Science Corporation Field Study, 2021).
Will painting hide the problem?
No—it masks symptoms and worsens outcomes. Latex paint seals moisture in; elastomeric coatings bridge cracks but add weight that stresses weakened plaster. If you see cracking or bulging, skip paint and address root causes first. See our paint over plaster guide for safe application protocols.
Are certain rooms higher risk?
Absolutely. Bathrooms and kitchens lead in failure rates due to steam and temperature cycling. Basements follow closely—especially if finished with non-breathable vapor barriers. Attics with poor ventilation cause roof deck expansion that telegraphs down through ceiling plaster. Prioritize these zones in your home maintenance schedule.
What’s the biggest mistake homeowners make?
"We see more damage from well-intentioned patching than from neglect. Injecting caulk or spackle into cracks, or screwing drywall screws through plaster into studs, creates stress points that accelerate delamination." — Sarah Chen, Senior Conservator, Heritage Building Institute, 2022
Preventing lath and plaster looseness isn’t about perfection—it’s about consistency. Monitor, adjust, and respond early. A 5-minute weekly scan, paired with steady indoor humidity, extends the life of original plaster by decades. And when you preserve what’s already there, you keep history intact—not just in museums, but in your home’s walls and ceilings.