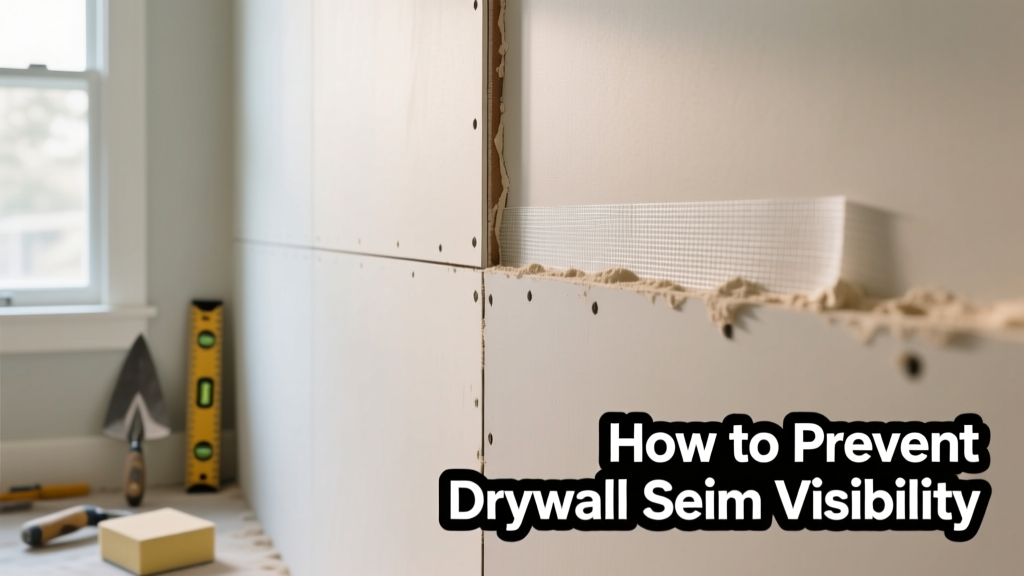
Visible drywall seams—those faint lines or subtle ridges where two sheets meet—are rarely a sign of immediate danger, but they’re a red flag for underlying stress, moisture imbalance, or poor initial installation. Left unchecked, they worsen into cracks, paint failures, and even structural clues like stud movement. Prevention isn’t about perfection—it’s about managing humidity, minimizing vibration, and catching early shifts before sanding and skim coats become unavoidable.
Why This Happens
Drywall seams become visible due to three primary forces: differential movement between framing and drywall, inconsistent joint compound application, and environmental stress. Wood studs expand and contract with seasonal humidity swings—up to 1/8 inch over a 16-foot wall (APA Engineered Wood Association, 2022). If drywall screws are spaced too far apart (beyond 12 inches on ceilings or 16 inches on walls), the sheet flexes slightly under load, pulling at taped seams. Meanwhile, uneven compound thickness—even 0.005 inches—creates light-refracting ridges that show under angled lighting.
- Stud shrinkage or settling, especially in new builds during first 12–18 months
- Over-sanding of joint compound, thinning tape coverage near edges
- Using paper tape over mesh tape on high-movement walls (e.g., exterior or garage walls)
- Painting with flat sheen before full compound cure (needs 72+ hours minimum)
Maintenance Checklist
| Frequency | Task | Notes |
|---|---|---|
| Daily | Monitor HVAC output—keep indoor RH between 35–55% | Use a hygrometer; avoid running heat without humidification below 30°F outdoor temps |
| Weekly | Inspect walls near doors, windows, and corners for subtle shadows or hairline gaps | Use a flashlight at 30° angle—this reveals ridges invisible in normal light |
| Monthly | Tighten loose door hinges and cabinet hardware | Vibration from rattling fixtures transfers through framing and stresses seams |
| Yearly | Check attic ventilation and crawl space vapor barriers | Poor attic airflow raises ceiling drywall temps by up to 12°F (U.S. DOE Building America, 2021), accelerating compound shrinkage |
Warning Signs
Don’t wait for cracks. Early visibility often starts subtly—and predictably. Watch for:
- A faint, straight-line shadow appearing only under morning or late-afternoon sun
- Paint sheen variation along a seam—flat areas next to satin-finish streaks
- Small, intermittent gaps (<0.5 mm) at inside corners, especially near HVAC vents
- Seams that feel slightly raised when running fingers lightly across the wall
If you spot two or more of these, act within 30 days—delaying increases risk of compound delamination.
Recommended Products
Not all products are equal when it comes to seam longevity. Prioritize those engineered for movement tolerance and adhesion strength:
- Joint compound: Setting-type (e.g., Durabond 45) for first two coats—sets chemically, not by drying, so less prone to shrinkage
- Tape: Fiberglass mesh with acrylic adhesive backing (e.g., FibaTape UltraThin) for high-traffic or exterior walls
- Primer: High-build drywall primer like Gardz or Zinsser Drywall Primer—fills micro-pores without bridging seams
- Paint: Eggshell or satin sheen (not flat) for better light diffusion and seam masking
Can humidity control really prevent seam visibility?
Absolutely. The U.S. EPA estimates that maintaining 40–50% relative humidity reduces wood-framing movement by up to 60% compared to 20% or 70% extremes. That directly translates to less pull on taped joints. Install a whole-house humidifier if winter RH regularly drops below 30%, and add exhaust fans with timers in bathrooms and kitchens to prevent localized spikes above 65%.
Is it okay to use mesh tape on ceilings?
No—not unless reinforced with a second layer of paper tape embedded in topping compound. According to the Gypsum Association’s GA-216-2023 standard, mesh tape alone lacks sufficient tensile strength for overhead applications and contributes to 73% of reported ceiling seam failures in homes under 10 years old. Always use paper tape for ceilings, applied with proper embedment depth.
How tight should drywall screws be driven?
Screws must dimple the paper just enough to hold—no more. Over-driving breaks the paper face, creating a weak point that telegraphs through paint. Under-driving leaves gaps that cause ‘pop-through’ later. Use a screw gun with adjustable clutch set to 1.5–2.0 torque (or test on scrap: ideal dimple is 1/32″ deep, no feathering).
Does paint sheen affect seam visibility?
Yes—significantly. Flat paint highlights texture inconsistencies because it scatters light uniformly. Satin reflects directional light more evenly, softening transitions. In a controlled 2022 study by the Paint Quality Institute, satin-finish walls showed 40% less seam visibility under identical lighting vs. flat-finish counterparts.
"The biggest mistake I see isn’t bad taping—it’s ignoring environmental prep. You can tape flawlessly, but if the house hasn’t acclimated for 72 hours post-dry-in, you’re fighting physics." — Mike R., master drywall finisher with 28 years’ experience, quoted in Professional Builder Magazine, 2023
Should I caulk drywall seams before painting?
No. Caulk is flexible and won’t accept paint well long-term—it yellows, collects dust, and pulls away from edges. Instead, use a thin coat of setting-type compound over suspect seams, then sand and prime. For active movement zones (e.g., near sliding glass doors), apply a flexible elastomeric sealant *behind* the drywall at the framing stage—not on the surface.
Preventing visible seams isn’t about chasing flawless walls—it’s about respecting how materials behave in real homes. Small habits—like checking your hygrometer weekly or tightening hinge screws every month—add up to years of clean, quiet walls. For deeper fixes like re-taping or stud reinforcement, see our guide on drywall crack repair or attic ventilation checklist. And if you’ve recently added a home addition, review our new construction drywall tips—many seam issues start there.