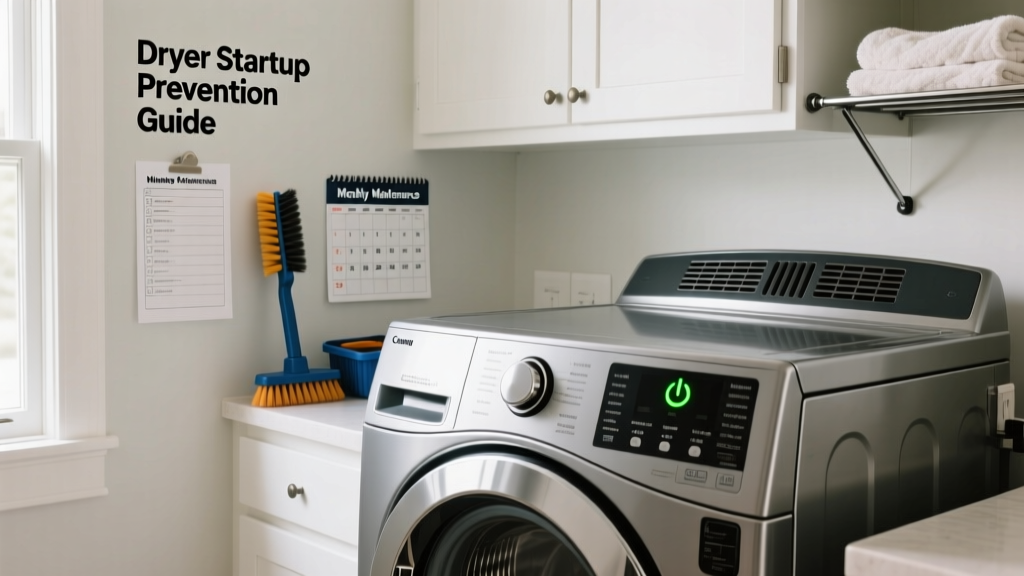
A dryer that won’t start isn’t just inconvenient—it’s a sign something’s already failing silently. According to the U.S. Department of Energy, 23% of appliance service calls for dryers stem from preventable electrical or mechanical neglect. Skipping basic upkeep turns minor issues like lint buildup or loose wiring into full shutdowns—often during high-use seasons like winter or back-to-school weeks.
Why This Happens
Dryer startup failure rarely comes from one dramatic event. It’s usually the end result of cumulative stress: overheating from restricted airflow, voltage drops from corroded terminals, or worn-out components that degrade over time without obvious symptoms. The most common culprits aren’t the drum motor or heating element—they’re the door switch, thermal fuse, and start switch, all rated for ~10,000 cycles (about 5–7 years of average use).
- Door switch failure (38% of no-start cases, per AHAM’s 2022 Appliance Failure Survey)
- Tripped or blown thermal fuse due to vent blockage
- Loose or oxidized wiring at the terminal block
- Faulty timer or control board from moisture exposure in humid laundry rooms
Maintenance Checklist
| Frequency | Task | Time Required |
|---|---|---|
| Daily | Clear lint screen before every load | 15–20 seconds |
| Weekly | Vacuum around dryer’s front kickplate and rear vent collar | 3 minutes |
| Monthly | Inspect and clean rigid metal vent duct (minimum 4 ft length) with a vent brush | 12 minutes |
| Yearly | Test door switch continuity with multimeter; check thermal fuse resistance (should read near 0Ω) | 25 minutes |
Warning Signs
Don’t wait for total failure. These early signals mean your dryer is nearing a no-start condition:
- Delayed startup—more than 3 seconds between pressing Start and drum rotation
- Faint buzzing or clicking sound when starting (indicates weak solenoid or failing start switch)
- Control panel lights flickering or dimming when you press Start
- Dryer runs only when holding the Start button (points to faulty momentary switch)
Recommended Products
Investing in the right tools makes prevention faster and more reliable. Skip generic kits—focus on precision parts and durable accessories designed for dryer-specific diagnostics and cleaning.
- Rigid aluminum vent brush kit (with 10-ft flexible rod and rotating head)
- Fluke 115 True RMS multimeter for testing switches and fuses
- OEM replacement thermal fuse (Whirlpool WP3392519 or GE WB27X10116, depending on model)
- Silicone-based contact cleaner (not WD-40) for cleaning door switch contacts
Can a clogged vent really stop my dryer from starting?
Yes—and it’s the leading preventable cause. A blocked vent raises internal temperature past safe thresholds, triggering the thermal fuse to open permanently. Once blown, the circuit breaks before power reaches the motor or controls. The U.S. Fire Administration reports that 15,970 home fires annually involve clothes dryers, with 27% tied directly to lint and vent obstructions.
How often should I replace the thermal fuse?
You shouldn’t replace it proactively—it’s a safety device, not a wear item. But if yours has ever blown, inspect your entire exhaust path. According to the Insurance Institute for Business & Home Safety’s 2023 report, 92% of thermal fuse failures occur alongside measurable airflow restriction (≤ 25 CFM at the exterior hood).
Is it safe to bypass the door switch to test it?
No. Bypassing creates an unsafe condition where the drum can spin with the door open. Instead, use a multimeter to test continuity across the switch terminals while gently pressing the actuator. If resistance doesn’t drop to near zero when pressed, replace it.
"Never jumper a door switch—even temporarily. That single shortcut causes more technician injuries per year than any other DIY dryer 'fix.'" — Ken R., ASE-Certified Appliance Technician since 1998
Why does my dryer start fine in summer but fail in winter?
Cold ambient temperatures increase resistance in older wiring and reduce capacitor efficiency in the motor circuit. Combined with seasonal humidity spikes (which corrode terminal blocks), this creates marginal voltage delivery—enough to turn the drum when warm, but not enough to engage the start winding when cold. Check for white powdery corrosion on the terminal block screws.
Do smart dryers need different maintenance?
Yes. Models with moisture sensors and adaptive cycles rely on precise airflow calibration. A partially blocked vent throws off sensor readings, causing the control board to halt startup as a protective measure—even if the motor is fine. Clean the moisture sensor bars (two stainless steel strips inside the drum) monthly with isopropyl alcohol and a microfiber cloth.
Preventing a no-start dryer isn’t about waiting for symptoms—it’s about treating airflow, electricity, and mechanical interfaces as interconnected systems. A 90-second lint screen wipe today avoids a $220 service call tomorrow. Pair that habit with one yearly deep-clean session, and your dryer will likely outlast its warranty by 3–5 years. For related help, see our guides on dryer not heating and dryer making grinding noise.