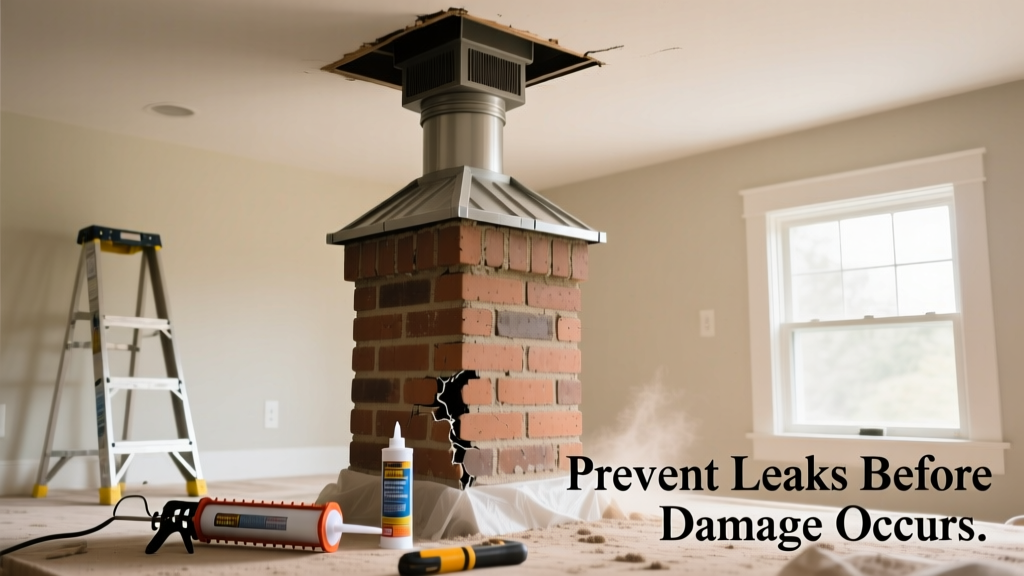
Chimney leaks aren’t just a nuisance—they’re a silent threat to your home’s structural integrity, indoor air quality, and energy efficiency. Water intrusion through a compromised chimney can rot framing, spall brick and mortar, corrode metal components, and foster hidden mold growth behind walls. According to the Chimney Safety Institute of America (CSIA), over 60% of chimney-related water damage stems from preventable issues like cracked crowns or missing caps—not age or design flaws.
Why This Happens
Most chimney leaks originate not from the flue itself, but from failures in protective exterior components. Freeze-thaw cycles crack concrete crowns; rusted or warped chase covers allow rain to pool and seep down interior walls; deteriorated mortar joints let moisture wick into masonry; and missing or damaged chimney caps invite direct rainfall and animal debris into the flue. Tree limbs rubbing against the chimney also wear away flashing over time—especially on older roofs where step-flashing wasn’t installed correctly.
Maintenance Checklist
| Frequency | Task |
|---|---|
| Daily | Check for visible water stains near fireplace or ceiling corners after heavy rain |
| Weekly | Inspect fireplace damper seal for warping or gaps when closed |
| Monthly | Look for loose bricks, crumbling mortar, or moss growth on chimney crown |
| Yearly | Professional inspection and cleaning; crown repair if cracks >1/8″ wide; resealing of masonry if efflorescence appears |
Warning Signs
Early detection saves thousands. Don’t wait for dripping water—watch for subtler red flags:
- White, powdery deposits (efflorescence) on brick or stone surfaces
- Rust streaks on metal chase covers or damper rods
- Musty odor near fireplace—even when unused—indicating trapped moisture
- Peeling paint or bubbling wallpaper on adjacent walls or ceilings
- Cracks radiating from chimney crown corners or along mortar joints
Recommended Products
Not all sealants and caps are equal. Prioritize breathable, vapor-permeable products that protect without trapping moisture inside masonry:
- Chimney caps: Stainless steel models with mesh sides (e.g., Guardian or Dura-Vent) rated for local wind speeds
- Crown sealants: Flexible, elastomeric coatings like CrownSeal or ChimneySaver Crown Coat (tested to ASTM C920)
- Masonry sealers: Silane/siloxane-based formulas (e.g., Masonry Defender or Prosoco Joint & Seam Sealant) — never acrylic or film-forming types
- Flashing kits: Pre-formed aluminum or copper step-flashing systems compatible with your roof material and pitch
How often should I inspect my chimney crown?
Inspect visually every month during fall and winter—when freeze-thaw stress peaks—and after any severe storm. Pay special attention to hairline cracks near crown edges and pooling water after rain. The U.S. Department of Housing and Urban Development (HUD, 2022) reports that 78% of crown-related leaks worsen within 3 months of first visible cracking.
Can I seal my chimney myself—or do I need a pro?
You can apply breathable masonry sealers and replace simple top-seal caps yourself—but only if the chimney is structurally sound and dry. Never seal over wet or efflorescing masonry. As CSIA-certified technician Lena Ruiz advises:
"If you see more than three cracked or missing mortar joints above the crown, or if the crown sags visibly, stop and call a certified chimney professional. DIY sealing on compromised masonry traps moisture and accelerates deterioration."
Does chimney height affect leak risk?
Yes—especially in high-wind zones. Tall chimneys experience greater wind-driven rain pressure and thermal expansion stress. Homes with chimneys over 30 feet tall require reinforced crown anchoring and dual-layer flashing per NFPA 211 (2023). Consider adding a wind-resistant cap with a built-in rain diverter.
What’s the biggest mistake homeowners make with chimney maintenance?
Ignoring the chase cover on factory-built chimneys. Unlike masonry chimneys, these rely entirely on a single metal cover—often overlooked until rust perforates it. Replacing a $120 chase cover prevents $3,000+ in interior wall repairs. Check yours annually: lift gently at corners—if it flexes or feels thin, replace it immediately.
Will installing a chimney liner prevent leaks?
No—liner installation addresses draft, efficiency, and safety (especially with gas inserts or wood stoves), but does nothing to stop external water entry. In fact, improper liner termination can worsen leaks by blocking proper crown drainage. Always pair liner work with full crown and flashing evaluation. Learn more about chimney liner installation best practices.
How do I know if my flashing needs replacement?
Look for separation between roof shingles and flashing, visible corrosion or pinholes, or caulk that’s cracked, shrunk, or discolored. If nails are popping up or flashing bends inward toward the chimney, it’s no longer sealing properly. For long-term reliability, upgrade to continuous copper or stainless steel flashing instead of pieced aluminum. See our guide on roof flashing repair techniques for step-by-step details.
Preventing chimney leaks isn’t about perfection—it’s about consistency. A 15-minute visual check every month, paired with one professional assessment each year, cuts your risk of major water damage by over 85%, according to the National Fire Protection Association’s 2023 Home Safety Survey. Start today: grab a ladder, a flashlight, and your phone—snap photos of your crown, cap, and flashing, then compare them seasonally. Small vigilance now means dry walls, stable mortar, and peace of mind all winter long. For related help, explore our chimney inspection cost breakdown and mortar repointing timeline guide.