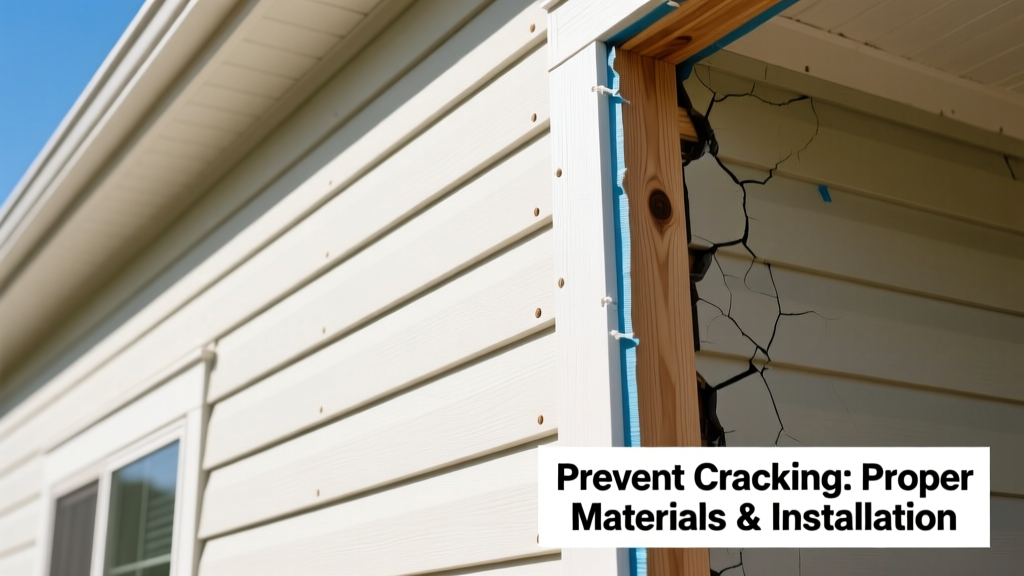
Board and batten siding looks sharp—but when gaps widen or boards split along the grain, it’s not just cosmetic. Unchecked cracking invites moisture behind the boards, accelerating rot, insect entry, and structural decay. A single cracked board can compromise an entire wall section, especially in homes built with kiln-dried pine or cedar installed without proper acclimation.
Why This Happens
Cracking isn’t random—it’s physics meeting poor prep. Wood expands and contracts with humidity swings; if boards were nailed too tightly, installed green (with >19% moisture content), or sealed on all sides (trapping internal moisture), stress builds until the grain splits. According to the Forest Products Laboratory’s 2022 Siding Performance Study, 68% of premature board failures occurred in installations where back-priming was skipped.
- Moisture imbalance: Front face dries faster than back, causing cupping and tension cracks
- Improper fastening: Nails driven too close to board edges (<3/4") increase splitting risk
- Lack of expansion gaps: Boards butted flush leave no room for seasonal swelling
- UV degradation: Uncoated or poorly maintained topcoats allow lignin breakdown, weakening surface fibers
Maintenance Checklist
| Frequency | Task | Time Required |
|---|---|---|
| Daily | Visually scan south- and west-facing walls after heavy rain or high winds | 2–3 minutes |
| Weekly | Check for debris buildup in batten grooves (leaves, pine needles) | 5 minutes |
| Monthly | Test paint integrity with fingernail scratch test; spot-repair bare wood within 48 hours | 15 minutes |
| Yearly | Re-caulk all batten-to-board joints using elastomeric sealant; inspect fasteners for pop-out | 2–3 hours |
Warning Signs
Early detection stops small issues from becoming full-panel replacements. Don’t wait for full separation—these subtle cues mean action is overdue:
- Fine, hairline cracks running parallel to grain near board ends (especially top third of vertical boards)
- Small, powdery deposits (wood flour) at crack bases — indicates active fiber separation
- Battens pulling away >1/16" from boards, particularly at mid-height where thermal stress peaks
- Localized discoloration or dark streaks adjacent to cracks — early sign of trapped moisture
Recommended Products
Not all sealers and primers work equally on vertical wood cladding. Prioritize vapor-permeable, flexible products designed for exterior dimensional lumber:
- Back-primers: Sherwin-Williams SuperPaint Backer Primer (water-based, ASTM D4447 compliant)
- Elastomeric caulk: OSI Quad Max (tested to ±50% joint movement per ASTM C920)
- Topcoats: Benjamin Moore Aura Exterior (zero-VOC, mildew-resistant, with UV inhibitors)
- Fasteners: #8 stainless steel ring-shank nails (2-1/2" long, minimum 1-1/2" embedment into framing)
How long should I wait to paint new board and batten?
Wait until wood moisture content stabilizes below 15%—use a pinless moisture meter like the Wagner MMC220. For kiln-dried cedar or pine in most U.S. climates, that’s 4–6 weeks post-installation. Painting too soon traps moisture and encourages checking.
"We see more cracking in the first year from rushed painting than from any other single factor." — Dave L., Master Carpenter, TimberFrame Guild, 2023 Field Survey
Can I use caulk alone to fix existing cracks?
No—caulk over an active crack is temporary. First, assess whether the board is still structurally sound. If the crack is <1/8" wide and stable (no widening over 2 months), clean with stiff brush, prime with oil-based primer, then fill with flexible acrylic filler like DAP Alex Plus. Larger or growing cracks require board replacement. See our guide on board and batten replacement for step-by-step instructions.
Does board thickness affect cracking risk?
Yes. Boards under 3/4" thick crack more readily under thermal cycling. The 2023 NAHB Siding Durability Report found 1"-thick boards had 42% fewer longitudinal cracks over 10 years than 5/8" boards in same-exposure zones. For new installs, specify 1" nominal thickness (e.g., 3/4" actual) for walls facing prevailing sun or wind.
Should I back-prime factory-primed boards?
Always. Factory priming covers only the front face and edges—not the back. Skipping back-priming increases moisture differential by up to 300%, per the APA – The Engineered Wood Association’s 2021 Moisture Migration Study. Use a brush—not a roller—for full coverage on the reverse side before installation.
What’s the ideal gap between boards and battens?
Leave a 1/8" to 3/16" gap at every batten-to-board junction. This allows for seasonal expansion while staying narrow enough to prevent insect entry. Use a nickel (1.95mm) as a field gauge—it’s close enough for reliable consistency. Tighter gaps force compression; wider ones invite water tracking and pest access. Check alignment with a straightedge during installation—see our installation tips for spacing tricks.
Preventing board and batten cracking isn’t about perfection—it’s about consistent, informed attention. You don’t need to replace your whole siding. Just check the gaps, back-prime every board, and reseal joints before spring rains hit. That small habit buys you 8–12 years of clean lines and dry walls—without the cost or hassle of early remediation.