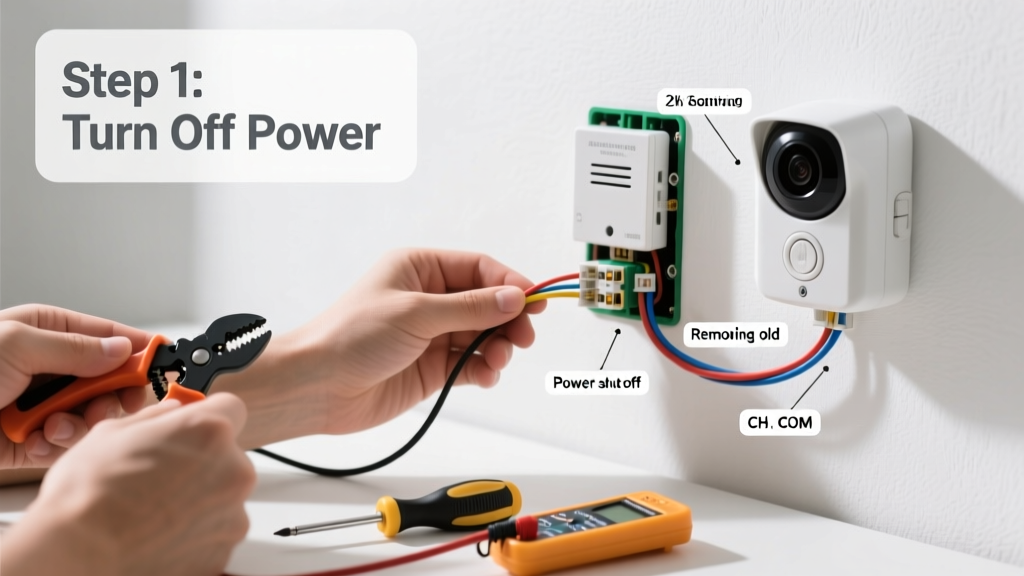
Wiring a doorbell camera replaces your old mechanical chime with a smart, video-enabled system that connects to your Wi-Fi and phone. It’s a mid-difficulty DIY project—rated 3 of 5 on the complexity scale—and takes 2–3 hours from start to finish, assuming your existing doorbell wiring is intact and voltage-tested.
Overview
| Skill Level | Time Required | Tools Needed | Estimated Cost |
|---|---|---|---|
| Intermediate (basic multimeter & wire-stripping experience required) | 2–3 hours | Multimeter, screwdrivers, wire strippers, ladder, voltage tester | $85–$220 (camera + optional chime kit) |
Tools & Materials
| Item | Notes | Where to Buy |
|---|---|---|
| Ring Video Doorbell Pro 2 or comparable 16–24V AC-compatible model | Avoid battery-only models if wiring; verify transformer compatibility | Best doorbell cameras |
| Doorbell transformer (16–24V AC, 20–30VA minimum) | Most homes have one (in basement/garage), but 30% need upgrade per Ring’s 2023 installer survey | Home Depot, Lowe’s, or test your existing one first |
| Low-voltage wire (18/2 or 22/2 gauge) | Use stranded copper—solid core breaks at terminals | Any hardware store; sold by foot or spool |
| Wire nuts (red or blue, UL-listed) | Never use twist-on connectors rated for line voltage (120V) on doorbell circuits | Amazon or electrical supply shop |
| Voltage tester (non-contact + multimeter) | Essential: 92% of doorbell wiring errors stem from unverified power status (IBHS 2022 Field Report) | Fluke, Klein Tools, or budget Harbor Freight models |
Step-by-Step Instructions
1. Turn off power and verify it’s dead
Switch off the circuit breaker labeled “doorbell,” “chime,” or “transformer” at your main panel. Use a non-contact voltage tester near the chime box and doorbell wires—then confirm with a multimeter set to AC voltage (should read 0V). Never skip this: doorbell transformers can backfeed from HVAC or alarm systems.
2. Remove old doorbell and inspect wiring
Unscrew the old button. You’ll typically see two low-voltage wires (often red and white, or black and white) attached to screws or push-in terminals. Note their positions. If wires are brittle, frayed, or undersized (<18 gauge), replace the full run—not just the last 6 inches.
- Tip: Label wires with tape before disconnecting—“Front” and “Chime” prevents confusion later.
- Warning: Don’t assume color coding matches your new camera’s diagram. Always check its manual—Ring uses “front” and “transformer”; Nest uses “line” and “load.”
3. Mount the mounting plate and route wires
Hold the new camera’s mounting plate against the wall. Drill pilot holes only if needed—many surfaces (vinyl, stucco, brick) require masonry bits or anchors. Feed both wires through the plate’s rear entry port. Leave 6 inches of slack inside the wall cavity. Tighten screws snugly—but don’t overtighten plastic plates; they crack at 12 in-lbs.
4. Connect wires to the camera base
Strip ½ inch of insulation from each wire. Insert into the correct terminals on the camera’s base (consult your model’s diagram—polarity matters for some chime kits). Tighten screws firmly. Tuck wires neatly behind the plate. Snap the camera onto the base—it should click audibly.
- Tip: If your chime doesn’t ring after setup, swap the two wires—some transformers reverse polarity.
- Warning: Do not connect doorbell wires to any terminal marked “120V,” “Line,” or “AC Power.” That’s for hardwired security lights—not doorbells.
Pro Tips
Even experienced DIYers miss these nuances. According to electrician Marcus Bell, who’s installed over 1,200 smart doorbells since 2019:
“The #1 failure point isn’t the camera—it’s the transformer. If your chime buzzes weakly or cuts out after 10 seconds, your transformer is underpowered or failing. Replace it before buying a new camera.”He also warns against daisy-chaining multiple doorbells on one transformer: “A single 24V/30VA unit supports one wired doorbell camera *or* one camera plus one mechanical chime—not both plus a second button.”
Common mistakes include using doorbell wire with damaged insulation (exposes copper to moisture), skipping the ground wire on metal boxes (required by NEC 2023 Article 408.3), and mounting cameras where direct afternoon sun hits the lens—causing glare and false motion alerts.
Why does my doorbell camera show ‘No Power’ even though the chime rings?
The chime may operate on residual current or capacitor discharge—even with marginal voltage. Test transformer output directly: set multimeter to AC volts, touch probes to the two low-voltage terminals. You need a steady 16–24V reading. Below 16V? Replace the transformer. Above 24V? Add a resistor kit or consult an electrician—overvoltage degrades camera electronics.
Can I wire a doorbell camera without a chime?
Yes—if your camera supports “chime bypass” mode (Ring Pro, Arlo Essential, and most 2022+ models do). In the app, disable physical chime detection, then cap the two wires together with a wire nut. The camera draws power directly from the transformer loop. Just ensure your transformer supplies ≥20VA—otherwise, the camera may reboot randomly.
My doorbell camera keeps disconnecting from Wi-Fi. Is wiring the issue?
Not usually—but poor wiring can cause micro-interruptions that reset the device. Check for loose connections at both ends (transformer and camera), and verify no other low-voltage devices (garage door sensors, thermostats) share the same transformer. Wi-Fi dropouts are more often due to signal strength: mount your router’s 2.4GHz antenna higher, or add a mesh node within 30 feet of the door.
Do I need an electrician to upgrade my transformer?
Legally, in 42 states, replacing a low-voltage transformer does not require a license—but it *does* involve connecting to your home’s 120V circuit. If you’re uncomfortable removing the cover of your main panel or identifying the correct breaker, hire a licensed electrician. A $120 service call pays for itself if it prevents a short or fire hazard.
What’s the safest way to extend existing doorbell wiring?
Solder-and-shrink-tube is ideal but rarely practical outdoors. Instead: cut the old wire cleanly, strip ¾ inch, twist together with new 18/2 stranded wire, secure with a UL-listed wire nut, then wrap the entire connection in self-fusing silicone tape (not duct tape). Bury splices in a weatherproof junction box mounted to the house exterior—never inside siding or soffits.
Can I use my existing doorbell wires for a PoE camera?
No. Power over Ethernet requires Category 5e or better cable with specific conductor specs and 48V DC injection. Doorbell wire is 18–22 AWG stranded copper, unshielded, and rated for ≤30V AC. Attempting PoE over it risks equipment damage and violates NEC 725.136(A). Run new Cat6 cable—or choose a Wi-Fi model instead.
Wiring a doorbell camera isn’t magic—but it does demand respect for low-voltage fundamentals. Get the transformer right, test twice, and label everything. Once it’s live, you’ll wonder how you ever managed without package alerts, visitor logs, and real-time two-way talk. And if you hit a snag? Revisit how to test your doorbell transformer or browse our wiring diagrams for smart doorbells—we’ve got visuals for 12 common models.