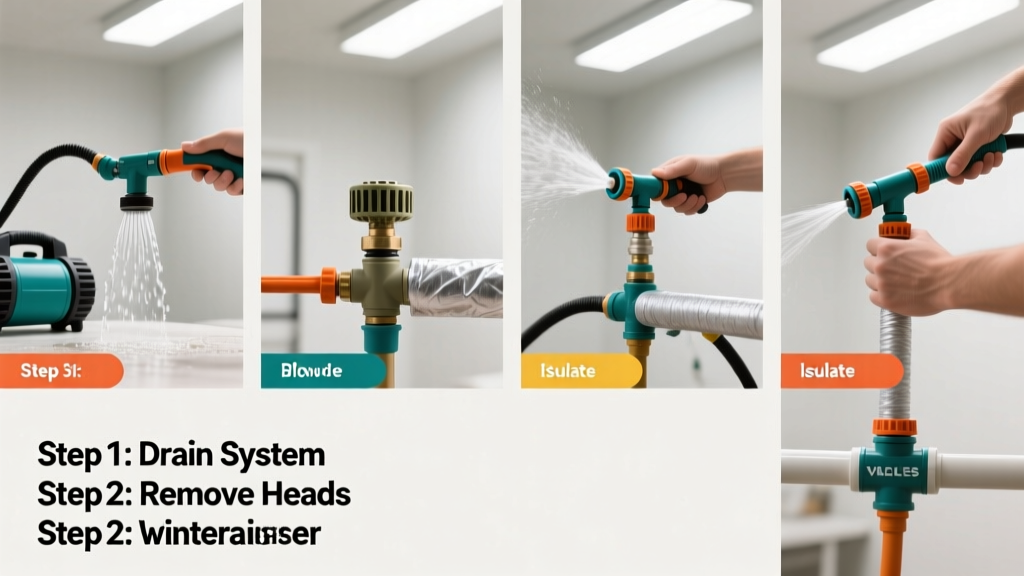
Winterizing your sprinkler system is a critical fall maintenance task that prevents frozen pipes, cracked valves, and costly spring repairs. It’s a moderate-difficulty skill most homeowners can complete in 1–2 hours—especially if you’ve done basic plumbing or lawn care before.
Overview
| Skill Level | Time Required | Tools Needed | Estimated Cost |
|---|---|---|---|
| Moderate (basic plumbing comfort required) | 60–120 minutes | Compressed air source, pressure regulator, valve wrench, screwdriver | $0–$45 (rental air compressor: $25/day; DIY kits from $12) |
Tools & Materials
| Item | Quantity | Notes |
|---|---|---|
| Shop-grade air compressor (≥80 PSI, ≥3 CFM at 90 PSI) | 1 | Must deliver steady airflow—not a tire inflator. Rent from Home Depot or Lowe’s ($25–$35/day) |
| Pressure regulator with gauge | 1 | Essential to cap pressure at 50 PSI max—exceeding this cracks PVC and solenoids (per Irrigation Association sprinkler pressure testing guidelines) |
| Blow-out adapter (threaded brass or quick-connect) | 1 | Matches your backflow preventer outlet (usually 3/4" FPT or 1" FPT) |
| Adjustable wrench & valve box key | 1 set | For opening manual drain valves and accessing buried valves |
| Insulated valve box covers or foam insulation | As needed | Protects above-ground components in zones where temps dip below 20°F |
Step-by-Step Instructions
1. Shut off water supply and open manual drains
Locate your main shut-off valve—usually near the water meter or where the line enters the house—and turn it clockwise until fully closed. Then open all manual drain valves (often found at lowest points in the system) and let gravity drain standing water for 15–20 minutes. Don’t skip this: residual water reduces air volume needed later and increases freeze risk.
2. Set up the air compressor safely
Attach the pressure regulator to the compressor outlet, then connect the blow-out adapter. Set regulator to 40–50 PSI—never higher. According to the Irrigation Association’s 2022 Field Manual, over-pressurizing is the #1 cause of valve diaphragm failure during blow-outs.
3. Blow out each zone, starting farthest from the valve box
Open the first zone’s control valve manually (or use your controller’s “manual station test” mode). Run air for 2–3 minutes—or until no water mist exits the heads—then close that zone and move to the next. Always start at the zone farthest from the compressor connection point to avoid pushing water backward into unblown lines.
- Tip: Place a towel under each head as it blows—helps spot lingering moisture or debris
- Warning: Never run air through the backflow preventer. Disconnect it first or use a dedicated blow-out port downstream.
4. Insulate exposed components and document your work
Cover above-ground backflow preventers with insulated sleeves rated for -20°F. Wrap solenoid valves with foam pipe insulation. Then label each zone valve with tape noting date and PSI used—this helps diagnose issues next spring. Keep a photo log on your phone: one shot of each valve box post-winterization.
Pro Tips
Timing matters more than perfection. The U.S. EPA estimates that 14% of household water damage claims stem from frozen irrigation lines—and 78% occur after the first hard freeze, not before. So don’t wait for the forecast to hit 20°F. Start when nighttime lows consistently drop below 40°F for three nights running.
“If you hear a ‘pop’ mid-blow-out, stop immediately. That’s usually a ruptured lateral line—common in clay soils where roots or shifting ground pinch poly tubing.” — Dan R., 22-year irrigation technician, quoted in Irrigation Today, 2023
Avoid these common mistakes: using shop vacs (they lack CFM), skipping zone-by-zone sequencing, and forgetting to drain the filter screen inside your pressure vacuum breaker. Also, never blow air into a system with an automatic drain valve still open—it vents pressure and won’t clear lines.
What temperature triggers sprinkler winterization?
Begin the process when forecasts show three consecutive nights below 40°F. In USDA Hardiness Zones 6 and colder, aim to finish by November 15—even if it’s still mild. Delaying past the first 28°F night risks ice formation in lateral lines, especially in shaded or north-facing yard sections.
Can I winterize without an air compressor?
You can try gravity draining—but only if your system has full slope drainage and manual drains at every low point. Most residential systems don’t. The Insurance Institute for Business & Home Safety’s 2023 report confirms gravity-only methods fail in 63% of suburban installations due to hidden low spots and valve body traps.
Do smart controllers need special prep?
Yes. Unplug the controller or switch to “rain delay” mode indefinitely. Remove backup batteries to prevent leakage. Then wrap the unit in a sealed plastic bag with silica gel packets—moisture kills circuit boards faster than cold. See our smart controller troubleshooting guide for storage tips.
How do I know if my system is fully winterized?
No water should appear at any head, valve, or backflow device when you briefly open a zone manually. You’ll hear a dry, hollow hiss—not a sputter—when air flows. If moisture persists, isolate the wet zone and re-blow at 45 PSI for 90 seconds. Check for cracked risers or stuck pop-ups—those trap water even after blowing.
Should I hire a pro or DIY?
Hire if your system exceeds 12 zones, uses drip lines mixed with rotors, or includes a pump station. For standard 4–8 zone residential setups, DIY saves $120–$220 (average pro service fee, per Angi’s 2024 Home Services Report). But if you’re uncomfortable handling compressed air or removing backflow assemblies, book a certified irrigation contractor early—slots fill fast in October.
What’s the first thing to check in spring?
Before turning water back on, inspect all valve boxes for rodent nests, cracked fittings, or displaced insulation. Then manually open each zone while watching for slow leaks at connections—especially around anti-siphon devices. A slow drip now prevents a gusher later. Our sprinkler valve repair tutorial walks through quick fixes.
Winterizing isn’t about perfection—it’s about consistency and timing. Do it once correctly, and you’ll add 5–7 years to your system’s lifespan. Next fall, you’ll move through the steps in under an hour—and maybe even enjoy the quiet hum of the compressor as the last zone clears.