Welding steel is a foundational metalworking skill used in fabrication, auto repair, home workshops, and construction. It’s rated intermediate—requiring practice but no prior metallurgy knowledge—and most beginners achieve clean, strong welds after 8–12 hours of supervised practice.
Overview
| Category | Details |
|---|---|
| Skill Level | Intermediate (requires safety discipline and muscle memory) |
| Time Required | 2–4 hours for first successful bead; 10+ hours for consistent joint strength |
| Tools Needed | Welder (MIG/stick/flux-cored), helmet, gloves, clamps, wire brush, angle grinder |
| Estimated Cost | $350–$1,200 (entry-level MIG) or $120–$400 (basic stick welder) |
Tools & Materials
| Item | Specifications & Notes |
|---|---|
| MIG Welder | 115V or 230V; 0.023"–0.030" solid wire (ER70S-6) + 75% Ar / 25% CO₂ shielding gas |
| Stick Welder | 200+ amp AC/DC unit; 1/8" 6011 or 7018 electrodes (store dry—humidity ruins arc stability) |
| Flux-Cored Welder | No gas required; E71T-11 wire (ideal for outdoor or drafty shops) |
| Safety Gear | ANSI Z87.1 auto-darkening helmet (shade #10–#13), leather gloves, flame-resistant jacket, closed-toe boots |
| Prep Tools | Angle grinder with 36–60 grit flap disc, stainless steel wire brush, C-clamps, welding magnets, soapstone marker |
Step-by-Step Instructions
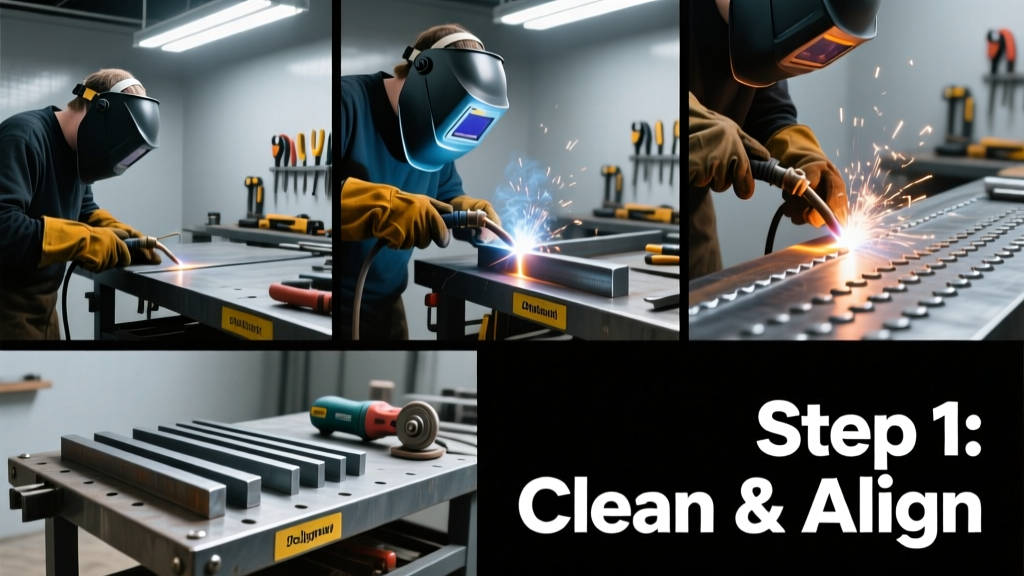
1. Prepare the Workpiece
Cut steel to size using a plasma cutter or angle grinder with cutoff wheel. Grind all edges to bare metal—remove rust, paint, oil, and mill scale within 1" of the joint. Wipe with acetone on a lint-free rag. Clamp pieces firmly with at least two C-clamps or welding magnets to prevent warping.
- Never weld over primer, galvanizing, or rust—hydrogen-induced cracking occurs even with low-carbon steel.
- For butt joints under 1/4", use no gap. For thicker material, leave a 1/16" root gap and bevel edges to 30°.
2. Set Up Your Welder
Select correct polarity: MIG uses DCEP (+), stick uses DCEN (−) for 6011 or DCEP (+) for 7018. Adjust voltage and wire feed speed using manufacturer charts—start at the lower end and test on scrap. For 1/8" mild steel with 0.023" wire, try 17–19 volts and 180–200 ipm.
Check ground clamp contact: attach directly to clean, bare steel—not a painted table leg or rusty frame. Poor grounding causes erratic arcs and spatter.
3. Strike the Arc & Run the Bead
Hold the gun at 10–15° push angle (for MIG) or 20–30° drag angle (for stick). Initiate arc by tapping (stick) or pulling trigger (MIG). Move steadily at ~4–6 inches per minute—too slow burns through; too fast yields weak penetration.
- Listen for a steady “frying bacon” sound—crackling means voltage too high; hissing means too low.
- Keep arc length equal to electrode diameter (e.g., 1/8" rod = 1/8" arc gap).
4. Inspect & Clean Between Passes
Let each pass cool 30–60 seconds before grinding slag (stick/flux-core) or brushing spatter (MIG). Use a stainless wire brush—never carbon steel—to avoid embedded contaminants that cause porosity. Check for undercut, cracks, or lack of fusion with a magnifying glass and flashlight.
According to the American Welding Society’s Structural Welding Code AWS D1.1:2023, 92% of field weld failures stem from inadequate interpass cleaning or improper preheat—not equipment failure.
Pro Tips
Seasoned fabricators stress consistency over speed. Start every session with five 6-inch beads on 1/4" scrap—adjust settings until you get uniform width, smooth ripples, and zero porosity. Record your best settings in a notebook: voltage, wire speed, travel speed, and joint type.
“Beginners fixate on penetration—but 80% of strong welds come from controlling heat input. If the puddle looks sluggish or the metal glows orange beyond the arc zone, you’re moving too slow or voltage is too high.” — Carlos Mendez, AWS Certified Welding Inspector since 2009
Common mistakes include holding the gun too far from the work (causes porosity), skipping pre-cleaning (leads to slag inclusions), and welding over cold base metal (increases cracking risk in high-carbon or thick sections).
What’s the best welder for a beginner working on car frames and trailers?
A 115V MIG welder with adjustable wire feed and dual-voltage capability (like the Lincoln Electric K2185-1) handles 24-gauge to 3/8" steel reliably. Its plug-and-play setup reduces troubleshooting time—critical when learning amperage/wire-speed relationships.
Can I weld rusty or painted steel without grinding?
No. Rust converts to iron oxide during welding, trapping hydrogen in the weld pool and causing delayed cracking. Paint releases toxic fumes—including benzene and isocyanates—even with ventilation. The U.S. OSHA mandates removal of all coatings within 1" of the weld zone (29 CFR 1926.352).
Why does my weld look lumpy and uneven?
Lumpiness usually means inconsistent travel speed or incorrect stick-out (wire extension). For MIG, maintain 3/8" stick-out; for stick, keep 1/4" electrode extension. Practice on horizontal fillets first—they’re more forgiving than vertical or overhead positions.
Do I need preheat for mild steel under 1/2" thick?
Generally no—but if ambient temperature is below 40°F or the steel is heavily restrained (e.g., welded inside a box section), preheat to 150–200°F with a propane torch. This slows cooling and prevents hydrogen embrittlement. Use a temperature-indicating crayon like Tempil® to verify.
How do I tell if a weld has full penetration?
On a T-joint or lap weld, flip the piece and inspect the back side: full penetration shows a smooth, continuous bead with no gaps or discoloration. On a butt joint, grind a 1/4" section crosswise and examine under bright light—the fusion line should extend fully to the root, not stop halfway.
What’s the safest way to store welding electrodes?
7018 rods must be held at 250–300°F in a rod oven—or sealed in vacuum-packed containers with desiccant. Even 4 hours of exposure to 60% humidity degrades their low-hydrogen coating. Store 6011 rods in a dry cabinet, but always bake before use if stored >24 hours in humid conditions.
Welding steel becomes intuitive once you trust your senses—the sound, sight, and feel of the arc—and respect the metal’s response to heat. Keep your first projects small and repeatable: practice fillet welds on scrap angles, then move to simple brackets. For deeper technique work, see our guide on how to grind welds and welding safety checklist. Always test your welds with a file or chisel before load-bearing use.