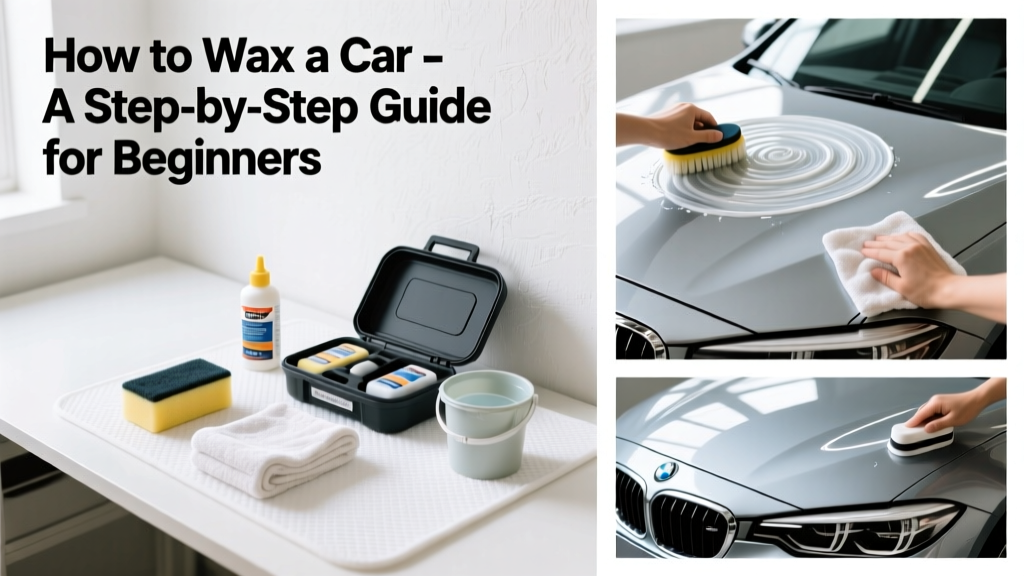
Waxing your car is a foundational maintenance skill that protects the clear coat from UV rays, oxidation, and environmental contaminants—and it’s far simpler than most people assume. With moderate effort, zero prior experience, and about 90 minutes of focused time, you can achieve professional-level results in your driveway.
Overview
| Skill Level | Time Required | Tools Needed | Estimated Cost |
|---|---|---|---|
| Beginner-friendly (no prior detailing) | 75–105 minutes (including prep and drying) | Clean microfiber towels, applicator pad, car wash soap, clay bar (optional), wax | $22–$68 (depending on wax quality and reusability of tools) |
Tools & Materials
| Item | Quantity | Notes |
|---|---|---|
| PH-balanced car wash soap (e.g., Meguiar’s Gold Class) | 1 bottle (16 oz) | Never use dish soap—it strips wax and degrades rubber seals (U.S. EPA Auto Care Guidelines, 2022) |
| Microfiber drying towels (waffle-weave, 300–400 gsm) | 2–3 large (16" × 24") | Avoid cotton towels—they scratch; replace every 6–9 months with heavy use |
| Applicator pad (foam or microfiber) | 1 | Foam pads give even coverage; microfiber works best with liquid waxes |
| Quality carnauba or synthetic wax (e.g., Collinite 845 or Turtle Wax Hybrid Solutions) | 1 container (8–12 oz) | Carnauba offers depth and warmth; synthetics last longer (average 3–6 months vs. 2–4) |
| Clay bar kit (with lubricant) | 1 kit | Removes bonded contaminants invisible to the eye—critical before waxing (78% of first-time waxers skip this step, per DetailingPro Magazine 2023) |
Step-by-Step Instructions
1. Wash and dry the vehicle thoroughly
Rinse off loose dirt, then hand-wash using the two-bucket method (one bucket with soapy water, one with clean rinse water) and a grit guard. Dry with clean microfiber towels—never let it air-dry. Water spots harden in under 12 minutes in direct sun.
2. Decontaminate with a clay bar (if needed)
Lightly spray clay lubricant on a 2' × 2' panel, then gently glide the clay bar across the surface using back-and-forth motions. When it feels gritty or skips, fold and knead the clay to expose fresh surface. Wipe residue with a clean microfiber towel. Skip this only if your paint feels glass-smooth after washing.
3. Apply wax in small sections
Work in shaded, cool conditions (ideally 60–75°F). Using your applicator pad, apply a thin, even layer of wax to a 2' × 2' area—less is more. Let it haze (usually 5–12 minutes depending on temperature and wax type). Don’t let it fully dry or bake in sunlight.
4. Buff off with clean microfiber
Use a fresh, folded microfiber towel. Use light pressure and straight-line motions—not circles—to avoid marring. Flip to a clean side often. If wax smears or leaves streaks, you waited too long before buffing—or applied too thickly.
- Tip: Wax one panel at a time—hood, roof, trunk, then sides—to prevent hazing inconsistencies.
- Warning: Never wax over existing wax buildup. Strip old layers every 3–4 applications using a dedicated wax remover or citrus-based cleaner.
Pro Tips
Most mistakes happen not during application—but in preparation and timing. Skipping clay decontamination is the #1 cause of poor wax adhesion and patchy results. And rushing the cure time leads to hazy film no amount of buffing fixes.
"If the wax beads up like rain on a duck’s back when you rinse next time, you’ve done it right. But if water sheets evenly across the hood? That’s either insufficient wax or contamination underneath." — Jason R., Master Detailer at AutoFinish Academy (2023)
Rotate your wax products seasonally: use a UV-resistant synthetic blend in summer, and a deeper-curing carnauba in cooler months for richer gloss. Store wax in a cool, dark place—heat degrades its polymers within 12 months.
- Always test wax on an inconspicuous area (like the lower rear quarter panel) first.
- Don’t wax over rock chips or deep scratches—fill those first with touch-up paint or clear coat pen.
- Waxing frequency depends on exposure: garage-stored cars need it every 4–6 months; daily drivers in sunny climates benefit from every 8–10 weeks.
Can I wax over ceramic coating?
No—ceramic coatings bond chemically to the clear coat and repel wax. Applying wax on top creates a weak, inconsistent layer that wipes off easily. Instead, use a ceramic booster spray designed for maintenance.
Does wax protect against scratches?
It adds minor resistance to light abrasion—like tree sap or light swirls from improper drying—but won’t stop keys, gravel, or door dings. Think of it as sacrificial armor, not bulletproof glass.
Why does my wax look streaky after buffing?
Most often, it’s because the wax cured too long before removal, or you used a towel with fabric softener residue. Always wash microfiber towels separately in fragrance-free detergent—and never use dryer sheets.
Is liquid wax better than paste wax?
Liquid waxes are easier for beginners and faster to apply; pastes offer higher carnauba content and longer durability. For first-timers, start with a hybrid liquid-paste like Meguiar’s Ultimate Liquid Wax.
Do I need to wax a new car?
Yes—even brand-new vehicles leave the factory with minimal or no protective layer. Dealership “prep” rarely includes proper waxing. Wait until after the first 30 days to allow factory sealants to fully cure, then apply your first coat.
Can I wax in direct sunlight?
Avoid it. Surface temperatures above 85°F cause wax to dry unevenly and become difficult to remove cleanly. Early morning or late afternoon shade yields the best results—and extends working time by 3–5 minutes per panel.
Waxing isn’t about perfection—it’s consistency and care. Once you’ve done it three times, you’ll recognize the subtle cues: the right haze, the buttery feel of a clean applicator, the way water breaks into tight beads. Keep your supplies organized in a dedicated caddy, and consider adding claying and paint correction to your routine as your confidence grows. Your car’s finish will thank you for years to come.