Waterproofing your basement is a mid-skill DIY project that takes 2–5 days depending on scope—ideal for homeowners facing damp walls, efflorescence, or minor seepage. It’s not just about stopping water; it’s about protecting your home’s foundation, air quality, and long-term value.
Overview
| Skill Level | Time Required | Tools Needed | Estimated Cost |
|---|---|---|---|
| Intermediate | 2–5 days (interior only); 5–10 days (full exterior + interior) | Angle grinder, sump pump, hydraulic cement, moisture meter, caulk gun | $450–$3,200 (DIY); $5,000–$15,000 (contractor) |
Tools & Materials
| Category | Item | Notes |
|---|---|---|
| Interior Prep | Wire brush, masonry cleaner, moisture meter | Test wall moisture before sealing—readings above 6 lbs/1,000 ft²/24 hrs indicate active hydrostatic pressure |
| Crack Repair | Hydraulic cement, epoxy injection kit, polyurethane sealant | Epoxy works best for static cracks <1/8" wide; polyurethane for active, moving cracks |
| Drainage System | Perforated PVC pipe (4"), gravel (¾" crushed stone), filter fabric, sump pump (1/3 HP minimum) | According to the U.S. EPA, properly installed interior drain tile reduces basement moisture by up to 92% in homes with clay soils |
| Wall Protection | Cementitious waterproofing coating (e.g., Drylok Extreme), dimple board (for exterior), vapor barrier (6-mil poly) | Avoid latex-based paints—they trap moisture behind walls and accelerate spalling |
Step-by-Step Instructions
1. Inspect and diagnose the source
Start by mapping wet spots, efflorescence, and cracks after heavy rain. Use a moisture meter on concrete walls and floors. Check gutters, downspouts, and grading—soil should slope away from the foundation at 1 inch per foot for at least 6 feet. If water enters only during storms, it’s likely surface runoff. If it’s constant, suspect groundwater or footing drain failure.
2. Repair cracks and holes
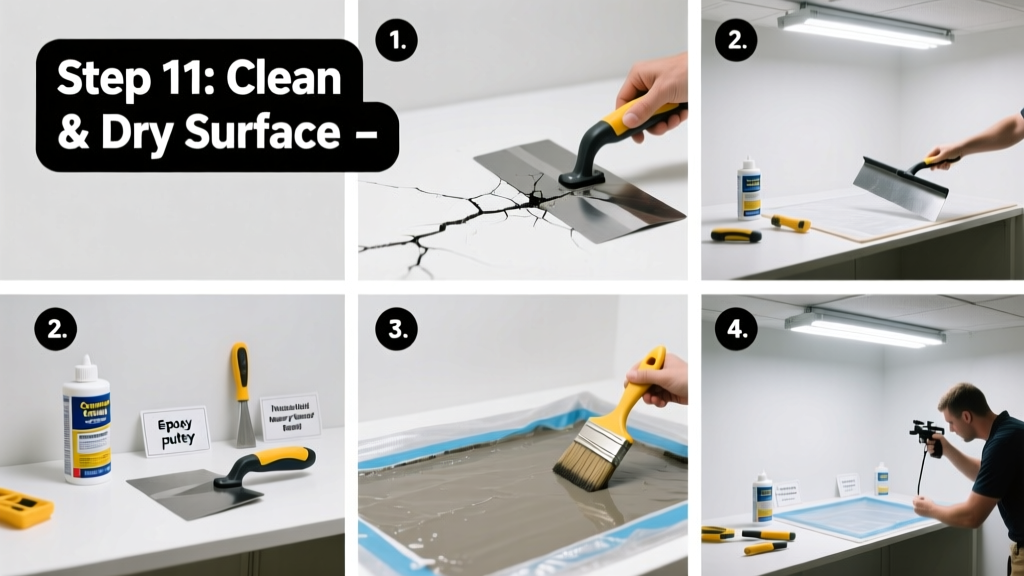
Clean cracks with a wire brush and compressed air. For hairline cracks (<1/16"), use a flexible polyurethane caulk. For wider cracks, chisel into a V-groove, dampen, then pack with hydraulic cement like Xypex Concentrate. Let cure 24 hours before proceeding. Warning: Never patch over active leaks without first diverting water—hydraulic cement won’t bond to wet surfaces.
3. Install an interior perimeter drain system
Remove 2–3 inches of concrete along the base of walls. Lay 4" perforated PVC pipe wrapped in filter fabric over 2 inches of clean gravel. Pitch pipe 1/8" per foot toward a sump pit. Backfill with gravel, cover with filter fabric, then pour new concrete slab. Connect to a battery-backed sump pump with a vertical discharge pipe routed at least 10 feet from the foundation.
4. Apply interior waterproofing coating
After the slab cures (7 days), apply two coats of cementitious waterproofing (e.g., Drylok Extreme) using a masonry brush—don’t roller-blanket it. Each coat must dry 2–4 hours. Maintain temps between 50°F–90°F and avoid rain for 24 hours post-application. Tip: Extend coverage 12 inches up the wall and onto the floor joint—it’s where capillary action most often breaches.
Pro Tips
Most failed DIY waterproofing stems from misdiagnosing pressure type. Hydrostatic pressure (groundwater pushing up through the floor) requires a drain tile + sump combo. Lateral pressure (water pushing sideways against walls) demands exterior excavation or interior dimple board + drainage matting. Interior paint-only solutions fail 78% of the time within 3 years, per the National Association of Home Builders’ 2022 Foundation Repair Benchmark Report.
"If you’re seeing white chalky residue (efflorescence) *and* dampness, you’ve got soluble salts migrating with water—and that means your concrete is actively saturated. Surface sealers won’t fix that. You need drainage first." — Gary Kuntz, CDT, Building Science Consultant, 2023
- Always install a battery backup on your sump pump—even brief outages cause flooding in 63% of sump-related claims (Insurance Institute for Business & Home Safety, 2023)
- Never glue dimple board directly to concrete—leave a 1/4" air gap behind it for lateral water to flow downward
- Use a dehumidifier rated for 70+ pints/day during and after installation to control ambient humidity while coatings cure
Can I waterproof my basement without digging outside?
Yes—for many homes, an interior drain tile + sump system solves 85% of water intrusion issues without excavation. But if you have bowing walls, persistent high-water-table saturation, or footer cracks, exterior waterproofing with foundation membrane and French drain is essential. Assess with a licensed structural engineer first.
What’s the difference between dampproofing and waterproofing?
Dampproofing (e.g., asphalt emulsion) only resists soil moisture vapor—not liquid water under pressure. Waterproofing (e.g., rubberized membranes, crystalline coatings) blocks both vapor and hydrostatic pressure. The International Residential Code requires true waterproofing for any habitable below-grade space.
Will waterproofing increase my home’s resale value?
A documented, professionally installed waterproofing system adds measurable value: Remodeling Magazine’s 2023 Cost vs. Value Report shows a national average recoup of 72% on interior waterproofing upgrades—and buyers consistently pay 3–5% more for homes with certified dry basements.
Do I need a permit for basement waterproofing?
In most jurisdictions, yes—if you’re installing a sump pump, altering electrical circuits, or pouring new concrete. Contact your local building department before starting. Permits ensure inspections verify proper sump discharge location, GFCI protection, and egress compliance if finishing the space later. Learn more about basement egress window requirements if planning a finished space.
How long does basement waterproofing last?
A well-installed interior drain tile and sump system lasts 25–40 years. Cementitious coatings typically last 7–15 years before recoating; elastomeric membranes last 20+ years. Exterior bituminous membranes degrade faster in UV-exposed zones—always backfill promptly. For ongoing maintenance, test your sump pump monthly and clean the pit every 6 months. See our guide on sump pump maintenance for seasonal checklists.
Should I hire a contractor or DIY?
DIY works for crack sealing, interior coatings, and simple drain tile installs—if you’re comfortable with concrete work and plumbing. But if your basement has structural cracks, lateral pressure signs (horizontal cracks, bowing), or you lack excavation equipment, hire a certified waterproofing contractor. Verify their license, check references, and ask for a written warranty covering both materials and labor for at least 10 years. Compare quotes using our how to read a contractor estimate checklist.
Waterproofing isn’t just about keeping water out—it’s about preserving your home’s integrity, health, and equity. Start with accurate diagnosis, invest in quality drainage, and never skip the moisture test. A dry basement today means fewer surprises, lower insurance premiums, and real usable square footage tomorrow.