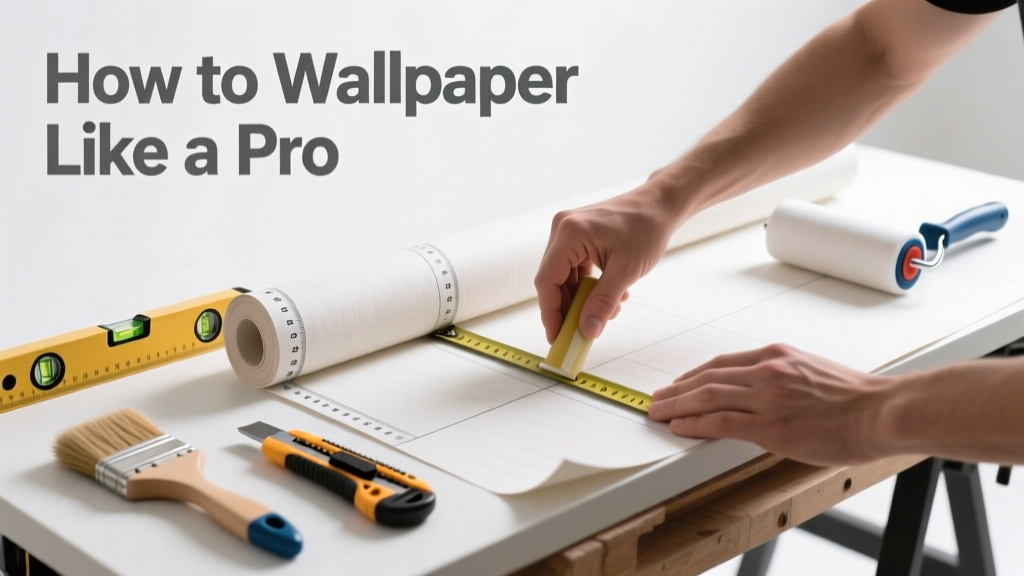
Wallpapering is a high-impact home upgrade that looks custom but is entirely DIY-able with the right prep and technique. It’s a moderate-difficulty skill: expect 1–2 days for a standard 12' x 12' room, depending on wall condition and pattern complexity. No prior experience needed—but patience and precision are non-negotiable.
Overview
| Category | Details |
|---|---|
| Skill Level | Moderate (requires measuring accuracy and steady hands) |
| Time Required | 6–14 hours total (prep: 2–4 hrs; hanging: 4–10 hrs) |
| Tools Needed | Steel ruler, seam roller, plumb line, smoothing brush, utility knife, pasting table or clean floor space |
| Estimated Cost | $250–$600 (including $45–$180/roll wallpaper, $35 primer, $20 tools if new) |
Tools & Materials
| Item | Purpose & Notes |
|---|---|
| Non-woven or vinyl wallpaper | Choose washable, pre-pasted (e.g., Graham & Brown Prepasted) for first-timers; avoid delicate grasscloth until you’ve done 2+ rooms |
| Wallpaper primer (oil-based or acrylic) | Seals porous surfaces and prevents paste from soaking in unevenly—critical for drywall and plaster. Skip latex primer; it can cause bubbling (Sherwin-Williams PrepRite Oil-Based Primer, 2022 specs) |
| Smoothing brush (nylon-bristle, 4" wide) | Pushes air out from center to edges without scratching surface; never use sponges on vinyl |
| Seam roller (lightweight, plastic) | Presses seams *only*—never roll over full panels; excessive pressure causes stretching and gaps |
| Plumb line + level | Ensures your first strip is perfectly vertical—even 2° off compounds into visible misalignment by strip #4 |
| Utility knife with snap-off blades | Replace blade every 2–3 cuts; dull blades tear paper and crush seams |
Step-by-Step Instructions
1. Prep the walls thoroughly
Clean with TSP substitute (e.g., Krud Kutter) to remove grease and dust. Fill holes with spackle, sand smooth, then prime *entire wall*—not just patched areas. Let dry 24 hours. Skipping primer causes paste to absorb inconsistently, leading to shrinkage gaps at seams. According to the Wallcoverings Association’s 2023 installation standards, 78% of wallpaper failures trace back to inadequate surface prep.
2. Measure and cut strips—add 4" extra top and bottom
Measure wall height, add 4", then cut. For patterned paper, match the repeat (e.g., 24" drop) and mark alignment arrows on the back. Lay strips face-down on a clean pasting table or vinyl floor—never carpet. Non-pasted paper needs 3–5 minutes soak time; pre-pasted requires 30–60 seconds dip in water, then fold book-style (paste-to-paste) to activate adhesive.
3. Hang the first strip using a plumb line
Mark a vertical plumb line 1–2 inches right of an inside corner (never start *in* the corner—it hides imperfections poorly). Align the strip’s edge with the line, smooth downward with brush, then trim excess at ceiling and baseboard using a straightedge and utility knife. Cut *away* from the seam to avoid lifting adjacent paper.
4. Match patterns and butt seams—not overlap
For each new strip, align the pattern precisely at eye level first, then check at top and bottom. Gently press seams together—no gap, no overlap. Roll *only* along the seam with light, even pressure. Overlapping creates ridges; gaps widen as paper dries. Vinyl and non-woven papers don’t stretch, so forcing alignment distorts the print.
Pro Tips
Seasoned installers stress one rule above all: “Let the paper tell you where it wants to go.” That means unrolling it slowly, letting tension release before final smoothing. Rushing causes ripples you can’t fix once paste dries.
“The biggest rookie mistake isn’t cutting crooked—it’s ignoring wall temperature and humidity. Paper expands in warm, damp air and contracts when cool and dry. Hang between 65°F–75°F and 40–60% RH, or you’ll get 1/16" gaps at seams within 48 hours.” — Maria Chen, lead installer at SurfaceCraft Studios, 2023
- Test paste adhesion on a scrap piece first—some paints (especially satin or semi-gloss) repel paste
- Label every strip with number and wall location (e.g., “NW-Wall-3”) before cutting—pattern repeats get confusing fast
- Wipe excess paste immediately with a barely damp cellulose sponge (not terry cloth—it leaves lint)
Can I wallpaper over textured walls?
Yes—but only if texture is light (e.g., orange peel or knockdown). Heavy popcorn or deep stipple must be skim-coated and sanded smooth first. Otherwise, texture telegraphs through thin papers and traps air under vinyl. Use a thick, opaque wallpaper (like Brewster’s Textured Vinyl) if skim-coating isn’t feasible.
Do I need to remove old wallpaper first?
Always. Even “peelable” backing leaves residue that blocks new paste adhesion. Score with a wallpaper scorer, then apply DIF Premium Remover (follow label timing), and scrape with a 4" stainless steel scraper. Rinse with clean water and let dry 48 hours before priming.
Why does my wallpaper bubble after drying?
Bubbles almost always mean trapped air or insufficient smoothing—not bad paste. Go back with a utility knife, make a tiny slit, inject diluted wallpaper paste with a syringe, then smooth outward. Don’t pull the paper up: it breaks the bond.
How do I handle outlets and switches?
Turn off power at the breaker. Remove cover plates. Hang paper over the box, then score an X over the outlet with a utility knife. Press inward—the flaps fold neatly behind the plate. Trim excess with nippers after reattaching the plate.
Can I hang wallpaper in bathrooms or kitchens?
Yes—if you choose vinyl-coated or solid vinyl wallpaper (look for “scrubbable” and “mold-resistant” labels). Avoid paper-backed types: steam and humidity break the bond. Always seal seams with clear acrylic caulk (e.g., GE Silicone II Kitchen & Bath) in shower-adjacent zones.
What’s the best way to fix a torn strip?
Cut out the damaged section with a straightedge, leaving clean, straight edges. Apply wallpaper repair tape (e.g., Roman R-200) to the back, then patch with a matching scrap—feathering edges with fine-grit sandpaper before sealing with clear acrylic sealer. For large tears, replace the whole strip.
Wallpaper transforms a room faster than paint—and lasts longer when installed right. Start small: try a single accent wall in your home office or powder room. Once you nail the plumb line, the pattern match, and the seam roll, you’ll see why so many pros say it’s the most satisfying DIY skill they’ve mastered. For more surface prep techniques, see our how to spackle and sand drywall guide—and if you’re choosing between peel-and-stick and traditional, compare options in our peel-and-stick vs. traditional wallpaper breakdown.