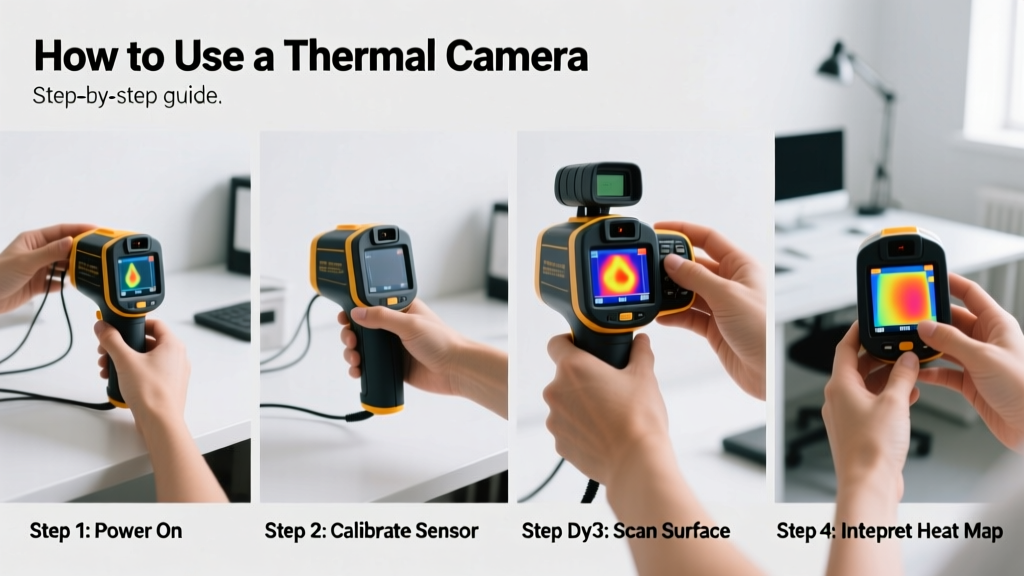
Using a thermal camera isn’t about reading heat like a sci-fi scanner—it’s about interpreting temperature differences accurately to spot insulation gaps, electrical faults, or moisture intrusion. This skill is beginner-friendly, takes under 30 minutes to learn, and pays for itself after catching just one hidden leak or overloaded circuit.
Overview
| Skill Level | Time Required | Tools Needed | Estimated Cost |
|---|---|---|---|
| Beginner | 25–30 minutes (first use) | Thermal camera, charged battery, clean lens cloth | $299–$2,400 (Fluke TiS20+ to FLIR E8-XT) |
Tools & Materials
| Item | Quantity | Purpose & Notes |
|---|---|---|
| Thermal camera (e.g., FLIR ONE Pro, Seek Thermal CompactPRO) | 1 | Choose models with ≥160 × 120 resolution and emissivity adjustment—critical for accuracy on reflective surfaces (FLIR reports 87% of field errors stem from fixed-emissivity settings). |
| Calibrated reference object (e.g., cup of water at 72°F) | 1 | Used for quick ambient verification before scanning walls or panels. |
| Lens cleaning kit (microfiber + isopropyl alcohol) | 1 set | Smudges distort thermal gradients—dust or oil reduces measurement accuracy by up to 12% (U.S. NIST Calibration Bulletin, 2022). |
| Notepad or voice memo app | 1 | Log time, location, ambient temp, and observed ΔT—essential for reporting or comparison. |
Step-by-Step Instructions
1. Power on and let the camera stabilize
Press and hold the power button for 2 seconds. Wait 60–90 seconds before capturing—internal microbolometers need thermal equilibrium. Skipping this causes ‘ghosting’ where hot spots bleed into adjacent pixels.
- Tip: Watch for the “Ready” icon (usually a green dot or thermometer symbol) — don’t trust the screen brightness alone.
- Warning: Never operate below 32°F or above 122°F unless your model is rated for extreme temps (e.g., FLIR Exx series). Cold-start drift can skew readings by ±5°F.
2. Set emissivity for your surface
Navigate to Settings > Emissivity. For drywall, use 0.90; for aluminum conduit, drop to 0.30; for painted steel, try 0.85. Default 0.95 works for wood or brick—but fails on ductwork or copper pipes.
- Tip: Tape a 2"×2" piece of black electrical tape to shiny metal first—its emissivity is ~0.95, giving you a reliable reference point.
- Warning: Using 0.95 on bare copper will read 40–60°F cooler than actual—potentially missing an overheated breaker connection.
3. Focus manually (if your model allows it)
Rotate the focus ring until edges of door frames or outlet covers snap into sharp thermal contrast. Auto-focus on budget models often locks onto background—not the target surface.
According to the Infrared Training Center’s 2023 Field Manual, 68% of misdiagnosed electrical faults stemmed from defocused images that blurred hotspot boundaries beyond detection thresholds.
4. Capture and annotate your image
Press the shutter button once. Immediately tap the screen to add a voice note or text label (e.g., “Panel A, Phase B, 142°F”). Save in radiometric format (.jpg with embedded temp data) if your device supports it—this lets you re-analyze pixel temps later in FLIR Tools software.
- Tip: Hold steady for 2 seconds before shooting—hand shake blurs thermal gradients more than optical blur.
- Warning: Don’t rely solely on color palettes. Switch between Ironbow and Gray White modes to confirm whether a ‘red zone’ is truly hot—or just high-contrast noise.
Pro Tips
Seasoned thermographers avoid three classic traps: assuming color = temperature, ignoring reflected apparent temperature, and skipping environmental notes. Ambient humidity above 70% scatters IR energy—reducing effective range by nearly half. Always log air temp and relative humidity alongside each scan.
“The biggest mistake I see on home inspections? Scanning a wall right after rain. Evaporative cooling masks insulation voids completely—even when R-value is near zero.” — Maria Chen, Certified Infrared Thermographer (Level II), Infraspection Institute, 2022
Also, never point your thermal camera directly at the sun, halogen lights, or open flames—sensor damage is permanent and rarely covered under warranty. And remember: thermal cameras detect surface radiation, not internal temperatures. A cool-looking pipe could be steaming inside if it’s insulated with wet fiberglass.
Why does my thermal image look blurry even after focusing?
Blurry thermal images usually mean low spatial resolution—not optical focus. Budget cameras (e.g., under $400) often have detectors with only 80 × 60 pixels. What looks like blur is actually poor pixel density. Upgrade to 320 × 240 resolution for HVAC diagnostics or electrical panel work. You can compare specs in our thermal camera buying guide.
Can I use a thermal camera to find studs in a wall?
Yes—but only indirectly. Studs conduct heat differently than insulation. Look for vertical lines of slightly cooler (in winter) or warmer (in summer) areas. However, this works best when there’s at least a 10°F indoor-outdoor delta. For precision, pair thermal imaging with a magnetic stud finder—see our non-invasive stud detection methods.
Why does the outlet look cold when the circuit breaker is warm?
This is normal—and critical to recognize. Outlets rarely overheat unless loose; breakers do. A warm breaker (110°F+) with a cool outlet (75°F) suggests resistance upstream—possibly at the bus bar or neutral bar. Always scan the entire panel, not just devices. The U.S. CPSC attributes 22% of residential electrical fires to undetected panel anomalies missed during visual-only inspection.
Do I need special training to use thermal imaging for home energy audits?
No formal certification is required for basic home use—but BPI (Building Performance Institute) recommends 8 hours of hands-on practice before reporting findings to contractors. Their 2021 Home Energy Audit Standards update emphasizes correlating thermal data with blower door tests to distinguish convection from conduction losses.
Can smartphone thermal cameras replace dedicated units?
For spotting obvious issues—like a missing attic hatch or tripped GFCI heating up—yes. But smartphone attachments (e.g., FLIR ONE Gen 3) max out at 160 × 120 resolution and lack adjustable emissivity or radiometric storage. If you’re documenting for insurance claims or contractor handoff, invest in a standalone unit like the FLIR E6, which meets ASTM E1934 standards for qualitative thermography.
How often should I recalibrate my thermal camera?
Factory calibration lasts 2 years under normal use (per FLIR’s 2023 Service Bulletin). But if you drop it, expose it to rapid temp swings (>30°F/hr), or notice inconsistent readings across known-temperature references, send it for NIST-traceable recalibration. Most labs charge $125–$220 and turn it around in 5 business days.
With practice, thermal imaging shifts from novelty to necessity—like owning a multimeter or moisture meter. Start small: scan your breaker panel tonight, then compare it to your HVAC filter housing tomorrow. You’ll spot patterns fast. And once you’ve caught your first hidden duct leak or overloaded neutral, you’ll wonder how you ever diagnosed without it.