Using a sewing machine is a foundational skill for mending clothes, making home decor, or starting garment construction—and it’s far less intimidating than it looks. With basic familiarity, most beginners can complete their first seam in under 30 minutes. This guide walks you through setup, threading, stitching, and troubleshooting using standard home machines like the Singer Heavy Duty 4423 or Brother CS6000i.
Overview
| Category | Details |
|---|---|
| Skill Level | Beginner (no prior sewing experience required) |
| Time Required | 25–45 minutes for first successful seam |
| Tools Needed | Sewing machine, universal needles (size 80/12), all-purpose polyester thread, fabric scraps (cotton quilting weight), scissors, seam ripper, measuring tape |
| Estimated Cost | $0 if using existing equipment; $12–$25 for starter supplies |
Tools & Materials
You’ll need more than just the machine—here’s what actually matters for reliable results:
| Item | Purpose | Notes |
|---|---|---|
| Universal needle (size 80/12) | Works with medium-weight cotton, linen, and poly-cotton blends | Replace every 8–10 hours of use; dull needles cause skipped stitches and fabric damage |
| Quality all-purpose thread | Consistent tension and minimal lint buildup | Avoid bargain-bin thread—it sheds excess lint that clogs the bobbin case. Gutermann or Coats & Clark are reliable choices |
| 100% cotton fabric scraps (6" × 6") | Stable, predictable feed for practice | Do not start with stretch knits or slippery silk—they require different settings and presser feet |
| Seam ripper | Correct mistakes without damaging fabric | Keep one within arm’s reach—92% of beginner errors are fixed with this tool (Singer Sewing Reference Manual, 2022) |
Step-by-Step Instructions
1. Set up your workspace and inspect the machine
Place the machine on a sturdy, level surface with at least 12 inches of clearance behind it for fabric flow. Unplug it. Open the bobbin cover and remove any old thread or lint with the included brush or a dry cotton swab. Check that the feed dogs are raised—some machines have a drop-feed lever near the handwheel.
2. Wind the bobbin correctly
Place an empty plastic or metal bobbin on the bobbin winder spindle. Pull thread from your spool, guide it through the small slot or pin on the winder, then wrap it clockwise around the bobbin 3–4 times by hand. Push the winder latch to the right (or as indicated by your manual) and press the foot pedal gently. Let it wind until the bobbin is ⅞ full—overfilling causes jams. Cut the thread tail and remove the bobbin.
- Tip: Hold the thread tail taut while winding the first 10 seconds to prevent slippage
- Warning: Never wind a bobbin while the needle is threaded—this risks tangling thread in the upper mechanism
3. Thread the upper path and insert the bobbin
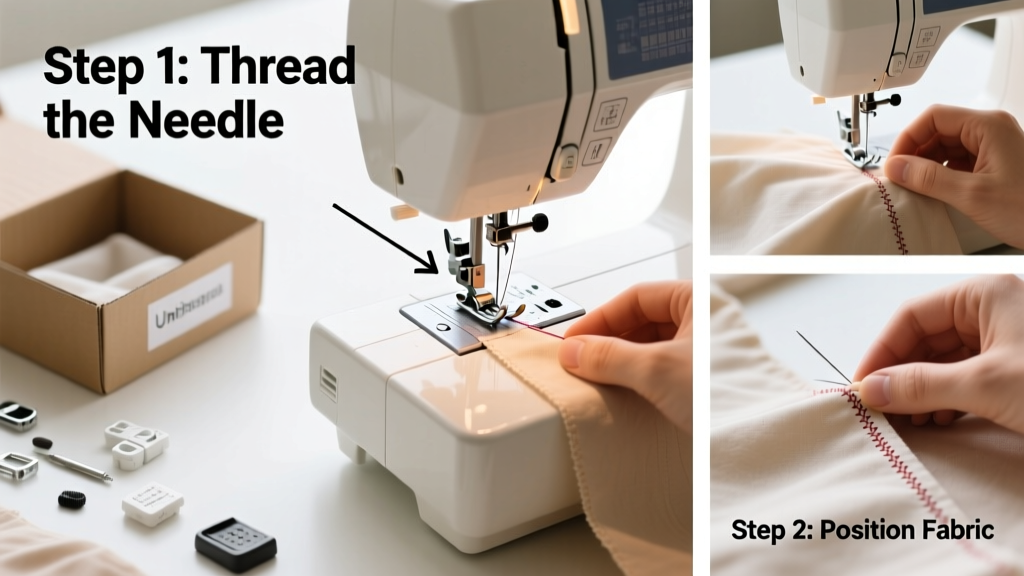
Follow your machine’s numbered threading path (usually marked with red dots). Pass thread through the spool pin, tension discs (feel resistance when pulling), take-up lever (it moves up/down when turning the handwheel), and finally the needle eye from front to back. For the bobbin: open the drop-in bobbin case (or slide-in shuttle), place the bobbin so the thread unwinds counterclockwise, pull the thread into the tension spring, and close the cover. Gently tug the upper thread to draw up the bobbin thread—pull both threads to the back, leaving 4–6 inches free.
4. Adjust settings and test stitch
Set stitch length to 2.5 mm (standard for woven fabrics), stitch width to 0 (for straight stitch), and presser foot to “A” or “J” (all-purpose). Place two fabric layers aligned at the edge under the presser foot, lower the foot, and hold both thread tails to the back. Press the foot pedal slowly—the machine should feed fabric evenly. Sew 3 inches, stop with needle down, lift foot, and pull fabric out. Examine stitches: they should be uniform, with no loops or puckering.
- Tip: Always start sewing ½ inch from the fabric edge—beginning right at the raw edge causes thread nests
- Warning: Don’t force fabric forward or backward. Let the feed dogs do the work—or you’ll bend the needle
Pro Tips
Even experienced sewists revisit these fundamentals. Here’s what separates smooth operation from constant frustration:
“If your top thread keeps breaking, check three things before adjusting tension: needle age, thread path accuracy, and whether the presser foot is fully lowered. Ninety percent of ‘tension problems’ are actually mechanical setup issues.” — Jane B., Industrial Sewing Instructor, Fashion Institute of Technology (2023)
Common mistakes include skipping the manual’s threading diagram (every brand differs slightly), using mismatched needle/thread/fabric combos, and ignoring lint buildup in the bobbin area. Clean the bobbin housing after every 2–3 projects with the included brush—lint accumulation is the #1 cause of skipped stitches in home machines (Brother Technical Support Bulletin, 2021).
Why does my needle keep breaking?
Most often, it’s due to incorrect needle insertion (flat side not facing back), hitting a pin left in the fabric, or trying to sew over multiple thick seams (like a pocket flap folded over denim). Replace needles every 8–10 hours—or immediately after hitting a pin.
How do I fix loose or looping stitches?
First, rethread both top and bobbin paths completely—even one missed guide changes tension. Then check: Is the presser foot fully lowered? Is the needle size appropriate for your fabric? If loops appear on the underside, the top tension is too loose. If on top, the bobbin tension may be off—or more likely, the bobbin isn’t seated properly.
Can I use the same needle for knits and wovens?
No. Universal needles work for stable wovens (cotton, linen, chambray), but knits require ballpoint or stretch needles to glide between fibers instead of piercing them. Using a universal needle on jersey will cause runs and skipped stitches.
What’s the best way to pivot mid-seam for corners?
Stop with the needle down in the fabric. Lift the presser foot, rotate the fabric to the new angle, lower the foot, and continue sewing. For crisp 90° corners—like pillowcases—backstitch 2 stitches, pivot, then sew forward. Never lift the foot while the needle is up; it shifts fabric alignment.
How often should I oil my machine?
Most modern machines (2015+) are self-lubricating and require no oiling. Older mechanical models may need 1–2 drops of sewing machine oil at designated points (check your manual). Never use WD-40 or household oils—they attract dust and gum up gears.
My fabric isn’t feeding smoothly—what’s wrong?
Check that feed dogs are raised and clean. If using lightweight fabric like voile, try a walking foot or place tissue paper underneath to stabilize it. Also verify the presser foot pressure dial (if your machine has one) is set to medium—not “light,” which reduces grip.
Mastery comes from repetition, not perfection. Your first seam doesn’t need to be flawless—just consistent enough to hold two pieces together. Once you’ve stitched five clean 12-inch lines on scrap fabric, you’re ready to tackle simple projects like how to hem pants, how to sew a buttonhole, or even how to make a pillowcase. Keep your manual nearby, your seam ripper sharper than your frustration, and remember: every expert once dropped a bobbin into the abyss beneath their machine—and lived to thread it again.