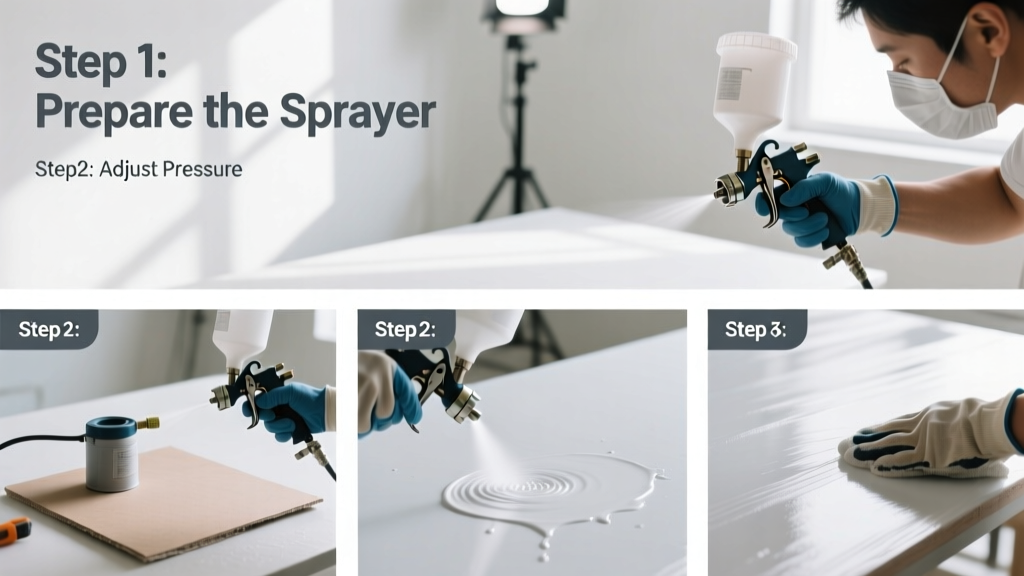
Using a paint sprayer is a skill that cuts painting time by up to 70% compared to rolling—once you know how to set it up, adjust it, and move with control. It’s beginner-friendly with practice, takes under 2 hours for a standard room (plus prep), and delivers smooth, professional results on surfaces from drywall to metal railings.
Overview
| Skill Level | Time Required | Tools Needed | Estimated Cost |
|---|---|---|---|
| Beginner (with practice) | 1.5–3 hours per room (including prep & cleanup) | Sprayer, PPE, drop cloths, stir sticks, cleaning supplies | $45–$280 (rental vs. entry-level HVLP) |
Tools & Materials
| Item | Notes & Specifications |
|---|---|
| HVLP or airless sprayer | For interiors: 2-stage HVLP (e.g., Wagner Control Spray Max). For decks/fences: airless (e.g., Graco Ultra). Avoid cheap $30 models—they clog and overspray. |
| Paint suitable for spraying | Latex must be thinned 10–20% with water (check label); oil-based needs mineral spirits. Never use unthinned thick paints—clogs nozzles instantly. |
| PPE (non-negotiable) | N95 respirator (not dust mask), safety goggles, nitrile gloves, long sleeves, and hearing protection for airless units. |
| Cleaning supplies | Small funnel, stiff nylon brush, clean rags, bucket of warm water + dish soap (for latex) or mineral spirits (for oil). |
Step-by-Step Instructions
1. Prep the space and surface
Remove hardware, cover floors with canvas drop cloths (not plastic—it slips), and tape edges with painter’s tape rated for 14-day adhesion. Sand glossy surfaces lightly with 220-grit sandpaper, then wipe with a tack cloth. According to the U.S. EPA, 68% of spray-related health incidents occur due to inadequate ventilation or PPE—so open windows and run box fans blowing outward *before* you plug in the sprayer.
2. Thin and filter the paint
Stir paint thoroughly for 2 minutes, then pour through a fine-mesh filter (100–150 micron) into your sprayer cup or hopper. Thin latex with 1 part water to 5 parts paint (20%); test viscosity by drizzling paint off a stir stick—if it breaks into droplets instead of flowing smoothly, thin more. Never skip filtering: debris causes 9 out of 10 nozzle clogs.
3. Set up and test-spray
Attach the spray tip (start with a 210 or 310 for walls; 106 for trim), adjust fan width to ~12 inches, and set pressure: HVLP at 26–30 PSI, airless at 2,200–2,800 PSI. Test on cardboard or scrap wood held 12 inches away—watch for runs (too close/too slow), dry streaks (too far/too fast), or orange peel (wrong thinning or pressure).
4. Spray with steady motion
Hold the sprayer perpendicular to the surface, 10–12 inches away. Move horizontally at 12–18 inches per second—faster than brushing, slower than walking. Overlap each pass by 50%. Start spraying *before* the edge, continue past it, and release trigger only after clearing the surface. Work top-to-bottom and left-to-right, maintaining consistent speed and distance.
"Most beginners over-control the trigger—tap it like a metronome, not a light switch. A smooth, continuous pass beats five short bursts every time." — Greg G., industrial coating technician with 18 years’ experience at Sherwin-Williams Coating Solutions (2022)
Pro Tips
Avoid these three mistakes: spraying in direct sunlight (causes flash-drying and poor adhesion), using cold paint (<55°F thickens viscosity), and skipping the second coat until the first is fully dry (check manufacturer’s recoat time—usually 2–4 hours for latex).
- Always clean the sprayer *immediately* after use—even mid-project if pausing >15 minutes.
- For cabinets or doors: spray vertical surfaces first, let dry 1 hour, then flip and spray backs.
- Keep spare tips on hand—106 for detail work, 210 for walls, 517 for fences.
Why does my sprayer spit or sputter?
Usually caused by air in the line (loose hose fittings), low paint level (<¼ full in cup), or dried paint in the fluid needle. Tighten all connections, refill to halfway, and soak the tip assembly in cleaner for 10 minutes before scrubbing with the included brush.
Can I spray textured ceilings?
Yes—but use an airless sprayer with a 517 or 619 tip and reduce pressure by 15%. Hold 18 inches away and move slowly. Textured surfaces absorb more paint, so plan for 20% extra volume. See our how to paint textured ceiling guide for surface-specific prep.
How do I avoid overspray on adjacent surfaces?
Use 4-mil plastic sheeting (not trash bags) taped tightly to baseboards and doorframes. Add a second layer of masking paper where airflow might lift edges. Keep fans pointed *away* from the work zone—not across it. Overspray accounts for nearly half of touch-up time, per the Painting & Decorating Contractors of America’s 2023 Field Survey.
What’s the best way to clean a clogged tip?
Soak the tip overnight in lacquer thinner (for oil) or warm vinegar (for latex buildup), then use the wire brush provided. Never poke with pins or needles—they damage the orifice. If flow remains uneven, replace the tip—it’s cheaper than replacing the whole gun.
Do I need to back-roll sprayed walls?
Yes—for interior walls, lightly back-roll with a high-nap roller (3/4") within 10 minutes of spraying. This pushes paint into pores, improves sheen uniformity, and eliminates subtle texture variations. Skip back-rolling only on smooth metal or factory-finished cabinetry.
Can I use the same sprayer for stains and primers?
You can—but only if thoroughly cleaned between materials. Stain residue in a primer line causes fisheyes; primer left in a stain line creates uneven absorption. Rinse three times with appropriate solvent, then run clean water (or spirits) through until discharge runs clear. For heavy rotation, consider dedicating one sprayer to stains and another to paints—see our paint sprayer vs roller comparison for workflow planning.
With practice, a paint sprayer becomes an extension of your arm—not a source of stress. Start small: spruce up a bookshelf or fence panel before tackling a full room. You’ll gain confidence faster than you think, and once you’ve mastered distance, speed, and overlap, you’ll wonder how you ever lived without it. For follow-up, check our how to clean paint sprayer deep-dive for seasonal maintenance tips.