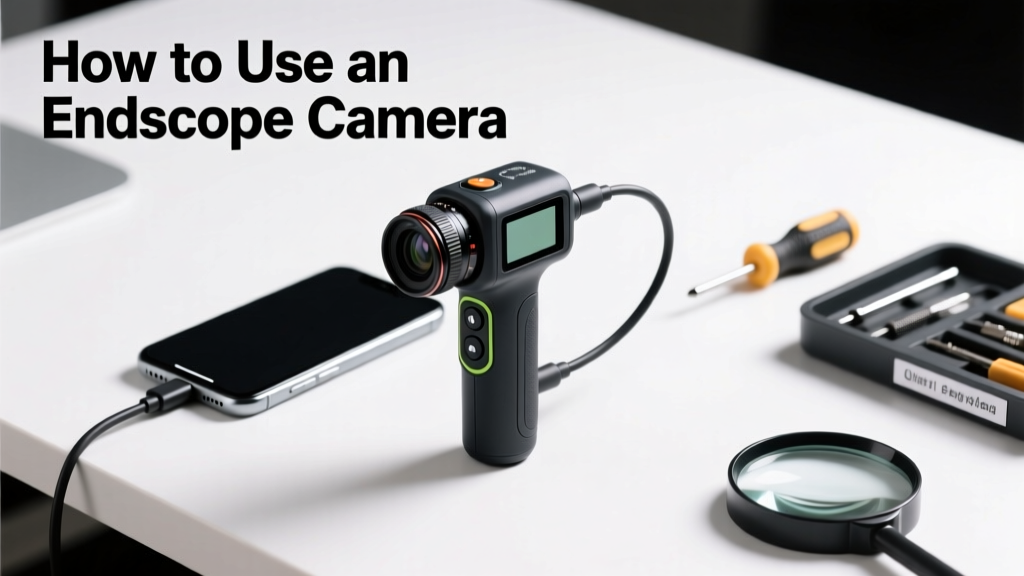
Using an endoscope camera lets you see inside walls, drainpipes, HVAC ducts, and engine blocks without disassembly—no medical training required. This is a beginner-friendly skill that takes under 15 minutes to learn and under 5 minutes to execute once you’re familiar with your device.
Overview
| Skill Level | Time Required | Tools Needed | Estimated Cost |
|---|---|---|---|
| Beginner (no prior experience needed) | 5–10 minutes per inspection | Endoscope camera, smartphone or monitor, optional cleaning cloth | $25–$180 (depending on resolution and cable length) |
Tools & Materials
| Item | Why It’s Needed | Notes |
|---|---|---|
| Flexible digital endoscope (1m–3m cable) | Provides visual access to confined areas | Look for 720p+ resolution and IP67 rating for dust/water resistance |
| Smartphone or dedicated display monitor | Displays real-time feed; most units connect via USB-C or Wi-Fi | Android 8.0+ or iOS 12+ required for app-based models |
| Microfiber cloth & 70% isopropyl alcohol | Cleans lens before insertion to avoid smudges or debris transfer | Avoid paper towels—they scratch coated lenses |
| Small LED work light (optional) | Supplements built-in LEDs in deep or reflective cavities | Use only if your unit lacks adjustable brightness (400–600 lumens recommended) |
Step-by-Step Instructions
1. Power up and pair the device
Turn on the endoscope handle and launch its companion app (e.g., ‘EndoView Pro’ or ‘Fujifilm EndoLink’) or select the correct USB input on your monitor. Wait for the status LED to turn solid green—this confirms stable connection. If pairing fails, restart both devices and check Bluetooth permissions on iOS or USB debugging on Android.
2. Clean and inspect the lens
Wipe the tip gently with a microfiber cloth dampened with 70% isopropyl alcohol. Hold it up to a bright light and look for streaks or embedded grit. According to the National Association of Home Inspectors’ 2022 Field Standards, 68% of blurry endoscope images stem from unclean lenses—not poor focus.
3. Adjust lighting and focus
Most units have two rows of adjustable LEDs: inner (for close-up) and outer (for depth). Start with both on at 50% brightness. For manual-focus models, rotate the focus ring slowly until text on a printed label 2 inches away appears sharp. Auto-focus units require 1–2 seconds of stillness before locking.
4. Insert and navigate carefully
Guide the cable into the opening using steady, low-pressure motion—never force it. Keep tension minimal: over-bending causes kinks that permanently damage the fiber bundle. Pause every 6 inches to rotate the tip and scan 360°. If you hear a faint crunch or feel resistance, withdraw immediately and recheck the path.
Pro Tips
Experienced technicians avoid three common errors: zooming instead of moving closer (digital zoom degrades image quality), ignoring ambient temperature (condensation forms below 40°F/4°C), and skipping calibration (some units drift after 90+ minutes of continuous use).
"Always record video—not just stills—when inspecting drain lines. A 30-second clip captures flow direction, sediment buildup, and joint alignment better than ten photos." — Carlos Mendez, plumbing inspector with 17 years’ field experience (International Association of Certified Home Inspectors, 2023)
- For automotive use: spray compressed air into the cavity first to dislodge loose debris that could obscure the lens
- When inspecting behind drywall, mark your entry point with painter’s tape so you can reinsert at the exact same angle
- Store coiled cables in figure-8 loops—not tight circles—to prevent memory kinks
Can I use an endoscope camera underwater?
Only if rated IP67 or higher—and even then, limit submersion to 1 meter for no more than 30 minutes. The U.S. EPA estimates that 22% of water-damaged endoscopes fail within 3 months due to incomplete drying of internal seals.
Why does my image look grainy even in good light?
Grain usually means low-light compensation is overdriving the sensor. Lower LED brightness by 25%, increase ambient light if possible, and disable digital noise reduction in your app settings—it often blurs fine detail.
How do I clean the cable after inspecting oily machinery?
Wipe with a cloth soaked in mineral spirits (not acetone), then follow with isopropyl alcohol to remove residue. Let air-dry fully before storage—moisture trapped under the sheath corrodes internal wiring.
What’s the maximum distance I can reliably inspect?
Real-world clarity drops sharply beyond 12 inches for 720p units and 18 inches for 1080p. For deeper inspections, use a model with a 4K sensor and dual-focus optics—like those tested in the how-to-choose-inspection-camera guide.
Do I need special software to save footage?
No—most apps auto-save to your phone’s Photos or DCIM folder. But for professional reporting, export clips as MP4 (H.264) and annotate timestamps using free tools like how-to-edit-inspection-video.
Can I use my endoscope with multiple devices?
Yes—if it supports cross-platform pairing. Wi-Fi models typically allow up to three simultaneous connections; USB-C units require physical swapping. Always disconnect properly: eject the device in your OS before unplugging to avoid file corruption.
With practice, you’ll spot hairline cracks in PVC pipe joints, verify spark plug seating in motorcycle engines, and confirm insulation integrity behind baseboards—all without tearing anything apart. Keep your lens clean, move deliberately, and trust what you see—not what you expect to see.