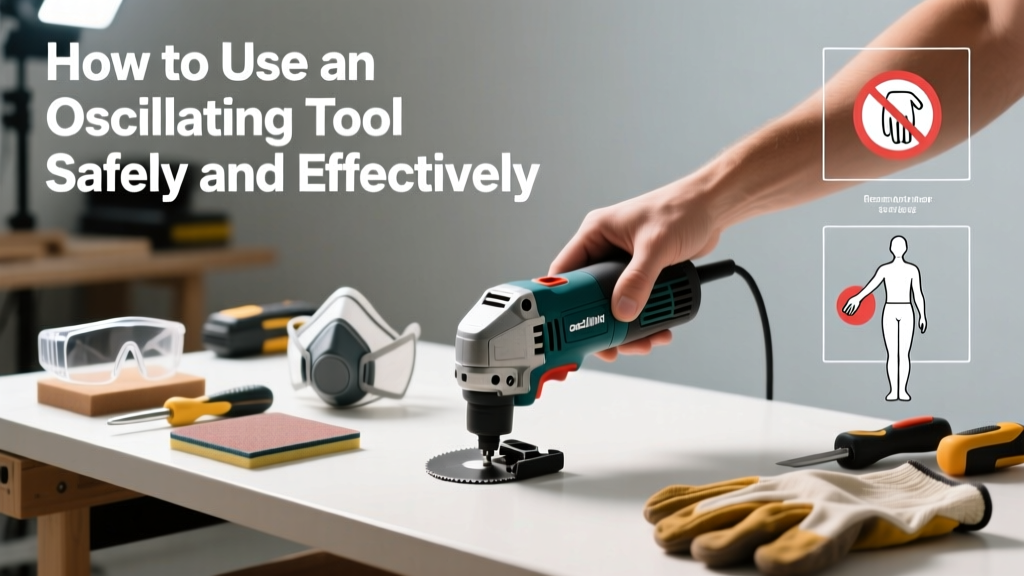
An oscillating tool is a versatile handheld power tool that uses rapid back-and-forth motion (typically 10,000–20,000 oscillations per minute) to cut, sand, scrape, or grind in tight spaces. It’s beginner-friendly with moderate supervision, takes under 30 minutes to learn the basics, and becomes indispensable once you master blade changes and depth control.
Overview
| Category | Detail |
|---|---|
| Skill Level | Beginner (with safety awareness) |
| Time Required | 25–40 minutes for first safe use |
| Tools Needed | Oscillating tool, blades, safety glasses, dust mask, clamps (optional) |
| Estimated Cost | $65–$180 (tool + 5-blade starter set) |
Tools & Materials
| Item | Purpose & Notes |
|---|---|
| Oscillating multi-tool | Brands like DeWalt, Bosch, or Rockwell—look for variable speed (10,000–20,000 OPM) and tool-free blade change |
| Blades (carbide-grit, bi-metal, flush-cut, sanding pads) | Match blade type to material: wood (bi-metal), metal (carbide-grit), drywall (flush-cut), grout (grout-removal) |
| Safety glasses + ANSI Z87.1 rating | Mandatory—flying debris causes 2,000+ eye injuries annually in home workshops (National Safety Council, 2022) |
| Dust mask or respirator (N95 minimum) | Especially critical when cutting drywall, plaster, or painted surfaces containing lead (U.S. EPA, 2021) |
| Clamps or vise | Secures workpieces—prevents slippage during plunge cuts or detail work |
Step-by-Step Instructions
1. Select and install the correct blade
Turn off and unplug the tool. Press the blade-release lever (usually near the front), slide out the old blade, and insert the new one fully into the collet until it stops. Release the lever—the blade should not wiggle. Test stability by gently tugging sideways. Never force a non-compatible blade; most modern tools accept universal-fit or brand-specific blades only.
- Tip: Mark blade types on handles with colored tape—e.g., blue for wood, red for metal.
- Warning: Installing a blade backward (cutting teeth facing inward) causes binding, overheating, and potential kickback.
2. Adjust speed and depth settings
Set variable speed dial to low (10,000–12,000 OPM) for delicate work like baseboard trimming or plaster removal. For hardwood or metal, increase to 16,000–20,000 OPM. If your model has a depth guide, extend the adjustable shoe 1/8" beyond the blade tip for controlled plunge cuts—especially useful when cutting door jambs or subfloor access holes.
3. Secure your workpiece and position your hands
Clamp the material to a stable surface—or brace it firmly against a wall stud if working in place. Grip the tool with both hands: dominant hand on the main handle, non-dominant on the auxiliary grip or body. Keep wrists straight and elbows slightly bent. Never operate with one hand unless using a lightweight, well-balanced model for light sanding.
- Tip: Rest the tool’s shoe flat on the surface before triggering—this prevents accidental gouging.
- Warning: Do not apply downward pressure. Let the blade’s oscillation do the work—excess force shortens blade life and increases motor strain.
4. Make your first cut or sanding pass
Start the tool at low speed, then gradually increase as contact is made. Move steadily along your cut line—don’t rush. For plunge cuts (e.g., outlet box openings), tilt the tool 30°, start the blade spinning, then slowly lower the tip into the material until the shoe rests flat. Maintain constant forward motion; pausing mid-cut creates heat buildup and blade dulling.
Pro Tips
Experienced contractors emphasize setup over speed. According to Mike Rafferty, a 22-year framing and remodeling instructor at North Bennet Street School, “The biggest mistake I see isn’t blade choice—it’s skipping the test cut. Always run a 2-inch trial on scrap first, checking for vibration, wandering, and dust pattern.”
“Oscillating tools aren’t ‘set and forget.’ You must reposition your stance every 6–8 inches when cutting long baseboards—fatigue leads to drift and uneven edges.” — Sarah Lin, certified carpenter and Home Depot Pro Services trainer (2023)
Common mistakes include using a worn blade (causes burning and inaccurate cuts), ignoring dust extraction (clogs vents and overheats motors), and attempting curved cuts without pivoting the tool—oscillating tools excel at straight or angled work, but require multiple small passes for curves.
Can I use an oscillating tool to cut through nails in baseboards?
Yes—but only with a carbide-grit or bi-metal demolition blade. Clamp the board securely, cut slowly, and expect some blade wear. Avoid cutting nails embedded in studs—switch to a reciprocating saw instead. For more on nail removal techniques, see our how to remove baseboards without damage.
How often should I replace oscillating tool blades?
Typical lifespan is 10–25 linear feet of softwood, 3–8 feet of hardwood, or 1–2 hours of continuous metal work. Replace immediately if teeth appear chipped, the blade vibrates excessively, or cutting slows noticeably—even with full speed and proper pressure.
Is it safe to use an oscillating tool near electrical wiring?
No—not without verification. Shut off power at the breaker, confirm with a non-contact voltage tester, and use a flush-cut blade with a depth stop. Never assume wires are where diagrams say they are; 37% of remodelers report encountering undocumented Romex runs behind drywall (National Association of the Remodeling Industry, 2022). For safer alternatives, check our how to cut drywall around outlets.
Why does my oscillating tool smoke during cuts?
Smoking means excessive friction—usually from dull blades, too much pressure, or insufficient cooling. Stop immediately. Let the tool cool for 2 minutes, inspect the blade, and reduce feed rate. If smoking persists with a new blade, internal motor brushes may be worn—a sign the tool needs service or replacement.
Can I use an oscillating tool to remove grout?
Absolutely—and it’s one of its best uses. Use a dedicated grout-removal blade (1/8" wide, carbide-tipped), set speed to medium (14,000 OPM), and hold the tool at a consistent 10°–15° angle. Work in 2-inch sections, vacuum dust between passes. For deeper joints or sanded grout, pair with a grout cleaning brush afterward.
Do I need special training to use this tool on a job site?
OSHA doesn’t mandate certification for oscillating tools—but many general contractors require documented safety orientation, especially for rental equipment. Your employer may also require proof of PPE compliance and blade-handling competency. Review our OSHA-compliant home workshop checklist for workplace-ready practices.
With practice, an oscillating tool transforms from a novelty into your go-to for precision work where space or access limits larger tools. Start simple—trimming door bottoms or cutting patch pieces for drywall—and build confidence with each controlled, deliberate pass. Respect the blade, protect your eyes, and always let the tool do the work.