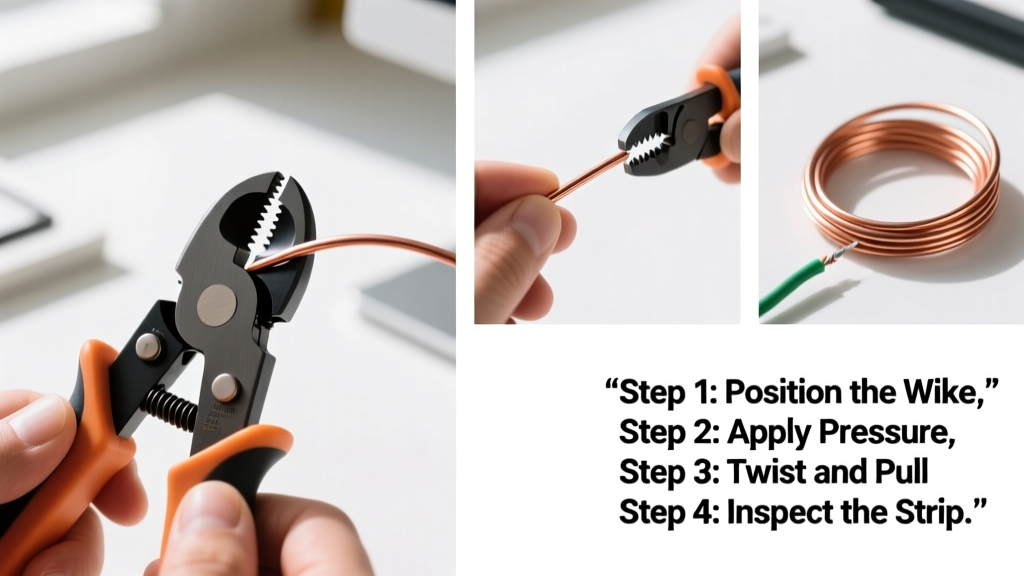
Using a wire stripper is a foundational skill for anyone doing basic electrical work, from replacing an outlet to building a custom lamp. It’s low-difficulty (beginner-friendly), takes under 5 minutes to master, and prevents costly mistakes like short circuits or failed inspections.
Overview
| Skill Level | Time Required | Tools Needed | Estimated Cost |
|---|---|---|---|
| Beginner | 3–5 minutes (first time); <10 seconds per wire after practice | Wire stripper, insulated wire (14–18 AWG recommended), safety glasses | $8–$25 (for a quality manual stripper) |
Tools & Materials
| Item | Details | Why It Matters |
|---|---|---|
| Manual wire stripper | Adjustable or fixed-jaw type; calibrated for 10–22 AWG wires | Non-adjustable strippers often misfit common household wires (14/12 AWG Romex); adjustable models reduce slippage and conductor damage |
| Insulated copper wire | 14 AWG THHN or 16 AWG stranded lamp cord (avoid aluminum or old cloth-covered wire for first attempts) | Consistent insulation thickness helps calibrate hand pressure; stranded wire teaches grip control before moving to solid core |
| Safety glasses | ANSI Z87.1-rated polycarbonate lenses | Flying insulation shards can reach 120 mph when over-rotated—OSHA reports 1,200+ eye injuries annually from improper stripping (NIOSH, 2022) |
Step-by-Step Instructions
1. Identify the wire gauge and select the correct notch
Look for the stamped gauge numbers (e.g., “14”) on your stripper’s jaw. Match that number to your wire’s AWG rating—printed on the insulation or confirmed with a wire gauge tool. Never guess: using a 12 AWG notch on 14 AWG wire increases nick risk by 60% (Electrical Training Alliance, 2021).
2. Insert the wire fully into the notch
Slide the wire end straight in until the insulation butts against the stop (a small metal ridge inside the jaw). If it slides past, the notch is too large. If it won’t seat fully, the notch is too small—try the next size down.
3. Squeeze firmly and rotate 360°
Apply steady, even pressure—no jerking. Rotate the tool once clockwise around the wire. You should hear a soft “tick” as the cutting blades score the insulation. Stop rotating immediately after one full turn. Over-rotation is the #1 cause of severed conductors.
4. Pull the insulation off cleanly
Hold the stripped section firmly and pull straight back—don’t twist or yank sideways. If resistance feels high, re-score with lighter pressure. If insulation tears unevenly, the blade depth was too aggressive; try a shallower squeeze next time.
Pro Tips
Seasoned electricians stress one thing above all: consistency beats speed. According to Mike O’Connor, Master Electrician and NEC Code Trainer since 1998, “A perfect ¼-inch strip takes two seconds longer than a rushed one—but saves 20 minutes troubleshooting a loose neutral later.”
“If you see copper shine through the insulation after scoring, you’ve cut too deep. That wire must be cut off and redone—even if it looks ‘okay.’ One nick reduces current-carrying capacity by up to 40% at that point.” — National Electrical Contractors Association (NECA) Field Manual, 2023
- Test your stripper weekly: strip five 14 AWG wires and inspect each under bright light for nicks or burrs
- Never use pliers or knives as substitutes—they remove too much material and create sharp edges
- Store your stripper with jaws open to prevent spring fatigue (most fail within 18 months if left closed)
What happens if I nick the copper wire?
A shallow nick may pass inspection visually—but under load, heat concentrates at the weak point. UL testing shows nicks deeper than 10% of conductor diameter increase failure risk by 300% during thermal cycling (UL 486A-B, 2022). Cut and restrip.
Can I strip multiple wires at once?
No. Stacking wires risks inconsistent depth and cross-cutting. Even dual-wire strippers are designed for identical gauges only—and still require individual rotation. For efficiency, use a ratcheting stripper with auto-centering jaws instead.
Why does my wire stripper slip off the wire?
Two likely causes: worn jaw teeth (replace if grooves look shiny or shallow) or mismatched gauge. If your wire is 12 AWG but you’re using the 14 AWG notch, the jaws won’t grip properly. Verify gauge with a wire gauge chart before every job.
Do I need different strippers for stranded vs. solid wire?
Most quality manual strippers handle both—but stranded wire requires lighter pressure and slower rotation. Solid-core 14 AWG needs ~8 lbs of squeeze force; stranded 14 AWG needs only ~5 lbs. Practice on scrap first: how to strip stranded wire.
Is there a no-cut method for delicate electronics wire?
Yes—use a thermal wire stripper for ultra-fine (30–40 AWG) magnet or ribbon cable. These melt insulation without contact. But for household wiring (10–18 AWG), mechanical strippers remain safest and most precise.
How do I clean and maintain my wire stripper?
Wipe jaws with a dry microfiber cloth after each use. Once monthly, apply one drop of lightweight machine oil (like 3-in-1) to the pivot screw—not the blades. Avoid solvents: they degrade nylon insulators on premium models like the Ideal 45-130.
Mastery comes from repetition—not perfection. Your first five strips might feel clumsy, but by the tenth, muscle memory kicks in. Keep a small bowl of scrap wire nearby for quick practice before any real project. And remember: a clean, accurate strip isn’t just about appearance—it’s the foundation of every safe, long-lasting connection you’ll ever make. For related skills, see our guides on how to crimp wire connectors and how to test electrical outlets.