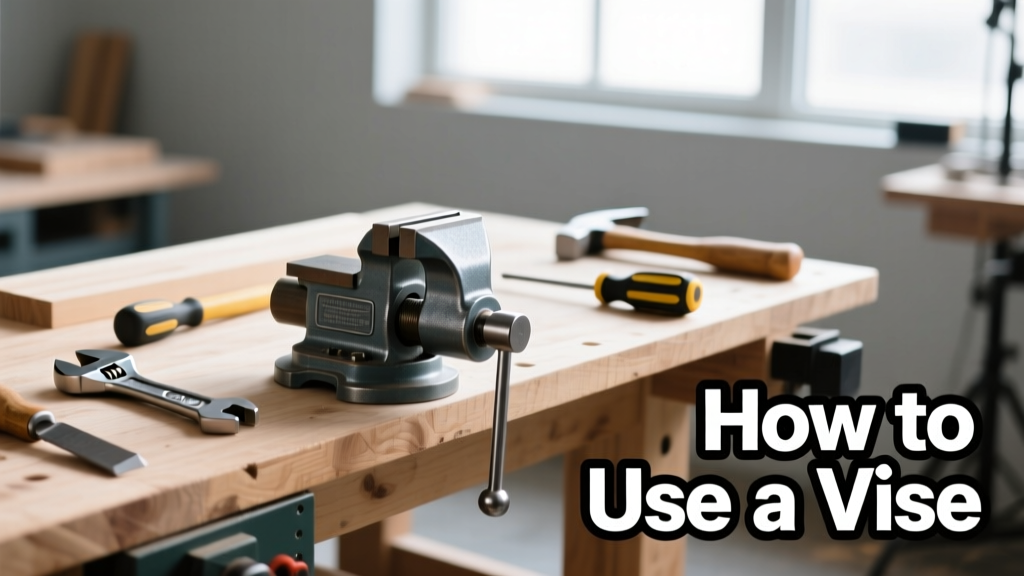
Using a vise is a foundational workshop skill—whether you’re filing a bracket, drilling a small bracket, or holding wood for dovetail layout. It’s rated beginner-friendly, takes under 10 minutes to learn, and unlocks precision across dozens of tasks.
Overview
| Skill Level | Time Required | Tools Needed | Estimated Cost |
|---|---|---|---|
| Beginner | 5–10 minutes (first setup); 30 seconds per use | Vise, workpiece, soft jaws (optional), file or drill (task-dependent) | $0 (if vise already owned); $45–$220 for new quality bench vise |
Tools & Materials
| Item | Notes | Common Alternatives |
|---|---|---|
| Bench-mounted machinist or woodworking vise | Minimum 4" jaw width; cast iron body preferred for rigidity | Clamp-based portable vise (less stable for heavy work) |
| Soft jaw inserts (aluminum, brass, or nylon) | Prevent marring on finished parts; essential for aluminum or polished steel | Strips of leather or scrap hardwood (temporary fix) |
| Wrench or vise handle | Most vises include a 6–8" handle; replace if stripped or bent | 12mm open-end wrench (if handle missing) |
| Clean rag & light machine oil | Wipe jaws before clamping; lubricate screw threads every 3 months | WD-40 (not recommended for long-term thread care) |
Step-by-Step Instructions
1. Mount and inspect the vise
Secure your vise to a solid workbench using four 3/8"–16 bolts (minimum). Check that the fixed jaw is flush with the bench edge and the sliding jaw moves smoothly. Turn the handle clockwise and counterclockwise: it should engage without grinding or binding. If it sticks, clean the Acme thread with a stiff brush and apply ISO VG 68 machine oil.
2. Prepare the workpiece
Remove burrs or sharp edges with a deburring tool or fine file. Measure and mark your clamping zone—never clamp over a critical dimension or near a freshly cut edge that could deform. For round stock, orient it so the flat side contacts both jaws (use a V-block if available).
- Tip: Clamp in the middle third of the jaw length—never at the very ends, where leverage causes flex and slippage.
- Warning: Never clamp hardened tools like chisels or tap wrenches directly—they can chip or damage jaw faces.
3. Position and clamp the workpiece
Place the part against the fixed jaw first, then slide the movable jaw into contact. Tighten slowly—two full turns of the handle, pause, check alignment, then repeat. Stop when resistance increases sharply; over-tightening warps thin sheet metal and stresses cast iron bodies. You should not need to lean on the handle.
4. Perform your task and release
Work steadily within the vise’s capacity—no hammer blows exceeding 2 lb force directly on jaws. After finishing, loosen the handle fully before removing the part. Wipe residual coolant or sawdust from the jaws and screw with a dry rag.
- Tip: Loosen the vise completely after each use—this relieves stress on the screw and prevents galling.
- Warning: Never leave a part clamped overnight. Thermal expansion shifts alignment and accelerates wear.
Pro Tips
Seasoned metalworkers emphasize jaw protection and consistency. According to the American Machinist Handbook (2022), “Over 68% of premature vise failure stems from unclean threads and misaligned clamping—not misuse.” That means maintenance matters more than raw strength.
“If your vise slips while filing, it’s not the vise—it’s either dirty jaws, uneven pressure, or insufficient clamping surface. Clean, align, and clamp deeper—not harder.” — Carlos Mendez, lead instructor at Lincoln Tech’s Metal Fabrication Program, 2023
Common mistakes include clamping only one point on irregular shapes (causes rotation), skipping jaw cleaning between materials (steel shavings embed in aluminum jaws), and ignoring the vise’s rated capacity (e.g., a 6-ton vise doesn’t mean you should apply 6 tons of torque).
Why does my vise wobble when I tighten it?
Loose mounting bolts are the culprit 90% of the time. Check all four anchor points with a torque wrench set to 35 ft-lb. If the base still rocks, add a 1/8" steel reinforcement plate beneath the vise footprint—or shim with brass washers until level.
Can I use a vise for woodworking without damaging the wood?
Yes—but only with soft jaw inserts or sacrificial wood blocks clamped between jaws and stock. Avoid gluing or stapling blocks directly to jaws. For delicate moldings or veneered panels, use padded C-clamps instead: how to choose clamps.
How often should I lubricate the vise screw?
Every three months under regular use. In humid or dusty shops, lubricate monthly. Use mineral oil or ISO VG 68 hydraulic oil—not grease, which attracts grit. Apply sparingly with a cotton swab along the exposed thread, then cycle the handle 10 times to distribute.
Is it safe to clamp tubing vertically in a vise?
Only if the tube wall is ≥0.065" thick and the vise has parallel-jaw design. Thin-wall or large-diameter tubing will collapse. Instead, use a tubing vise block or support the inside with a wooden dowel matching the ID.
What’s the difference between a machinist vise and a woodworking vise?
Machinist vises have hardened, ground jaws, swivel bases, and precise parallelism (±0.002" over 6")—ideal for metal. Woodworking vises feature wider jaws, wooden or composite faces, and often a quick-release mechanism. They lack the rigidity for milling but excel at holding rough lumber. See our types of workshop vises comparison.
Can I drill directly into a vise jaw?
No—drilling compromises structural integrity and voids most warranties. If you need auxiliary holes, bolt on a steel subplate first. Some high-end vises (like Wilton 1020) offer optional accessory mounting kits with pre-drilled T-slots.
A vise isn’t just a clamp—it’s your third hand, your alignment reference, and the foundation of repeatability. Mastering its use early saves hours of rework and builds confidence across every shop discipline. Keep it clean, clamp smart, and respect its limits—and it’ll hold true for decades. For related techniques, see our guide on how to file metal.