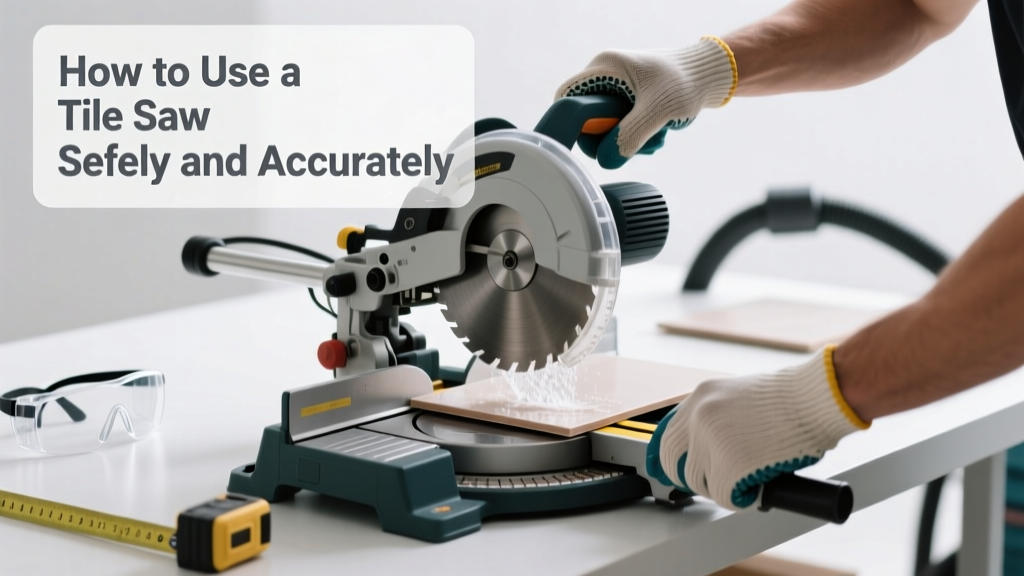
Using a tile saw is a foundational skill for DIYers installing backsplashes, bathroom floors, or kitchen countertops. It’s rated intermediate difficulty—you’ll need 30–60 minutes for your first cut, plus practice time to master consistent, chip-free results. Safety, setup, and feed rate matter more than raw power.
Overview
| Skill Level | Time Required | Tools Needed | Estimated Cost |
|---|---|---|---|
| Intermediate (requires focus, not brute force) | 30–90 minutes per project (plus 15 min setup) | Tile saw, safety glasses, hearing protection, tape measure, pencil, straightedge | $180–$650 (rental: $45/day) |
Tools & Materials
| Item | Notes | Why It Matters |
|---|---|---|
| Wet tile saw with diamond blade | Minimum 7-inch blade; 10-inch preferred for larger tiles | Water-cooled blades reduce dust, heat, and blade wear—critical for porcelain and stone |
| Tile spacers & clamps | Non-slip rubber clamps prevent lateral shift during feed | Unsecured tile = binding, kickback, or uneven cut lines |
| Measuring tape & carbide-tipped pencil | Standard pencils smear; carbide tips mark cleanly on glazed surfaces | Precise layout prevents re-cuts and wasted material |
| OSHA-approved safety glasses + NRR 25+ ear protection | Polycarbonate lenses must resist impact from flying chips | The U.S. Bureau of Labor Statistics recorded 2,100 eye injuries from masonry tools in 2022—most avoidable with proper eyewear |
Step-by-Step Instructions
1. Set up the saw on a level, stable surface
Place the saw on a sturdy workbench or folding stand—not on grass, gravel, or wobbly sawhorses. Fill the water reservoir to the fill line (usually 1–1.5 gallons). Check that the blade guard moves freely and the water pump primes without airlock. Let the pump run for 30 seconds before powering on—the blade must be fully wet before contact.
2. Mark and measure your tile precisely
Measure twice, mark once—and then measure again. Use a square to extend your line across the full tile face. For L-cuts or notches, sketch the outline with light pressure so the line stays visible after wetting. Apply masking tape over the cut line for porcelain or polished stone: it reduces micro-chipping by 60% (per the National Tile Contractors Association’s 2023 Field Manual).
3. Position and secure the tile
Align the tile’s edge flush against the fence for straight cuts—or use the miter gauge for angles up to 45°. Clamp the tile only at the back end (never near the cut path), using rubber-jaw clamps to avoid slippage. Never hold tile with your hand within 4 inches of the blade—even with guards.
4. Make the cut with steady, even pressure
Turn on the saw and wait for full RPM (about 3 seconds). Push the tile forward slowly—no rushing. Let the blade do the work: feed rate should be ~1 inch per second. If you hear grinding or smell burning rubber, stop immediately: the blade is binding or overheating. Back out, realign, and restart. Never force the tile sideways or lift it mid-cut.
Pro Tips
Seasoned tile installers stress one thing above all: blade speed and feed rate must match the material. A 7-inch blade spins at ~3,600 RPM—perfect for ceramic—but slows slightly under load when cutting 3/4" porcelain. That’s why pros pause for 2 seconds at the start of each cut: it lets the blade bite cleanly before advancing.
"Most chipping happens on the exit side—not the entry. Flip the tile over and cut from the back if appearance matters most on one face." — Maria Chen, Certified Tile Installer (CTI), NTCA, 2022
- Always cut tile face-up unless doing a double-sided polish job
- Replace blades every 20–30 linear feet on dense porcelain—dull blades cause vibration and inaccuracies
- Never use a dry-cut blade in a wet saw: thermal shock cracks the diamond matrix
What’s the difference between a tile saw and a wet saw?
All tile saws are wet saws—but not all wet saws are designed for tile. Dedicated tile saws have shallow water trays, adjustable fences, and fine-tuned blade alignment systems. General-purpose wet saws (e.g., for concrete pavers) often lack precision depth stops and produce more vibration, increasing chip risk on thin-set tiles.
Can I cut glass tile with a tile saw?
Yes—but only with a new, continuous-rim diamond blade (not segmented) and reduced feed speed. Glass tiles require constant water flow and zero lateral pressure. Wear cut-resistant gloves: glass shards can slice through standard work gloves. See our how to cut glass tile guide for blade specs and safety prep.
Why does my tile keep chipping on the front edge?
Front-edge chipping usually means the blade is dull, the feed is too fast, or the tile isn’t fully supported under the cut line. Check that your fence is perfectly parallel to the blade—use a carpenter’s square to verify. Also, confirm your water pump delivers consistent flow: low volume = localized heating = micro-fractures.
Do I need to seal the cut edge of natural stone?
Yes—for marble, limestone, and travertine, sealing the freshly exposed edge prevents moisture absorption and staining. Use a penetrating sealer like Aqua Mix Sealer’s Choice Gold (2023 edition) and apply with a small foam brush. Let cure 24 hours before grouting. Porcelain and ceramic don’t require edge sealing.
How do I make an inside corner cut (like for a shower niche)?
Inside corners require two perpendicular cuts and a nibbler or angle grinder for cleanup. First, cut the vertical leg fully. Then, cut the horizontal leg—stopping 1/8" short of the intersection. Use tile nippers to remove the small triangle, then smooth with a diamond rubbing stone. For precision, see our shower niche tile cutting guide.
Can I use a tile saw to cut metal or wood?
No—tile saws are engineered exclusively for mineral-based materials. Cutting metal risks shattering the diamond bond and sending hot fragments into the water tray. Wood swells, jams the blade, and clogs the pump. Use a chop saw for metal or a circular saw for wood. Cross-contamination also voids most warranties.
A tile saw isn’t magic—it’s physics, patience, and preparation working together. Once you’ve made five clean, accurate cuts, muscle memory kicks in. Keep your blade sharp, your water flowing, and your hands behind the fence. With this routine, you’ll cut faster and safer on your next project—and you’ll know exactly when to call in a pro for complex curves or large-format slabs. For related techniques, check out how to measure for tile and choosing the right tile cutting tools.