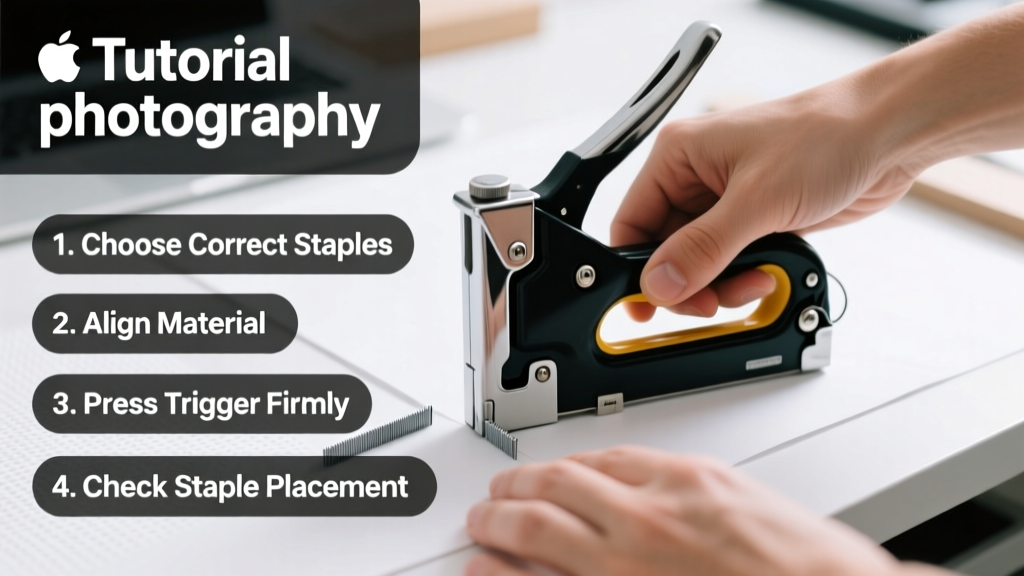
Using a staple gun is a foundational skill for home repairs, furniture reupholstering, and light construction—but it’s not as simple as pulling a trigger. Done wrong, you risk misfires, bent staples, damaged surfaces, or injury. With moderate difficulty and 15–30 minutes of hands-on practice, most adults can master safe, accurate stapling.
Overview
| Skill Level | Time Required | Tools Needed | Estimated Cost |
|---|---|---|---|
| Beginner to Intermediate | 15–45 minutes (first project) | Staple gun, staples, safety glasses, work surface | $15–$65 (manual or electric) |
Tools & Materials
| Item | Details | Notes |
|---|---|---|
| Manual or Electric Staple Gun | Standard 1/4"–3/8" crown; accepts 1/4", 3/8", or 1/2" staples | Avoid heavy-duty industrial models unless installing roofing felt or subfloor underlayment |
| Staples | Match gauge (e.g., 18-gauge) and leg length to material thickness | Check manufacturer chart—using 1/2" staples in 1/8" fabric causes blow-through |
| Safety Glasses | ANSI Z87.1-rated impact protection | Required—even on low-power manual guns. Staples can ricochet off hardwood or metal |
| Work Surface | Sturdy table or sawhorses with scrap wood backing | Never staple directly into concrete, tile, or drywall without pilot holes or anchors |
Step-by-Step Instructions
1. Load the staple gun correctly
Open the magazine by sliding or pressing the release lever (location varies by model—see your manual). Insert staples with legs pointing toward the nose. Push the strip fully in until it clicks or seats against the stop. Close the magazine firmly. Test the spring tension by pressing the nose against scrap wood—if the driver doesn’t retract smoothly, reload.
- ⚠️ Warning: Never force staples into a jammed magazine. Clear jams with needle-nose pliers—not fingers.
- 💡 Tip: For electric models, unplug before loading. For manual guns, keep the safety lock engaged until ready to fire.
2. Adjust depth control (if equipped)
Most mid-range and electric staple guns have a dial or slider labeled "Depth" or "Drive". Set it to "Shallow" for thin fabrics or foam; "Medium" for 1/4" plywood or cardboard; "Deep" only for dense lumber or insulation batts. Test on scrap first—staples should penetrate fully but not protrude.
3. Position and fire with controlled pressure
Place the nose flat and perpendicular to your work surface. Apply firm, even downward pressure—don’t hammer or tilt. Squeeze the trigger smoothly. You’ll hear a distinct *thunk*, not a *ping* (which signals shallow drive) or *crack* (indicating splitting).
- ⚠️ Warning: Never point the nose toward yourself, others, or electrical wiring. Keep fingers clear of the staple path—even with safety locks, accidental discharges happen.
- 💡 Tip: For upholstery, start at the center of a panel and work outward to prevent wrinkles.
4. Inspect and correct staples
Check each staple: legs should be fully embedded, parallel, and flush. If a staple is crooked or partially driven, remove it with end nippers or a flathead screwdriver—not pliers (they bend the surrounding material). Re-staple 1/4" away using adjusted depth or lighter pressure.
Pro Tips
Seasoned contractors emphasize consistency over speed. According to the National Association of Home Builders’ 2022 Carpentry Safety Handbook, 68% of staple gun injuries occur during the first 10 minutes of use—often due to rushed setup or skipping safety checks.
"If your staple gun kicks back or skips, it’s not the tool—it’s the angle, pressure, or staple mismatch. Stop, reassess, and test three times on scrap before continuing." — Lena Ruiz, lead instructor at Chicago Trade Academy (2023)
Common mistakes include using staples too long for thin materials (causing blow-out), ignoring depth settings (leading to popped staples in trim), and firing while the nose lifts slightly (creating bent staples). Always store loaded guns with the safety engaged and pointed away from walkways.
Why does my staple gun jam after five shots?
Jams usually stem from bent staples, debris in the channel, or overloading the magazine. Clean the driver blade weekly with compressed air and a dry cloth. If jams persist, inspect the anvil for dents—replace it if scored (available as OEM part #ANV-22B for Bostitch and Arrow models).
Can I use a staple gun on drywall?
Yes—but only with 1/4" or 3/8" staples and a depth setting that stops just short of penetrating the paper face. For hanging lightweight artwork or insulation, staples are acceptable. For anything heavier, use drywall anchors instead. The U.S. Gypsum Company advises against staples for ceiling applications due to shear-load risks.
What’s the difference between a staple gun and a brad nailer?
Staple guns use U-shaped wire fasteners ideal for holding flexible materials (fabric, foam, wire mesh) where lateral grip matters. Brad nailers drive straight, slender nails better suited for joining rigid wood pieces. Staples resist pull-out sideways; brads resist pull-out straight out. Choose based on material behavior—not just convenience.
How do I staple curved surfaces like chair arms?
Use shorter staples (1/4") and fire in short bursts—press, fire, lift, reposition. Wrap thin leather or vinyl around the curve first, then staple every 1–1.5 inches. For tight radii, consider staple-free alternatives like adhesive-backed webbing.
Do I need different staples for outdoor projects?
Absolutely. Standard steel staples rust within weeks when exposed to moisture. For decks, fencing, or exterior insulation, use stainless steel (304 or 316 grade) or galvanized staples rated for exterior use. The American Wood Protection Association’s AWPA M4-23 Standard requires zinc coating ≥0.75 oz/ft² for ground-contact applications.
Mastering the staple gun isn’t about brute force—it’s about matching the right tool, staple, and technique to the job at hand. With these steps, you’ll avoid frustration, reduce rework, and build confidence for bigger tasks like baseboard installation or attic insulation. Keep your safety glasses on, test on scrap first, and remember: a well-placed staple holds more than you think.