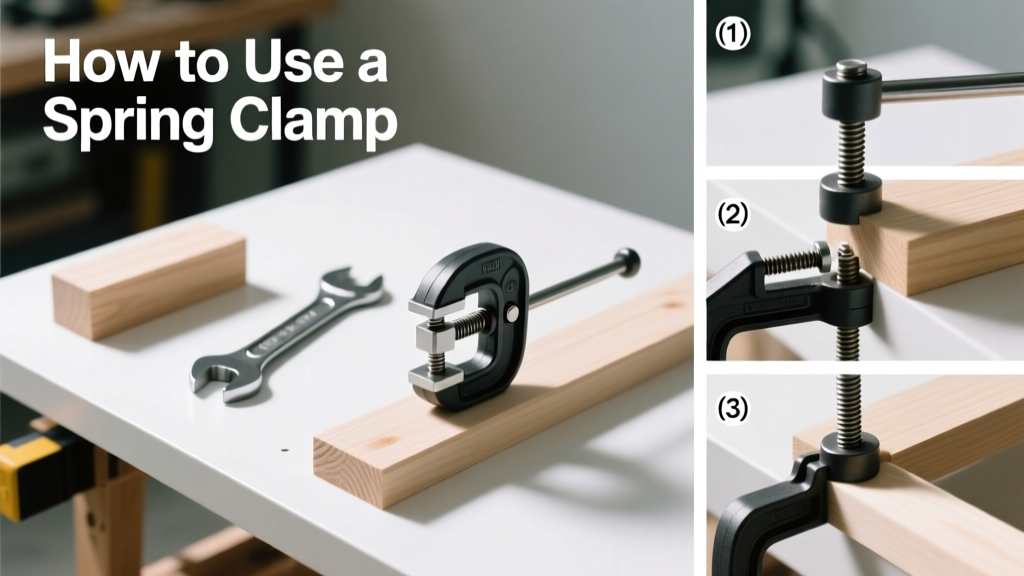
Using a spring clamp is a foundational workshop skill—simple in concept but easy to misuse without proper technique. It’s a beginner-friendly tool (under 5 minutes to master), yet critical for glue-ups, temporary holds, and alignment tasks in carpentry, model building, and home repair.
Overview
| Skill Level | Time Required | Tools Needed | Estimated Cost |
|---|---|---|---|
| Beginner | 2–5 minutes per clamp | Spring clamp only (optional: protective pads) | $3–$12 per clamp |
Tools & Materials
| Item | Notes | Why It Matters |
|---|---|---|
| Steel or nylon-jaw spring clamp (2–6 inch) | Common sizes: 2", 3", 4", 6"; avoid rusted or bent jaws | Smaller clamps offer precision; larger ones provide more force but less control |
| Felt or rubber jaw pads (optional) | Cut from craft foam or adhesive-backed felt sheets | Prevents marring softwoods like pine or finished surfaces like painted cabinets |
| Work gloves (light-duty) | Leather-palm or nitrile-coated gloves | Protects fingers during repeated squeezing—especially with high-tension 6" models |
| Clamp rack or pegboard hooks | Wall-mounted storage keeps clamps accessible and prevents spring fatigue | Storing clamps under tension degrades spring temper over time (per Woodworker’s Journal, 2022) |
Step-by-Step Instructions
Step 1: Inspect the clamp before use
Check for bent jaws, cracked handles, or weakened springs. Squeeze the handles fully—if they don’t snap back crisply or if there’s visible coil deformation, retire it. A worn spring loses up to 40% of its rated clamping force (according to Bessey Tool’s 2021 durability testing).
- Tip: Run your fingernail along the inner jaw edge—any burrs or rough spots will scratch workpieces.
- Warning: Never force a stiff clamp open with pliers—it can permanently distort the frame.
Step 2: Position the clamp correctly
Place the clamp so the spring rests *parallel* to the surface being held—not angled or skewed. For glue-ups, align clamps every 4–6 inches along the joint line. On curved edges, use two small clamps instead of one large one to avoid slippage.
- Tip: Mark clamp positions lightly with pencil before applying glue—you’ll save time repositioning mid-cure.
- Warning: Don’t clamp across end grain alone; it compresses easily and creates weak glue joints.
Step 3: Apply even pressure
Squeeze handles smoothly until the jaws contact both surfaces. Then press firmly—but don’t “crunch” the handles together. You want firm contact, not maximum squeeze. Over-tightening cracks thin stock (e.g., 1/4" plywood) and distorts delicate assemblies like picture frames.
Step 4: Verify and adjust
Check alignment with a straightedge or square. If parts shift, loosen slightly, realign, then re-squeeze. Let the clamp sit for 30 seconds—this lets the spring settle into its final tension. Re-check before walking away.
“Most spring clamp failures happen not from breakage—but from misalignment during setup. Ten seconds spent squaring the jaw saves ten minutes of sanding later.” — Carlos Mendez, lead instructor at North Bennet Street School (2023)
Pro Tips
Seasoned woodworkers treat spring clamps like precision tools—not just grab-and-go holders. Keep three sizes on hand: 2" for detail work (dowel alignment, hinge jigs), 4" for general glue-ups, and 6" for panel assembly. Always store them relaxed—hooked open on a pegboard, not stacked under weight.
Avoid using spring clamps for long-term holding (beyond 24 hours). The constant load causes metal fatigue. For overnight glue cures, switch to bar or pipe clamps. And never substitute them for C-clamps when torque matters—spring clamps deliver ~20–80 lbs of force, versus 600+ lbs for a 4" C-clamp.
Can I use spring clamps on metal?
Yes—but only with protective jaw pads. Bare steel jaws will mar aluminum, brass, or polished stainless. For repeated metal work, consider nylon-jaw models like the Irwin Quick-Grip series.
Why does my clamp slip off curved surfaces?
Spring clamps rely on flat contact. On curves, jaw surface area drops dramatically. Solution: Add a thin shim (cardstock or scrap veneer) behind one jaw to increase grip angle—or use two clamps staggered top/bottom.
How do I prevent finish damage on furniture?
Always use 1/16" thick felt pads glued to both jaws with contact cement. Test adhesion first on scrap wood. Avoid rubber bands or tape—they leave residue and reduce grip.
Do spring clamps lose strength over time?
Yes. Steel springs relax about 3–5% per year under average workshop conditions (U.S. Department of Commerce, Materials Performance Lab, 2020). Replace clamps showing >1/8" gap when fully closed—even if they still “work.”
Can I stack multiple spring clamps for more pressure?
No—stacking multiplies leverage unpredictably and risks sudden release. Instead, use clamps in parallel (side-by-side) on the same joint, spaced evenly. That delivers uniform, controllable pressure.
What’s the best way to organize spring clamps in a small shop?
Mount a 12" section of slatwall or pegboard near your workbench. Use double-prong hooks to hang clamps by their springs—this keeps them tension-free and instantly visible. Label hook rows by size with vinyl tape: “2"”, “4"”, “6"”.
Once you’ve mastered the spring clamp, you’ll find yourself reaching for it more than any other hold-down tool—it’s fast, intuitive, and surprisingly versatile. Pair it with how to glue wood for perfect joints, or use it alongside how to use a biscuit jointer to keep panels aligned while biscuits set. Keep a few extras in your garage toolbox—they’re indispensable for quick fixes like holding a loose cabinet door while drilling pilot holes.