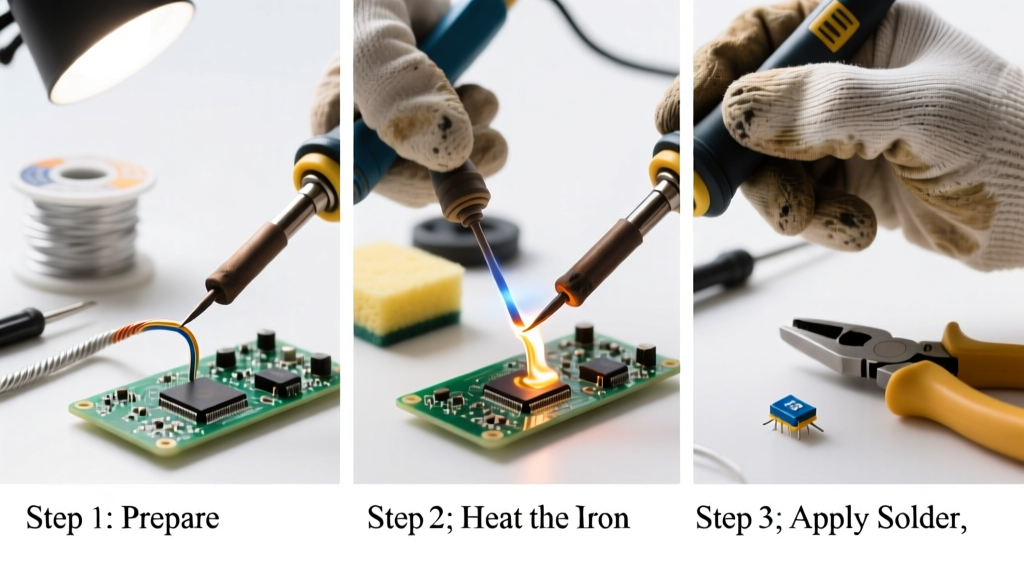
Soldering is a foundational skill for anyone repairing electronics, building circuits, or modifying hardware—and using a soldering iron correctly is safer and more effective than most beginners expect. With basic safety awareness and 30–45 minutes of focused practice, you’ll make clean, reliable joints. No prior experience needed.
Overview
| Skill Level | Time Required | Tools Needed | Estimated Cost |
|---|---|---|---|
| Beginner | 30–45 minutes (first session) | Soldering iron, solder, stand, sponge, wire cutters | $25–$65 (entry-level kit) |
Tools & Materials
| Item | Specifications/Notes | Why It Matters |
|---|---|---|
| Soldering iron | 30–60W temperature-controlled (e.g., Hakko FX888D or TS100) | Prevents overheating components and cold joints |
| Solder | 63/37 rosin-core, 0.020" diameter (lead-free optional) | Rosin flux cleans metal surfaces; fine diameter gives control |
| Soldering iron stand | With sponge or brass wool | Prevents burns and fire hazards; brass wool maintains tip better than wet sponge |
| Helping hands | Adjustable alligator clips + magnifier lamp | Holds PCB steady and improves visibility—critical for small pads |
| Fume extractor or fan | Local exhaust (e.g., SolderSmoke Mini) | The U.S. EPA estimates that prolonged exposure to rosin fumes may irritate airways (EPA Indoor Air Facts No. 12, 2022) |
Step-by-Step Instructions
1. Set up your workspace safely
Clear a non-flammable surface (ceramic tile or soldering mat). Plug in the iron and place it in its stand. Position your helping hands and fume extractor within arm’s reach. Wear safety glasses—molten solder can spit unexpectedly. Never leave the iron unattended while hot.
2. Tin the soldering iron tip
Turn on the iron and wait 2–3 minutes for it to reach ~600°F (315°C). Wipe the tip gently on damp (not dripping) brass wool or a wet sponge. Then apply a small bead of solder to coat the entire tip surface—this ‘tinning’ prevents oxidation and improves heat transfer. Re-tin before each joint and after cleaning.
- Tip: If solder balls up instead of flowing smoothly, your tip is oxidized or too cold.
- Warning: Don’t file or scrape the tip—it damages the iron-plated coating and shortens lifespan.
3. Prepare the joint
Strip 1/8" of insulation from the wire, twist strands tightly, and insert into the PCB hole or wrap around a terminal. Hold components firmly with helping hands or tweezers. Clean pad and wire with isopropyl alcohol if dusty or greasy—flux won’t work well on contamination.
4. Heat and solder the joint
Touch the iron tip to both the pad and wire simultaneously for 1–2 seconds to equalize temperature. Then feed solder *into the joint* (not onto the iron), letting capillary action draw it in. Stop when the joint forms a smooth, concave fillet covering the pad edge. Remove solder first, then the iron—never pull the iron away while feeding.
- Tip: A good joint takes 3–4 seconds total heating time. Longer = damaged PCB traces or lifted pads.
- Warning: If solder looks grainy or dull, you’ve moved the joint before it solidified—reheat and hold still.
Pro Tips
According to electronics instructor and IPC-certified trainer Lena Cho, “Most ‘cold joints’ aren’t from low heat—they’re from moving the part during solidification or insufficient flux activation. Watch the solder flow, not the clock.”
“A properly soldered joint should look like a miniature volcano: shiny, smooth, and slightly rounded—not lumpy, cracked, or dull gray.” — IPC-A-610 Class 2 Standard, Revision G (2021)
Avoid these common mistakes: applying solder directly to the iron tip (causes bridging), skipping tinning (leads to burnt tips in under an hour), and using leaded solder without proper ventilation (OSHA recommends local exhaust for repeated use).
What temperature should I set my soldering iron to?
For standard 63/37 tin-lead solder: 600–650°F (315–343°C). For lead-free: 650–750°F (343–399°C). Start low and increase only if solder isn’t flowing smoothly—excess heat degrades PCBs and components.
Why does my solder blob instead of sticking?
Three likely causes: oxidized tip (re-tin immediately), dirty pad/wire (clean with IPA and abrasive pen), or insufficient heat time (hold iron on both surfaces for 1.5 seconds before feeding solder).
Can I use plumbing solder for electronics?
No. Plumbing solder contains acid flux that corrodes circuit board traces and invites long-term failure. Always use rosin-core or no-clean electronics-grade solder—confirmed by the IPC J-STD-006B specification (2020).
How often should I clean the tip?
Wipe with brass wool before *and* after every joint. Deep-clean weekly with tip tinner/cleaner paste if you notice blackening or poor wetting. Replace tips every 6–12 months with regular use.
What’s the difference between a cold joint and a dry joint?
They’re synonymous terms for a mechanically weak, electrically unreliable joint caused by movement during solidification or inadequate heat. Visually: dull, grainy surface; poor adhesion to pad or lead; cracks or pits. Fix by reheating and holding still until reflowed.
Do I need a multimeter to check my solder joints?
Not for every joint—but always verify continuity on power traces, ground connections, and signal lines you’ve repaired. A $15 multimeter helps catch opens or shorts before powering on. For critical builds, consider a visual inspection checklist alongside testing.
Once you’ve made five clean, shiny joints without assistance, you’ve crossed the threshold from novice to confident beginner. Keep your tip tinned, your workspace ventilated, and your iron at the right temp—and you’ll avoid frustration while building real reliability. Next, try practicing on a beginner electronics kit to reinforce muscle memory and troubleshoot live circuits.