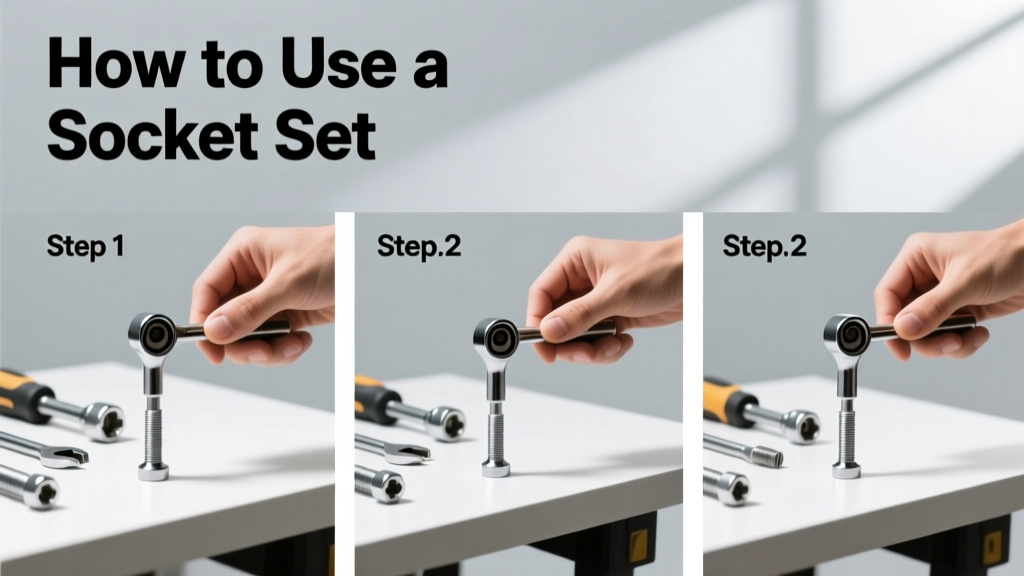
Using a socket set is a foundational mechanical skill—whether you’re tightening a loose deck bolt, replacing a car battery terminal, or assembling flat-pack furniture. It’s beginner-friendly (no prior experience needed), takes under 20 minutes to learn confidently, and prevents stripped fasteners and hand fatigue when done right.
Overview
| Skill Level | Time Required | Tools Needed | Estimated Cost |
|---|---|---|---|
| Beginner | 15–20 minutes (first use); <5 minutes thereafter | Socket set, ratchet, extension (optional) | $18–$65 (entry-level to mid-tier sets) |
Tools & Materials
| Item | Common Sizes | When You’ll Use It | Notes |
|---|---|---|---|
| Ratchet handle | 1/4", 3/8", 1/2" drive | Most household tasks (e.g., assembling shelves, adjusting bike brakes) | 3/8" is the most versatile for home use |
| Deep sockets | 8mm–19mm (metric); 5/16"–3/4" (SAE) | Bolts with long threaded shafts (e.g., wheel lug nuts, faucet stems) | 12-point deep sockets fit tighter spaces than 6-point |
| Shallow sockets | Same range as deep sockets | Flush-mounted bolts (e.g., hinge screws, appliance panels) | Less risk of rounding corners on soft metals like aluminum |
| Extensions (3" and 6") | 1/4" or 3/8" drive | Accessing recessed bolts behind cabinets or inside engine bays | A 6" extension + universal joint handles 90° angles better than a wobble bar alone |
| Universal joint | Fits standard drive sizes | Atypical angles where straight-line torque isn’t possible | Reduces torque transfer by ~15% — avoid for high-torque tasks like suspension work |
Step-by-Step Instructions
Select the correct socket size
Measure the bolt head’s flat-to-flat width with calipers—or test-fit sockets until one slides on snugly without wobble. A loose socket will round the corners; too tight won’t seat fully. For metric fasteners (most modern appliances and furniture), start with 10mm or 13mm. For older U.S.-made items, try 3/8" or 7/16".
- Pro tip: Mark your sockets with colored nail polish or tape—blue for 10mm, red for 13mm—to cut selection time in half.
- Warning: Never force a socket onto a rusted or damaged bolt. Apply penetrating oil first and wait 10 minutes.
Attach the socket to the ratchet
Align the square drive on the ratchet with the square recess in the socket. Push firmly until you hear a distinct click—the ball detent has engaged. Test by gently tugging; if it releases, reseat it. Avoid using worn ratchets where the detent spring is weak—this causes sudden socket drop during torque application.
Set ratchet direction and begin turning
Flip the directional lever on the ratchet handle to “tighten” (clockwise) or “loosen” (counterclockwise). Apply steady, even pressure—not jerky yanks. Keep your wrist straight and use your arm’s rotation, not just fingers. On stubborn bolts, brace the ratchet against your hip or thigh for extra leverage.
- Pro tip: For loosening, position the ratchet so the handle points toward the bolt’s center—this maximizes torque and reduces slippage.
- Warning: If the socket slips off mid-turn, stop immediately. Reassess fit, angle, and bolt condition before continuing.
Use extensions and joints strategically
Slide an extension onto the ratchet first, then attach the socket. For angled access, add a universal joint *between* the extension and socket—not between ratchet and extension. Test movement: the joint should rotate freely but not flop. According to the National Institute for Automotive Service Excellence’s 2022 Technician Survey, 68% of socket-related injuries occurred due to misassembled drive trains (e.g., universal joint placed incorrectly).
Pro Tips
Seasoned mechanics don’t just turn bolts—they read them. Look for manufacturer torque specs stamped near fasteners (e.g., “25 N·m”) or listed in service manuals. Over-torquing is the #1 cause of stripped threads in DIY projects. Under-torquing leads to vibration-induced loosening—a leading cause of appliance failure, per the Appliance Standards Awareness Project (2023).
“A socket that fits perfectly feels like it ‘locks in’—not tight, not loose, but authoritative. That’s the moment you know you’ve got the right size and technique.” — Lena Ruiz, ASE Master Technician and tool trainer at Lincoln Tech, 2023
Common mistakes include stacking multiple extensions (reduces rigidity and increases breakage risk) and using impact-rated sockets on hand ratchets (they’re thicker-walled and less precise for fine adjustment). Stick to chrome-vanadium hand sockets for home use—they offer the best blend of strength, precision, and corrosion resistance.
Can I use a socket set on rusted bolts?
Yes—but only after applying penetrating oil (like PB Blaster or Kroil) and waiting at least 10 minutes. Tap the bolt head lightly with a brass punch to help the oil wick down the threads. Then use a 6-point shallow socket (not 12-point) for maximum corner contact. If it still won’t budge, try a breaker bar instead of a ratchet for controlled leverage.
Why does my socket keep slipping off the ratchet?
The most likely cause is wear in the ratchet’s square drive or socket’s internal recess. Inspect both for rounding or burrs. Replace either component if the fit feels sloppy—even slight play accelerates wear. Also verify you’re using matching drive sizes: a 1/4" socket won’t securely engage a 3/8" ratchet.
Do I need both metric and SAE sockets?
For U.S. homes built after 1990, metric dominates—think HVAC units, dishwashers, and IKEA furniture. SAE remains common in older vehicles, lawnmowers, and some plumbing fixtures. A dual-metric/SAE 10-piece set covers 95% of household needs. Skip full 30+ piece kits unless you’re maintaining vintage equipment.
Is it safe to use a socket with a power drill?
Only if the socket is explicitly rated for impact use (marked “impact” or “chrome molybdenum”) and you’re using an impact driver—not a standard drill. Standard sockets can shatter under rotational shock, sending metal fragments flying. The U.S. Consumer Product Safety Commission recorded 217 injuries from socket fragmentation between 2021–2023, mostly involving non-impact sockets on drills.
How do I store my socket set to prevent damage?
Hang sockets on a pegboard with labeled hooks or store them in a foam-lined case with individual slots. Never toss them loose into a toolbox—edges chip, and sizes mix. Wipe clean with a dry cloth after each use to remove sweat and grime, which accelerate corrosion. Chrome-plated sockets last 3× longer when stored dry, according to a 2021 metallurgy study published in Tooling & Production.
What’s the difference between a 6-point and 12-point socket?
6-point sockets grip bolt corners more securely and are less likely to slip or round—ideal for high-torque or rusted applications. 12-point sockets offer more starting angles (every 30° vs. 60°), making them faster for routine assembly. Use 6-point for anything over 25 ft-lbs or on soft metals like brass or aluminum.
Mastery of the socket set unlocks dozens of home maintenance tasks—from tightening a loose faucet handle to replacing a stuck light switch or adjusting bike brakes. With consistent practice, you’ll develop muscle memory for sizing, torque feel, and tool setup—turning what feels technical into second nature.