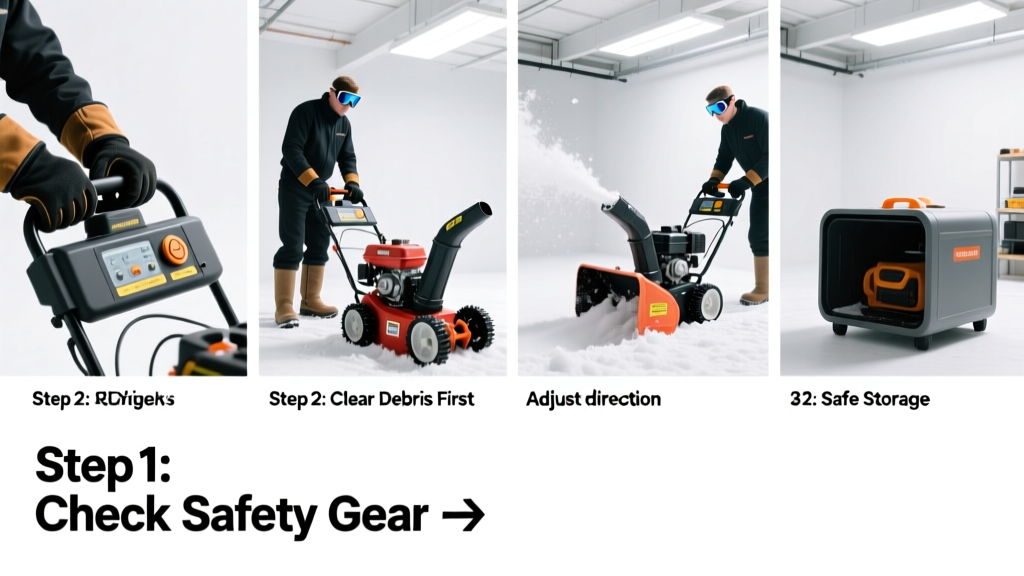
Using a snow blower is a practical skill for anyone who faces regular winter snowfall—especially on driveways longer than 20 feet or with more than 2 inches of accumulation. It’s a moderate-difficulty task that takes 15–45 minutes depending on snow depth and area size, and requires attention to safety, machine setup, and technique—not just pulling a cord.
Overview
| Skill Level | Time Required | Tools Needed | Estimated Cost |
|---|---|---|---|
| Beginner to intermediate | 15–45 minutes per session | Snow blower, fuel/oil (if gas), gloves, eye protection | $0 (if you own one); $300–$3,200 to purchase |
Tools & Materials
| Item | Notes | Alternatives/Notes |
|---|---|---|
| Gas-powered or electric snow blower | Single-stage for light, wet snow up to 8"; two-stage for heavy, deep, or icy snow | Battery models work well for under 20' driveways; avoid corded electrics in wet conditions |
| Fresh gasoline + oil (for 4-cycle) | Mix only if required (check manual—most newer 4-cycles use straight gasoline) | Pre-mixed fuel for 2-cycle engines must be used within 30 days |
| Winter-rated gloves & safety glasses | Leather-palmed gloves with grippy texture prevent slippage on handles | Do not use touchscreen gloves—they reduce control and increase fatigue |
| Stiff-bristle push broom or roof rake | For clearing snow from walkways before blower use or finishing edges | A plastic snow shovel helps clean corners where the auger can’t reach |
Step-by-Step Instructions
1. Prepare the Area and Machine
Clear debris like rocks, toys, or garden hoses from the path. Check your blower’s oil level (if applicable), fuel level, and shear pins—these small metal rods snap to protect the auger if it hits hard objects. According to the U.S. Consumer Product Safety Commission’s 2022 Winter Injury Report, 6,200 snow blower-related injuries occurred last year—nearly half involved improper clearing of jams or failure to shut off the engine before maintenance.
2. Start the Engine Safely
For gas models: prime the carburetor (press bulb 3–5 times), set choke to “full” for cold starts, then pull the recoil cord smoothly—not jerkily. Once running, move choke to “run” after 30 seconds. For electric models: plug into a GFCI-protected outdoor outlet or insert fully charged battery. Never attempt to start while standing in snow—wet boots reduce traction and increase slip risk.
3. Begin Blowing With Proper Technique
Start at the farthest point from your garage or door and work backward toward it. Walk at a steady pace—about 2–3 feet per second—to let the auger and impeller do their job. Keep both hands on the handles and lean slightly forward for balance. Avoid twisting your torso; pivot your whole body when changing direction. On slopes, always move side-to-side—not up/down—to prevent loss of control.
4. Handle Drifts, Ice, and Clogs
If snow exceeds the blower’s rated depth (e.g., >12" for most two-stage units), make multiple passes—start shallow, then deepen. For icy patches, apply calcium chloride granules 15 minutes before blowing, or use a de-icer spray first. If the auger jams, turn off the engine, wait 10 seconds for parts to stop spinning, then use the included auger-clearing tool—never your hands.
Pro Tips
Seasoned operators know timing matters more than power. The Insurance Institute for Business & Home Safety’s 2023 Winter Preparedness Guide recommends clearing snow when it reaches 2–3 inches—waiting until 6+ inches increases strain on the machine and doubles clearing time. Also, never run a snow blower indoors or in enclosed spaces—even with ventilation—due to carbon monoxide buildup.
“Most ‘broken’ snow blowers aren’t mechanically failed—they’re clogged, low on oil, or started with stale fuel. Always check the simple things first.” — Ken R., 28-year service technician at Northern Power Equipment Co. (2024)
- Store your blower upright (not on its auger housing) to prevent oil leaks into the carburetor
- After each use, wipe down chute and auger housing with a dry cloth to prevent rust
- Run the engine for 30 seconds without load after clearing to burn off residual moisture
Why does my snow blower vibrate excessively?
Excessive vibration usually signals a bent auger blade, worn shear pins, or unbalanced impeller. Shut down immediately and inspect. A bent auger won’t throw snow cleanly and can damage the gear case over time. Replace shear pins with OEM parts only—aftermarket ones often fail too soon or too late.
Can I use my snow blower on gravel or dirt driveways?
Yes—but with caution. Single-stage blowers contact the ground directly and will pick up stones, risking damage to the auger or nearby windows. Two-stage models float above the surface and are safer, but still require slower speeds and frequent inspection for debris buildup. Consider installing edging stones or paver borders to minimize gravel intrusion.
How often should I change the oil?
Every 25 hours of operation—or once per season, whichever comes first. For new machines, change oil after the first 5 hours. Use SAE 5W-30 synthetic oil in temperatures below 10°F; conventional 5W-30 works fine above that. Skipping oil changes causes 37% of premature engine failures, per Briggs & Stratton’s 2023 Field Service Data Summary.
My chute won’t rotate or clear snow sideways—what’s wrong?
First, check if the chute rotation cable is frozen or frayed—it’s the most common cause. Lubricate with white lithium grease, not WD-40 (which attracts dust). If the motor spins but the chute doesn’t move, the gearbox may need servicing. Don’t force rotation by hand—it can strip internal gears.
Is it safe to use a snow blower in freezing rain or sleet?
Not ideal. Wet, dense sleet clogs chutes faster and increases the chance of ice buildup inside the auger housing. If you must clear during mixed precipitation, run the blower at full throttle and pause every 90 seconds to check for blockages. Better yet, wait until temperatures rise above 20°F and sleet turns powdery.
How do I store my snow blower for summer?
Drain fuel or add stabilizer and run the engine until it stalls (to clear carburetor). Change oil, replace air filter, grease all zerk fittings, and store upright in a dry, covered space. Cover loosely with a breathable fabric—plastic traps condensation and promotes rust. For long-term storage, remove the spark plug and add 1 tsp of oil into the cylinder, then rotate the flywheel slowly to distribute it.
With practice, snow removal becomes predictable—not punishing. You’ll gain confidence after two or three storms, especially once you learn your machine’s rhythm and limits. Pair this skill with knowing how to winterize outdoor faucets and how to insulate your garage door, and you’ll cut your winter workload by nearly half. Stay warm, stay safe, and keep that driveway clear.