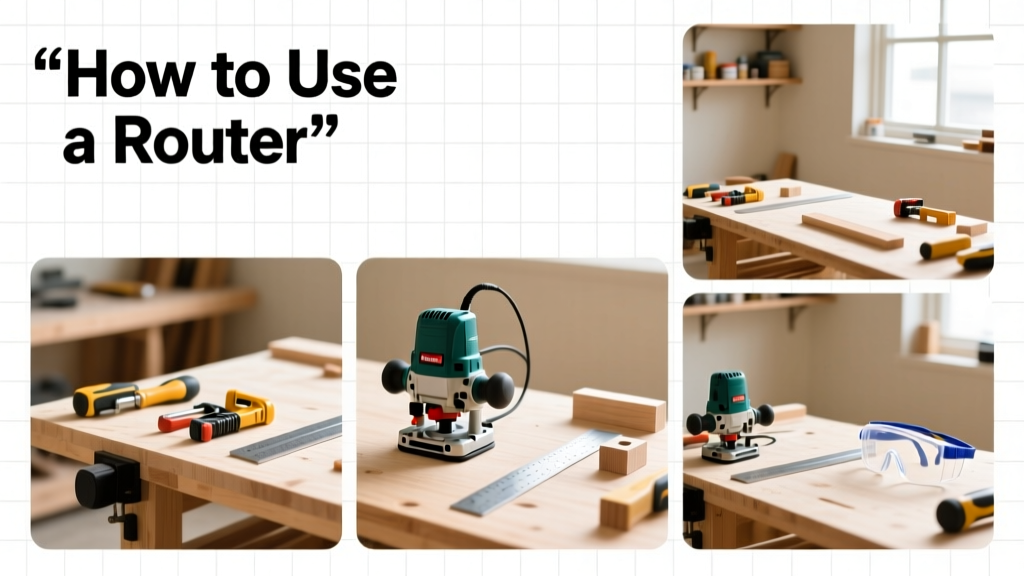
Using a router is a foundational woodworking skill that unlocks precision shaping, clean edges, and strong joints—but it demands respect for its power and geometry. This tutorial walks you through safe, repeatable router operation from setup to cleanup. Difficulty: Moderate (requires focus and steady hands). Time: 45–90 minutes for first full project.
Overview
| Skill Level | Time Required | Tools Needed | Estimated Cost |
|---|---|---|---|
| Beginner-friendly with supervision; intermediate for freehand work | 30 minutes setup + 15–60 min per routing task | Router, bit, clamps, straightedge or template, safety gear | $0 (if renting) to $120 (entry-level combo kit) |
Tools & Materials
| Item | Details & Notes |
|---|---|
| Fixed-base or plunge router | Fixed-base preferred for edge work; plunge for interior cuts (e.g., mortises). Bosch Colt (1.25 HP) or DeWalt DW618 are reliable entry models. |
| Router bits (¼" shank) | Start with a ½" straight bit (for dados), roundover (¼" radius), and chamfer (45°). Always match shank size to collet. |
| Straightedge guide or router fence | Aluminum extrusion (e.g., Kreg Precision Router Table Fence) or shop-made hardwood fence with sacrificial subfence. |
| Safety gear | ANSI Z87.1 safety glasses, N95 respirator (router dust is fine and hazardous), hearing protection (≥105 dB noise level). |
| Clamps & workholding | Two 12" bar clamps minimum; avoid over-tightening softwoods. Use non-marring pads on clamp faces. |
Step-by-Step Instructions
1. Prepare Your Workpiece and Workspace
Secure your stock to a flat, stable surface—never hold it by hand. Mark cut lines clearly using a combination square and pencil. Vacuum sawdust from the work area; even small debris can deflect the bit or cause kickback. Check that your router base plate is clean and scratch-free—any gouge or buildup throws off depth accuracy.
- Tip: Tape over pencil lines where the bit will ride—prevents smudging and gives visual alignment reference.
- Warning: Never route end grain unsupported. Clamp a backer board behind the cut zone to prevent blowout.
2. Install and Set the Bit
Unplug the router. Loosen the collet nut with the included wrenches (never use adjustable pliers—they damage the nut). Insert the bit no less than ¾" into the collet; shallow insertion risks slippage under load. Tighten the collet firmly while holding the shaft stationary with the second wrench. Then set depth: adjust the micro-fine depth stop or use the ruler scale on the base. For a ½" deep groove, lower the bit until the cutting edge just touches the workpiece, then dial down ⅛" increments until final depth is reached.
- Tip: Test depth on scrap of identical material—especially critical when routing hardwoods like maple or walnut.
- Warning: Never adjust depth while the router is running—even with plunge routers. Power off and recheck lock rings.
3. Make Your First Pass
Hold the router with both hands: dominant hand on the rear handle, non-dominant on the front knob or D-handle. Turn it on *before* contacting wood—let it reach full RPM (typically 20,000–24,000 rpm). Move left-to-right against the bit’s rotation (i.e., climb-cut only for very light passes or specialized tasks; conventional feed is safer for beginners). Feed steadily—no hesitation, no forcing. Let the bit cut; pushing too hard burns the bit and scorches wood.
“Routers remove material aggressively but forgive nothing. If you hear a high-pitched whine or smell burning, stop immediately—you’re feeding too slowly or the bit is dull.” — Wood Magazine, Router Safety Handbook, 2022
4. Clean Up and Maintain
Unplug and let the router cool for 2 minutes. Brush dust from vents and base with a soft brass brush—not steel, which scratches aluminum. Wipe the collet and shaft with a lint-free cloth dampened with denatured alcohol to remove pitch buildup. Store bits in labeled foam slots; inspect carbide edges under magnification—replace if chipped or glazed. Re-lubricate depth adjustment gears annually with white lithium grease.
Pro Tips
Avoid the most common beginner errors: routing too deep in one pass (max ⅛" per pass in hardwood), skipping test cuts, or ignoring bit direction relative to grain. Grain reversal causes tear-out—always route with the grain on visible faces. Use a backing board when routing near edges to minimize splintering.
According to the U.S. Consumer Product Safety Commission’s 2023 injury report, 68% of router-related injuries involved improper bit installation or loss of workpiece control—both preventable with proper clamping and collet discipline.
Can I use a router on plywood?
Yes—with caveats. Use sharp bits and slow feed rates. Edge-banding plywood? Rout the profile *after* glue-up and sanding, not before. Avoid routing across veneer seams; instead, align cuts parallel to the face grain. For clean exits, attach a sacrificial backer board and rout through both layers.
Why does my router bit wobble?
Wobble almost always means one of three things: (1) The collet is worn or dirty—clean or replace it every 18 months; (2) The bit shank isn’t fully seated—reinstall with firm pressure and proper wrench torque; or (3) You’re using a long-reach bit without support—add a guide bushing or switch to a shorter bit.
What’s the safest way to rout inside corners?
Don’t try to rout a perfect 90° interior corner freehand—it’s unstable and dangerous. Instead, make two overlapping straight passes with a straight bit, then clean up the corner with a sharp chisel or file. For consistent results, use a template with a ¼" guide bushing and a ¼" straight bit—this method eliminates corner rounding and ensures repeatability.
Do I need a router table?
No—for basic edge work and joinery, a handheld router suffices. But if you frequently cut rabbets, raised panels, or cope-and-stick doors, a router table (how to build a router table) adds safety and precision. It also lets you use smaller bits (like ⅛" slot cutters) that would be unsafe handheld.
How often should I sharpen router bits?
Carbide-tipped bits last 15–30 hours of actual cutting time depending on material. Softwoods extend life; MDF, particleboard, and laminates wear bits faster. Sharpen when you notice increased motor strain, smoke, or fuzzy edges. Send to a pro service like Infinity Tools or sharpen yourself with a diamond paddle (only for straight bits—profile bits require specialty fixtures). Don’t wait until performance drops; preemptive sharpening preserves geometry.
Can I rout metal or plastic?
Routers are designed for wood and wood composites. While some users rout acrylic with special bits and ultra-slow feeds, it’s risky without coolant and chip evacuation. Never route steel, aluminum, or PVC—bit deflection, melting, or shattering can occur. For those materials, use a mill, bandsaw, or CNC machine instead. See our guide on how to cut acrylic safely for alternatives.
Mastering the router isn’t about speed—it’s about consistency, preparation, and listening to the tool. Every clean edge and tight joint starts with the same fundamentals: secure work, sharp bit, correct depth, and controlled feed. Once you’ve routed five clean dados or three flawless roundovers, you’ll feel the confidence to tackle dovetails, inlays, or custom moldings. Keep your bits sharp, your clamps tight, and your fingers well clear—and you’ll turn raw lumber into heirloom-quality work.