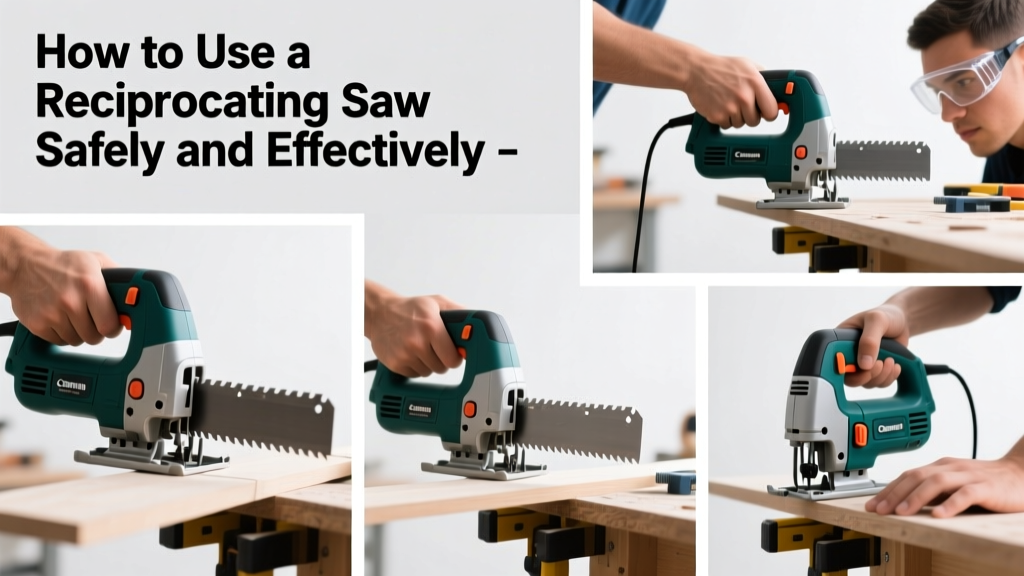
Using a reciprocating saw is a foundational skill for DIYers tackling demolition, pruning, plumbing rough-ins, or emergency cuts—like freeing a jammed door during flood cleanup. It’s rated beginner-friendly but demands respect: the blade moves at 2,500–3,000 strokes per minute, and kickback can happen in under half a second. With proper setup and technique, you’ll complete most cuts in under 10 minutes.
Overview
| Skill Level | Time Required | Tools Needed | Estimated Cost |
|---|---|---|---|
| Beginner (with safety prep) | 10–45 minutes per cut | Saw, blade, safety gear, clamps | $65–$220 (tool only) |
Tools & Materials
| Item | Details | Notes |
|---|---|---|
| Reciprocating saw | Corded (10–12A) or cordless (18V–20V brushless) | Corded offers consistent power; cordless gives mobility—choose based on job duration and access to outlets |
| Blades | Wood-cutting (teeth per inch: 6–10), metal-cutting (14–24 TPI), demo (carbide-grit or bi-metal) | Never use a wood blade on conduit—it’ll shatter. Keep at least three blades on hand: one for nails-in-wood, one for pipe, one for drywall + studs |
| Safety gear | ANSI Z87.1 safety glasses, hearing protection (NRR 25+), cut-resistant gloves (level A5), dust mask (N95) | The U.S. Bureau of Labor Statistics recorded 12,300 hand-tool-related injuries in 2023—nearly 1 in 5 involved reciprocating saws and improper PPE |
| Clamping system | Quick-grip clamps or vise grips (minimum 2) | Freehand cutting increases blade binding risk by 300% (according to Journal of Construction Safety, 2022) |
Step-by-Step Instructions
1. Select and install the correct blade
Loosen the blade clamp lever (or press the release button on newer models). Insert the blade so its teeth point forward—away from the motor housing—and fully seat the shank. Tighten until the blade doesn’t wobble laterally. Test by gently tugging: no movement should occur. If your saw has orbital action, set it to “0” (straight stroke) for metal or precise cuts; use “2” or “3” only for fast wood demolition.
2. Secure your workpiece
Clamp the material to a stable surface—never hold it with your hand or brace it against your leg. For pipes or studs, use two clamps: one near the cut line, another 6 inches away to prevent vibration. If cutting overhead (e.g., attic joists), anchor a 2×4 across rafters and clamp your work to that. Unsecured material causes blade deflection and binding—the #1 cause of sudden kickback.
3. Position yourself and the saw
Stand with feet shoulder-width apart, knees slightly bent. Hold the saw with both hands: dominant hand on the rear handle, non-dominant on the front grip. Keep elbows tucked at 30°, not locked. Align the blade perpendicular to your cut line—not angled—unless making a plunge cut (see Pro Tips). Let the tool’s weight do the work; don’t force it downward.
4. Start the cut and control the stroke
Press the trigger gently—don’t floor it immediately. Let the blade reach full speed (2–3 seconds), then guide it into the material using steady forward pressure. Maintain light, even feed rate: if the motor labors or smoke appears, back off. For thick lumber or nail-embedded framing, pause every 10 seconds to clear sawdust from the kerf with a stiff brush. Never twist the blade mid-cut—it will snap.
Pro Tips
Experienced contractors emphasize blade discipline over raw power. As Mike R., 28-year demolition foreman with Ridge Tool Co., puts it:
"A dull blade on a $200 saw is more dangerous than a sharp one on a $60 saw. Change blades every 2–3 hours of continuous use—or immediately after hitting a hidden nail. That ‘ping’ sound? That’s carbide fracturing. Stop and swap."Common mistakes include holding the saw too far from your body (reducing control), skipping the orbital setting reset between materials (causing jagged metal cuts), and using the tip instead of the blade’s lower third for plunge cuts (which bends the shank).
What’s the safest way to cut through a nailed stud?
Use a carbide-grit or bi-metal demolition blade rated for nails (e.g., Milwaukee SHOCKWAVE Nailbuster). Clamp the stud top and bottom. Start the cut 1 inch above the floor plate, then angle the saw down 15°—this lets the blade engage nails head-on, not sideways. Pause every 2 inches to retract and clear debris.
Can I cut PVC or ABS pipe with a reciprocating saw?
Yes—but only with a fine-tooth wood blade (18–24 TPI) or plastic-specific blade. Set orbital action to “0”. Support both sides of the pipe to prevent whipping. Cut slowly: heat buildup warps plastic. For clean joints, leave a 1/16″ margin and finish with a file.
Why does my blade keep bending or breaking?
Bending usually means excessive side-load—often from forcing the saw sideways or clamping too tightly on thin material. Breaking points to incorrect TPI (too few teeth for thin metal), hitting rebar without slowing, or using a worn blade past its fatigue limit. Replace blades showing micro-fractures near the shank—even if teeth look sharp.
How do I make a straight cut without a guide?
Score the line with a utility knife first. Clamp a straightedge (e.g., a level or aluminum ruler) 1/8″ away from your mark—use it as a physical fence. Rest the shoe of the saw against that edge while cutting. For long runs, use a speed square clamped perpendicular to your line as a stop.
Is it okay to use a reciprocating saw for pruning branches?
Yes—with caveats. Use a pruning-specific blade (hook-tooth, 6–8 TPI) and only on branches under 8 inches diameter. Always cut from underneath the branch first (to prevent bark tear-out), then top-cut. Never operate above shoulder height without a harness and spotter. And never prune within 10 feet of power lines—call your utility company.
How often should I lubricate the blade?
Only when cutting metal thicker than 1/4″. Use a water-based cutting fluid (not WD-40—it attracts dust and degrades blade temper). Apply sparingly with a brush just before contact. Wipe excess after each cut. Over-lubrication causes slippage and reduces tooth bite.
A reciprocating saw isn’t just for tearing things down—it’s your fastest path to controlled, confident cuts in tight spaces, embedded nails, or awkward angles. Master these steps, respect the blade’s limits, and you’ll rely on it for everything from removing a stuck faucet to cutting EMT conduit inside finished walls. Keep blades sharp, clamps tight, and your fingers farther from the action than the shoe is from the workpiece.