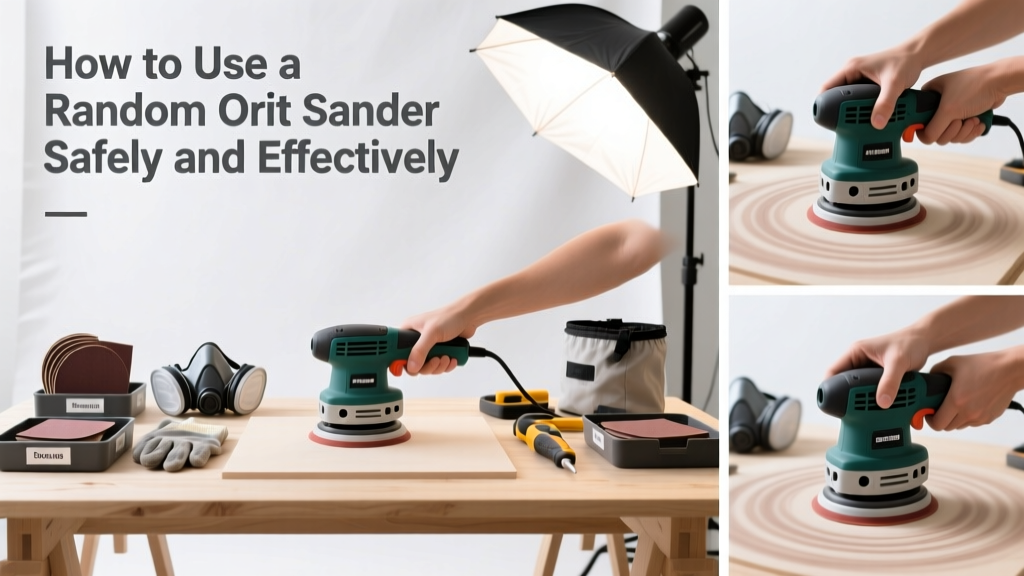
Using a random orbit sander is a foundational skill for anyone refinishing furniture, prepping walls for paint, or smoothing cabinet doors. It’s beginner-friendly but demands attention to pressure, speed, and paper selection—get it wrong and you’ll leave swirls or uneven dips. With practice, you’ll complete most light-to-medium sanding tasks in under 30 minutes.
Overview
| Category | Detail |
|---|---|
| Skill Level | Beginner (requires hand-eye coordination, not technical expertise) |
| Time Required | 15–45 minutes per surface, depending on material and finish goal |
| Tools Needed | Random orbit sander, sanding discs (60–220 grit), dust collection system or shop vac, safety glasses, N95 mask |
| Estimated Cost | $45–$180 (tool only); $8–$22 for 10-pack of quality hook-and-loop discs) |
Tools & Materials
| Item | Specifications & Notes |
|---|---|
| Random Orbit Sander | 6-inch pad (standard size); 12,000–14,000 OPM (orbits per minute); variable speed control preferred. Avoid palm-grip models for large surfaces—they lack stability. |
| Sanding Discs | Hook-and-loop backing (not PSA/adhesive); aluminum oxide or ceramic blend; grits: 80 (coarse removal), 120 (smoothing), 180–220 (final prep). Never reuse worn discs—they load up and overheat. |
| Dust Collection | Integrated vacuum port + HEPA-rated shop vac (U.S. EPA estimates indoor air particle counts rise 300% without proper dust capture during sanding). |
| Personal Protection | ANSI Z87.1 safety glasses, N95 respirator (not surgical mask), hearing protection if running >10 min continuously. |
Step-by-Step Instructions
1. Prepare Your Workpiece and Workspace
Clamp your workpiece securely to a bench or sawhorses—never hold it freehand. Clear the area of rugs, loose papers, and cords. Plug in your sander and attach your shop vac to the dust port *before* powering on. Lay down a drop cloth: fine sanding dust embeds in carpet fibers and stays airborne for hours.
- Tip: Wipe the surface with a tack cloth first—dust and oil reduce disc grip and cause chatter.
- Warning: Never sand near open flames or gas appliances. Sanding aluminum or fiberglass can create combustible dust.
2. Install the Sanding Disc Correctly
Turn off and unplug the sander. Press the disc firmly onto the pad—center it, then press outward to engage all hook-and-loop points. Give it a firm tug at the edge: if it lifts easily, reseat it. A poorly attached disc wobbles, causes vibration, and can detach mid-sand.
- Tip: Use a disc with the same brand as your sander when possible—some pads have tighter loop density than others.
- Warning: Don’t force a disc that won’t seat. Check for debris on the pad or disc backing.
3. Set Speed and Begin Sanding
Start at the lowest speed setting (usually 1–2 on a 6-speed dial) and gradually increase as you assess resistance. Move the sander in slow, overlapping figure-8 patterns—not side-to-side or circular motions. Let the tool do the work: apply only light downward pressure (1–2 lbs max). Excessive pressure flattens the pad’s orbit action and creates flat spots.
4. Change Grits and Inspect Progress
After your first pass, wipe the surface with a damp microfiber cloth and inspect under angled light. If scratches remain deep or directionally aligned, you’re moving too fast or pressing too hard. Switch to the next finer grit only after the previous one has fully erased its own scratches. For example: 80 → 120 → 180. Skipping grits leaves visible transitions.
"Most swirl marks aren’t from bad technique—they’re from using 120-grit paper on soft pine and calling it done. Always finish with at least one grit finer than your goal surface texture." — Mike Torres, master wood finisher and instructor at The Woodworking School (2022)
Pro Tips
Random orbit sanders excel at blending, not aggressive stock removal. If you’re removing more than 1/32″ of material, switch to a belt or detail sander first. Keep your discs clean: tap them against your leg every 60 seconds to dislodge clogged particles. And never run the sander stationary on one spot—it burns the paper and heats the substrate.
- Avoid “ghost swirls” by sanding with the grain on final passes—even with orbital motion, grain alignment improves finish clarity.
- Replace discs every 8–12 minutes on hardwood; every 4–6 minutes on MDF or painted drywall.
- Store discs in a sealed plastic bin—humidity degrades abrasive bonds faster than heat.
Can I use a random orbit sander on drywall?
Yes—but only for light feathering of joint compound or smoothing minor ridges. Use 120–150 grit and run at low speed. Never use coarse grits or high pressure: you’ll cut through paper tape or gouge the gypsum core. For broad drywall prep, a pole sander or drywall sanding pole is safer and more consistent.
Why does my sander leave swirl marks even at low speed?
Three likely causes: (1) Using a worn or glazed disc—replace it; (2) Moving too quickly across the surface—slow down to ~1 inch per second; (3) Sanding over a dirty or oily surface—clean with denatured alcohol before resuming. Also verify your pad isn’t warped: place a straightedge across it—if light shows underneath, replace the pad.
Do I need a dust collector, or is the built-in port enough?
The built-in port is useless without a vacuum. According to the National Institute for Occupational Safety and Health (NIOSH, 2021), sanding without active dust extraction exposes users to respirable crystalline silica levels exceeding OSHA limits in under 90 seconds. A shop vac with a HEPA filter and sealed hose connection reduces airborne particles by 92% versus no vacuum.
Can I sand curved or contoured surfaces?
You can—but only gently. The 6-inch pad bridges small curves well; for tight radii (e.g., chair spindles or cabinet moldings), use a detail sander or sand by hand with a flexible block. Pressing a rigid pad into a curve forces uneven contact and burns edges.
What’s the difference between random orbit and dual-action (DA) sanders?
They’re functionally identical in consumer tools. “Dual-action” is an older term describing the same eccentric + orbital motion. Some pro-grade DA sanders offer larger pads (7–8 inches) or higher orbit amplitude—but for home use, “random orbit” and “DA” refer to the same tool class. Don’t pay a premium for the label alone.
How often should I clean the sander’s pad and housing?
Wipe the pad and vent slots with a stiff-bristled brush after every session. Compressed air works well—but never blow dust toward your face. Every 10 hours of runtime, remove the pad and vacuum inside the housing. Clogged vents cause motor overheating and premature bearing failure. Check your manual: some models require pad replacement every 50–75 hours.
With these steps, you’ll move beyond just making wood smooth—you’ll learn how to make it ready for stain, paint, or clear finish. Practice on scrap first, track your time and grit progression, and remember: patience beats power every time. For deeper cuts or stubborn old paint, pair your random orbit sander with a chemical stripper or heat gun—never brute-force it.