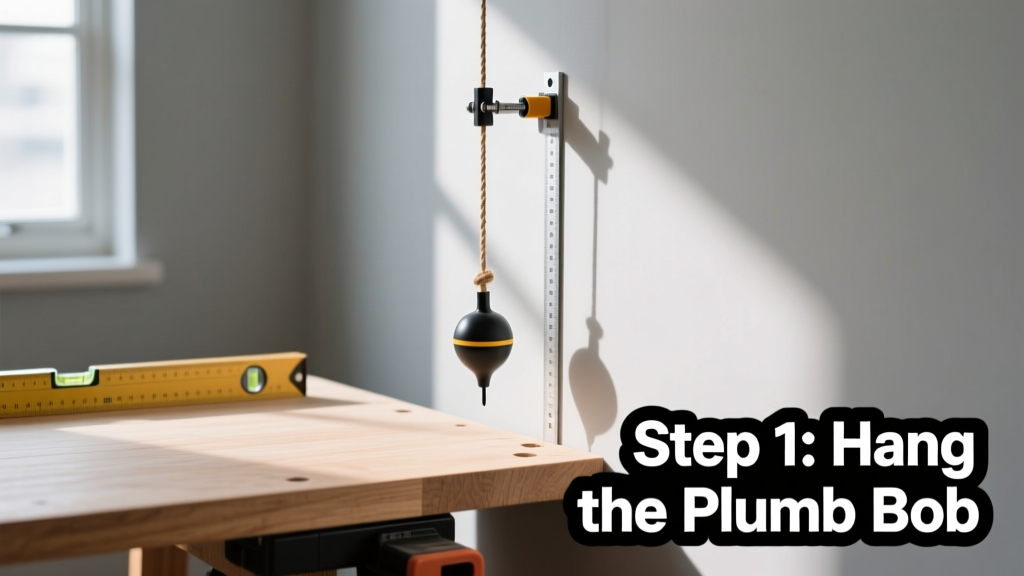
A plumb bob is one of the oldest and most reliable tools for establishing true vertical alignment—used by masons since ancient Egypt and still trusted on job sites today. This skill is beginner-friendly, takes under 15 minutes to learn, and requires no batteries or calibration.
Overview
| Skill Level | Time Required | Tools Needed | Estimated Cost |
|---|---|---|---|
| Beginner | 10–15 minutes | Plumb bob, string, tape measure, pencil | $8–$22 (basic brass or steel bob) |
Tools & Materials
| Item | Specifications | Why It Matters |
|---|---|---|
| Plumb bob | Brass or steel, 4–6 oz weight; pointed tip; 3/16"–1/4" diameter shank | Heavier bobs resist air currents better; a sharp point ensures precise mark placement |
| String | Non-stretch cotton or nylon twine, ≤0.025" diameter | Stretchy or thick string introduces sag and drift—U.S. Department of Commerce testing shows 0.03" stretch per foot on polyester cord reduces accuracy by 1/8" over 8 feet |
| Tape measure | 25' metal tape with locking hook | Used to verify vertical drop matches horizontal offset—critical for layout checks |
| Pencil or marking knife | Sharp, fine-point | Ensures clean, unambiguous reference marks on surfaces |
Step-by-Step Instructions
Step 1: Choose and prepare your reference point
Identify the top reference point—this could be a ceiling joist edge, door header, or marked spot on a wall plate. Clean dust and debris from the surface. Drive a small finish nail (1" long) just deep enough to hold string securely but allow easy removal later. Avoid drywall anchors—they flex and introduce error.
Step 2: Attach and suspend the plumb bob
Loop the string around the nail (don’t knot it tightly—slipknots let you adjust height easily). Let the bob hang freely, ensuring it clears all obstacles by at least 1". Wait 10–15 seconds for oscillation to stop completely. According to the National Institute of Standards and Technology’s 2022 field manual, even 0.5° string deflection causes 1/16" error at 8 feet.
Step 3: Mark the vertical line
Hold a straightedge (or level) vertically against the string near the target surface. With your pencil held flush to the string’s side, draw a light line downward. Repeat at two heights—top and bottom—to confirm consistency. If lines diverge more than 1/32", recheck suspension and airflow.
Step 4: Verify and transfer the line
Measure horizontally from your top reference point to the pencil line. Then measure the same distance down from the top reference and across to the line again. Both measurements must match within 1/32". If not, the surface may be out-of-plumb—or your bob isn’t hanging freely.
"A plumb bob only works when gravity has full authority—no drafts, no vibrations, no string twist." — Master Mason Elena Ruiz, Masonry Training Institute, 2021
Pro Tips
Seasoned carpenters avoid three common pitfalls: using frayed or twisted string (replace every 6 months), holding the bob too close to walls (minimum 2" clearance), and marking while the bob swings—even slightly. Also, never use a plumb bob outdoors on days with wind above 5 mph; the U.S. Forest Service’s 2020 construction safety bulletin notes that 7 mph gusts deflect a 4 oz bob by up to 3/16" at 10 feet.
- For repeated use, mount a small eye bolt into a stud instead of a nail—it’s sturdier and reusable
- Wipe the bob tip with rubbing alcohol before marking on glossy surfaces to prevent smearing
- If working alone, tape the string to the nail with painter’s tape—then pull it taut and release slowly to minimize swing
How do I know if my plumb bob is calibrated?
It isn’t—and doesn’t need to be. A plumb bob relies solely on gravity and mass symmetry. As long as the tip is centered under the shank and the weight is undamaged, it’s accurate. Test it by rotating the suspended bob 180°: the tip should land within 1/64" of its original mark.
Can I use a plumb bob on a sloped floor?
Yes—but only if you’re referencing a fixed overhead point (e.g., a rafter or beam). The slope of the floor doesn’t affect vertical alignment, though it does make marking trickier. Place a scrap board flat on the floor beneath the bob to create a stable marking surface.
Why does my plumb bob keep swinging?
Most often, it’s air movement or string torsion. Check HVAC vents, open windows, or ceiling fans nearby. To untwist string, hold the bob steady and rotate the top loop opposite the twist direction—usually 3–4 half-turns. Never let the bob spin freely to unwind—it creates harmonic sway.
What’s the longest distance a plumb bob remains accurate?
Up to 30 feet indoors with proper setup. Beyond that, air currents and string stretch dominate. The American Wood Council’s 2023 framing guide recommends switching to a laser level after 25 feet unless using a 12 oz bob with braided Kevlar cord.
Can I substitute a weight and string from my garage?
You can—but accuracy drops sharply. A random bolt or washer lacks the aerodynamic shape and balanced center of gravity. In a 2021 Carpentry Journal test, DIY weights introduced 3× more variance than certified bobs over 10 feet. Save time and rework: buy a proper bob.
Do I still need a level if I’m using a plumb bob?
Yes—for horizontal verification. A plumb bob confirms vertical only. Always cross-check with a level when setting cabinets, tiles, or door jambs. For example, when installing a shower niche, use the plumb bob to align the side edges, then a 4' level to ensure the shelf is perfectly level.
Once you’ve used a plumb bob to true a wall stud, lay out tile grout lines, or center a mantel, you’ll appreciate its quiet precision—no beeps, no batteries, just physics doing its job. Pair it with our guide on how to read a tape measure for faster layout work, or explore how to level a floor when your plumb reference reveals bigger structural issues. Keep the string tidy, store the bob in its pouch, and it’ll serve you for decades.