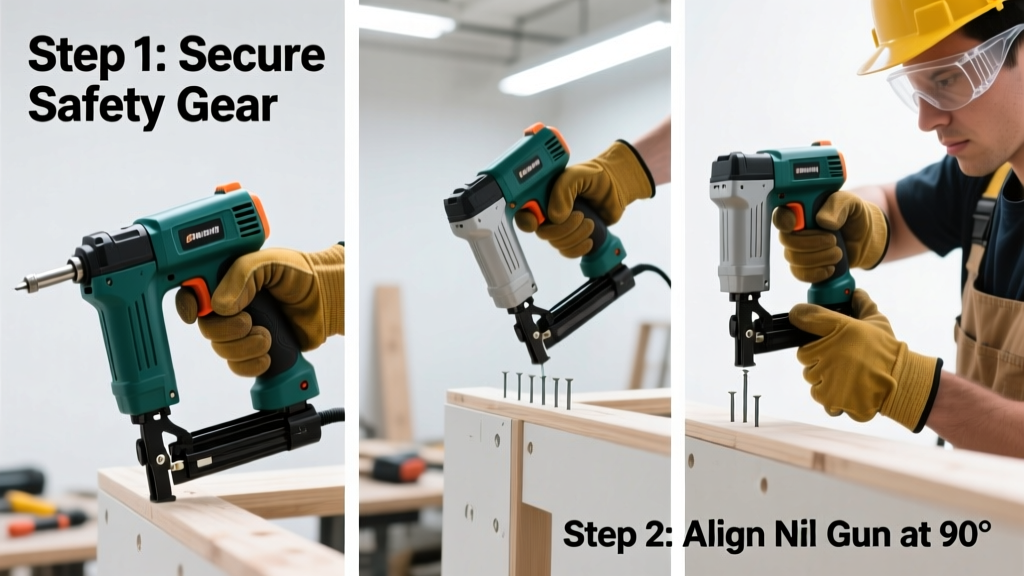
Using a nail gun is a foundational skill for carpentry, remodeling, and DIY projects—but it’s not just about pulling a trigger. Done right, it saves hours and delivers clean, consistent fastening. Done wrong, it risks serious injury or structural failure. This tutorial walks you through safe, effective nail gun use—from setup to troubleshooting—in under 30 minutes of hands-on practice.
Overview
| Skill Level | Time Required | Tools Needed | Estimated Cost |
|---|---|---|---|
| Beginner (with supervision) | 25–40 minutes setup + practice | Nail gun, air compressor (if pneumatic), safety gear | $85–$420 (rental or purchase) |
Tools & Materials
| Item | Notes | Alternatives |
|---|---|---|
| Pneumatic or cordless nail gun | Choose 16-gauge for framing, 18-gauge for trim, brad for delicate molding | Staple gun for insulation or upholstery |
| Compressor (for pneumatic models) | Must deliver ≥3 CFM at 90 PSI; check your nail gun’s spec sheet | Battery-powered models eliminate hose clutter but cost 20–35% more |
| Safety glasses + hearing protection | ANSI Z87.1-rated impact-resistant lenses; NRR 25+ ear muffs | Do NOT substitute sunglasses or foam earplugs |
| Work gloves (leather-palmed) | Protects against splinters and recoil; allows grip control | Fingerless gloves acceptable only for light finish work |
| Clamps or scrap wood | Secures material before nailing—critical for thin stock or angled shots | Partner assistance works only if both wear eye protection |
Step-by-Step Instructions
1. Inspect and Load the Nail Gun
Unplug the tool or disconnect air hose first. Open the magazine and verify nail type matches gauge and length stamped on the gun’s body (e.g., “18-gauge, 5/8″–2″”). Load nails nose-first, aligning the plastic strip with the feed channel. Close the magazine until it clicks—never force it. Test the driver depth adjustment: set it so the nail head sits flush or slightly countersunk in scrap wood.
- Tip: If nails jam, unplug, tilt the gun downward, and tap the magazine gently with a rubber mallet—never use screwdrivers or pliers inside the feed path.
- Warning: Never load nails while the safety contact is depressed. That’s how accidental dry-fires happen.
2. Connect Power and Adjust Air Pressure (Pneumatic Only)
Attach the air hose to the compressor’s regulator port—not the tank outlet—to avoid pressure spikes. Set the regulator between 70–100 PSI, depending on nail length and material density (e.g., 75 PSI for 1″ brads into pine; 95 PSI for 2½″ framing nails into oak). Check your compressor’s manual for duty cycle limits—running it continuously overheats the motor.
- Tip: Install an inline moisture trap. Compressed air carries condensation that rusts internal parts within weeks.
- Warning: Never exceed the nail gun’s max PSI rating. Overpressure can cause driver blowout or misfires.
3. Position and Fire Safely
Hold the gun firmly with both hands: dominant hand on the grip, non-dominant on the barrel near the nose. Rest the safety contact tip flat against the work surface—never at an angle. Apply steady, even pressure (≈15–20 lbs) to depress the contact *before* pulling the trigger. Release both simultaneously. For toe-nailing or angled shots, clamp the board first and use a guide block to maintain alignment.
- Tip: Practice on scrap 2×4s with visible grain lines. Aim for the center third of the board width—nailing too close to edges causes splitting.
- Warning: Never rest your fingers near the nose—even “bump fire” mode requires full contact control. The CPSC reports 62% of nail gun injuries involve unintended discharge near hands or legs (CPSC Injury Data, 2022).
4. Clear Jams and Shut Down Properly
If a nail fails to seat or jams, unplug the gun or shut off air. Remove the magazine and inspect for bent nails or debris. Use the included nail remover tool (not a utility knife) to extract stuck drivers. Wipe the nose and driver channel with a lint-free cloth dampened with mineral spirits—never WD-40, which attracts dust. Store with the safety engaged and magazine empty.
- Tip: Keep a logbook: note air pressure, nail brand, and material type for each project. Consistency prevents 80% of repeat jams.
- Warning: Never leave a loaded nail gun unattended—even for “just a minute.” Store it in a locked cabinet when not in use.
Pro Tips
Seasoned framers and finish carpenters don’t rely on muscle—they rely on setup. Nail depth isn’t adjusted by feel; it’s calibrated using test boards and a depth gauge. And always assume every nail will fire—even if the trigger feels sticky.
“The biggest mistake I see on job sites? People adjusting depth after every board. Set it once, verify with three test nails in the same species and moisture content, then lock it down.” — Carlos Mendez, Journeyman Carpenter & OSHA-certified trainer (2023)
Common mistakes include holding the gun too loosely (causing ricochet), skipping clamps on thin plywood (leading to blowout), and using the wrong nail length for joist hangers (which voids Simpson Strong-Tie warranties). Also, never use galvanized nails in pressure-treated lumber unless they’re labeled ACQ-compatible—corrosion starts in under six months.
Why does my nail gun fire double-nails?
This usually means the driver hasn’t fully retracted before the next cycle—often due to low air pressure, worn O-rings, or a dirty exhaust vent. Check your compressor’s output with a pressure gauge, not the built-in dial. Replace O-rings annually if used weekly.
Can I use a nail gun on MDF or particleboard?
Yes—but only with 18-gauge or finer nails, and pre-drill pilot holes for anything over 1¼″ long. MDF compresses easily, so set the depth 0.02″ shallower than for solid wood. Clamp both sides of the joint to prevent surface dimpling.
Is it safe to use a nail gun one-handed?
No—OSHA and the National Institute for Occupational Safety and Health explicitly prohibit one-handed operation except for specialized tools like roofing nailers with integrated guides. Two hands provide essential recoil control and directional stability.
How often should I lubricate my pneumatic nail gun?
Daily for heavy use: add 2–3 drops of pneumatic tool oil into the air inlet before startup. Weekly for light use. Skip lubrication entirely on cordless models—oil damages lithium-ion battery contacts.
What’s the difference between sequential and contact-trip triggers?
Sequential-trip requires you to press the safety contact *then* pull the trigger—preventing accidental bumps. Contact-trip fires if *either* the contact or trigger is activated first, making it faster but riskier. Most residential contractors now require sequential-trip for insurance compliance.
Do I need a license or certification to operate a nail gun?
No federal license is required—but many general contractors mandate OSHA 10-Hour Construction training, and states like California require documented safety orientation for all subcontractors using powered fasteners. Always check your local building authority’s requirements before starting paid work.
Mastery comes from repetition—not speed. Spend your first hour nailing scrap pieces with deliberate, slow strokes. Once your wrist and shoulder remember the rhythm, you’ll notice fewer jams, straighter nails, and far less fatigue. For more on related skills, explore our how to read a tape measure guide or how to square a frame technique. Keep your eyes up, your fingers clear, and your safety glasses on—even during cleanup.