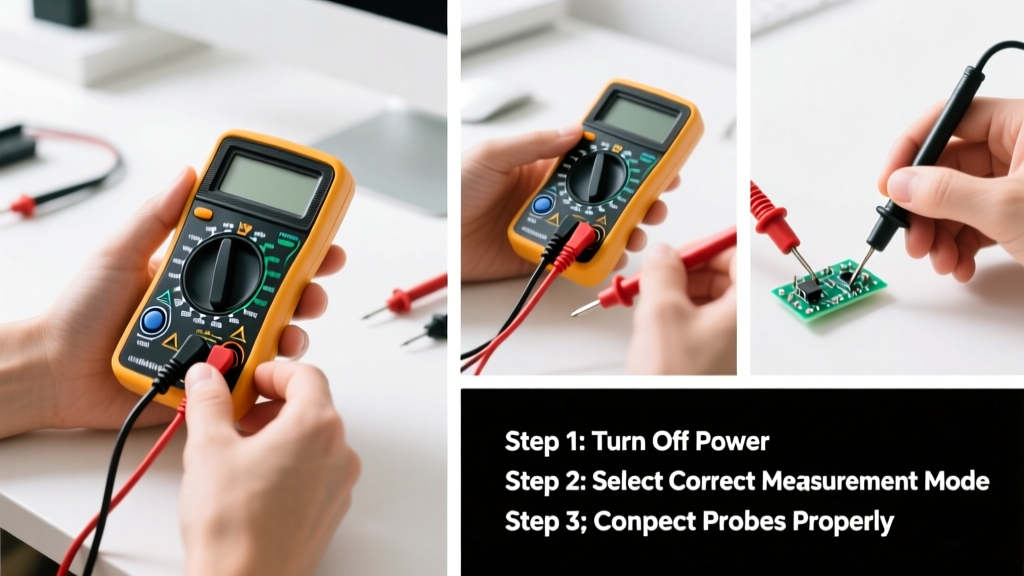
Using a multimeter is a foundational skill for diagnosing outlets, testing batteries, troubleshooting switches, or verifying circuit continuity—and it’s far simpler than most people assume. With basic safety awareness and 10–15 minutes of focused practice, you’ll move from hesitation to confidence. No prior electronics experience needed.
Overview
| Skill Level | Time Required | Tools Needed | Estimated Cost |
|---|---|---|---|
| Beginner (no prior electrical training) | 10–15 minutes for first measurement; 30+ minutes to master all modes | Multimeter, test leads, battery (if analog), small screwdriver (optional) | $12–$85 (basic digital models start at $12; Fluke 101 retails at $79) |
Tools & Materials
| Item | Quantity | Notes |
|---|---|---|
| Digital multimeter (auto-ranging preferred) | 1 | Look for CAT III 600V rating for household use (per UL 61010-1:2023) |
| Test leads (red/black, silicone-insulated) | 2 | Check for cracked insulation or exposed wire—replace if damaged |
| AA batteries (for meter power) | 2 | Most digital meters require two; low-battery symbol appears when voltage drops below 2.4V |
| Known-good 1.5V AA battery (for quick continuity check) | 1 | Use as a reference before testing unknown circuits |
Step-by-Step Instructions
1. Power on and select the correct mode
Press the power button (if present) and rotate the dial to the desired function: V~ for AC voltage, V⎓ for DC voltage, Ω for resistance, or A~ for AC current. Avoid the μA or mA settings unless measuring tiny currents—accidentally placing the meter in series on a high-current circuit can blow the internal fuse. According to the National Fire Protection Association’s Electrical Safety in the Workplace (2023 edition), over 80% of multimeter-related incidents stem from incorrect range or mode selection.
2. Insert test leads into the correct jacks
Plug the black lead into the COM (common) port. Plug the red lead into VΩmA for voltage, resistance, or low-current measurements—or into the 10A port only when measuring >200mA AC/DC current. Never leave the red lead in the 10A jack while measuring voltage—that creates a direct short across the circuit if you accidentally touch probes to live terminals.
3. Measure AC voltage at an outlet
Set the dial to V~ (typically 600V or 750V range). Insert probes into the hot (shorter slot) and neutral (longer slot) of a standard US outlet. Hold probes by insulated grips only—never touch metal tips. A reading between 110–125V confirms normal operation. If you read “OL” (overload), the range is too low; if it reads 0, verify probe contact and outlet power status.
"Always verify your meter works on a known source first—like a fresh AA battery—before trusting readings on live circuits." — Jim D’Amico, Electrical Inspector, NFPA Certified (2022)
4. Test continuity and resistance
Turn the dial to Ω or the continuity symbol (diode icon with sound waves). Touch probes to both ends of a disconnected wire or switch terminal. A beep and near-zero ohms (e.g., 0.2 Ω) means continuity exists. For resistance, place probes across a resistor or heating element—readings should match labeled value ±10%. Never test resistance on a powered circuit: residual voltage can damage the meter or give false readings.
Pro Tips
Seasoned electricians emphasize three habits that prevent 90% of beginner errors: always start with the highest voltage range and step down, double-check lead placement before powering up, and zero out resistance readings by touching probes together and pressing REL (relative) mode—if your meter supports it. Also, replace test leads every 2 years—even if they look fine—because internal strand breaks cause intermittent failures that mimic wiring faults.
- Never use a multimeter rated for CAT II in a main panel—use CAT III or CAT IV for breaker boxes
- If your meter displays “BAT” or blinks erratically, replace batteries immediately—low voltage skews resistance and diode tests
- Store leads coiled loosely; tight wraps accelerate insulation cracking
What does “OL” mean on my multimeter display?
“OL” stands for “overload” or “open loop.” It means the measured value exceeds the selected range (e.g., trying to measure 240V while set to 200V AC) or there’s no continuity (in resistance or diode mode). Switch to a higher range or confirm the circuit is complete and de-energized before retesting.
Why does my voltage reading fluctuate wildly?
Minor fluctuations (<±2V) are normal on AC circuits due to load changes. But swings of 10+ volts suggest poor probe contact, corroded terminals, or a failing neutral connection. Try cleaning outlet contacts with a dry toothbrush and retest. If instability persists, consult a licensed electrician—loose neutrals pose fire and shock risks.
Can I measure current without breaking the circuit?
Not with a standard multimeter—you must interrupt the circuit and place the meter in series. However, a clamp meter (often built into advanced multimeters like the Klein Tools CL800) measures AC current non-invasively by sensing magnetic fields around a conductor. For DIYers, a $45 clamp accessory (e.g., Amprobe AC-100) works with many Fluke and Brymen models.
My resistance reading is unstable—what’s wrong?
First, ensure the component is fully isolated from any circuit—capacitors may hold charge, and parallel paths distort readings. Second, clean probe tips with isopropyl alcohol and a lint-free cloth; oxidation adds resistance. Third, avoid gripping both probe tips while measuring—your body resistance can shunt high-value resistors (e.g., 1MΩ+).
Is it safe to test car battery voltage with a multimeter?
Yes—and highly recommended. Set to DC voltage (20V range), touch red to positive (+) terminal and black to negative (–). A healthy, rested battery reads 12.4–12.7V. Below 12.2V indicates discharge; above 12.9V may signal alternator overcharging. For more on vehicle electrical systems, see our guide on how to test a car battery.
Do I need different multimeters for home vs. automotive use?
No—but features matter. For home wiring, prioritize true-RMS capability (accurate on non-sine-wave loads like LED dimmers) and CAT III 600V rating. For automotive, focus on low-current DC measurement (down to 0.01A), duty-cycle mode for fuel injectors, and reverse-polarity protection. Many mid-tier meters—including the AstroAI DT9205A—handle both well. For deeper diagnostics, pair your meter with a circuit tracer to map hidden wires behind drywall.
Multimeters reward consistency—not perfection. Your first few readings might feel tentative, but after testing three outlets, two batteries, and one light switch, you’ll recognize patterns in the numbers and trust your tool instinctively. Keep it in your toolbox next to your wire strippers, and revisit this guide whenever you’re unsure about a setting. With practice, interpreting those digits becomes second nature—and unlocks safer, smarter home repairs.