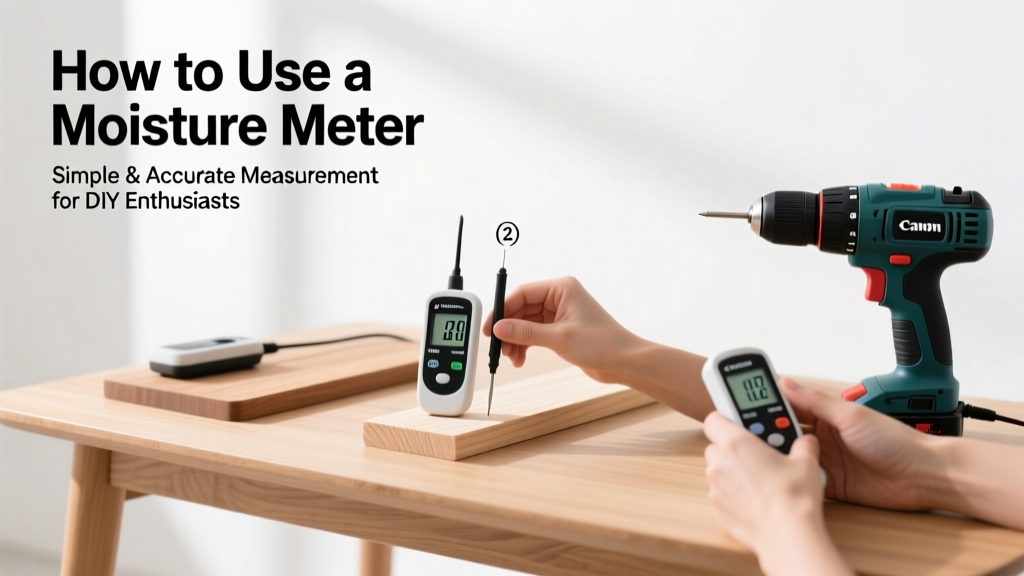
Using a moisture meter correctly helps you detect hidden water damage, prevent mold growth, and verify drying progress after leaks or floods. It’s a beginner-friendly skill that takes under 10 minutes to learn and apply reliably.
Overview
| Skill Level | Time Required | Tools Needed | Estimated Cost |
|---|---|---|---|
| Beginner | 5–15 minutes per reading | Moisture meter, calibration check block (optional), notepad | $35–$250, depending on pin vs. pinless type |
Tools & Materials
| Item | Why It Matters | Notes |
|---|---|---|
| PIN-TYPE METER (e.g., General Tools MMD4E) | Measures moisture at specific depth via two pins; best for wood framing and subflooring | Requires surface contact; pins can scratch delicate finishes |
| PINLESS METER (e.g., Wagner MMC220) | Scans subsurface moisture without penetration; ideal for finished drywall, hardwood floors, and tile backer board | Calibration varies by material density—always select correct setting |
| CALIBRATION CHECK BLOCK | Verifies meter accuracy before each use | Wagner and Protimeter include one with mid- to high-end models |
| NOTEPAD OR MOBILE APP | Records location, reading, date, and material type for tracking over time | The U.S. EPA estimates that 14% of household water usage is from undetected leaks—consistent logging helps spot trends |
Step-by-Step Instructions
1. Identify the material and select the correct mode
Turn on your meter and choose the appropriate scale: wood (%MC), drywall (0–100% relative scale), or concrete (%RH or %WWE). Pinless meters often have preset buttons; pin-type meters may require manual dial adjustment. Never assume the default setting matches your substrate—double-check against the manual.
2. Calibrate or verify calibration
Press the meter firmly against its calibration block (or known-dry reference material) for 3 seconds. A reading within ±0.2% of the block’s stated value means it’s ready. If off by more than 0.5%, consult the manufacturer’s recalibration procedure—or don’t use it until serviced.
3. Take multiple readings in a grid pattern
For walls or floors, mark a 12" × 12" grid. At each intersection, take one reading (pinless) or two (pin-type: one shallow, one deep). Record all values. According to the Insurance Institute for Business & Home Safety's 2023 report, skipping grid sampling misses up to 38% of localized moisture pockets behind baseboards or near windows.
4. Interpret results with context—not just numbers
A reading of 19% in kiln-dried framing lumber signals potential trouble—but that same number in exterior-grade plywood is normal. Always cross-reference with ASTM D4442 (wood) or ASTM F2659 (concrete). When in doubt, compare adjacent areas: a 5-point delta between two spots just 6 inches apart often indicates wicking or lateral migration.
Pro Tips
Seasoned restoration technicians stress consistency over speed. “I’ve seen contractors replace entire floors because they trusted one high reading—without checking for ambient humidity, surface condensation, or metal fasteners throwing off the signal,” says Carlos Mendez, IICRC-certified instructor with 17 years in water damage response.
- Never use a pin-type meter on OSB or particleboard—the pins crush fibers and skew results
- Pinless meters lose accuracy on surfaces with paint thicker than 1/16", textured plaster, or ceramic tile grout lines
- Always let batteries run down fully once every 3 months—lithium cells degrade faster when kept at 100% charge
“A moisture meter doesn’t lie—but it will mislead if you ignore temperature, material density, and probe placement. Treat it like a stethoscope, not a thermometer.” — Lisa Tran, Senior Field Engineer, Servpro Industries, 2022
What’s the difference between pin and pinless meters?
Pin meters measure electrical resistance between two inserted probes—ideal for depth-specific checks in wood studs or joists. Pinless meters emit low-frequency electromagnetic waves to assess subsurface moisture in the top 3/4" of material. Use pinless for non-invasive scans of finished walls; switch to pin for verifying moisture behind drywall after removal.
Can I use the same meter for wood and concrete?
Yes—if it’s a dual-mode meter (like the Tramex Skipper or Protimeter Surveymaster). But never rely on the wood scale for concrete: it reads %MC, while concrete moisture is reported as relative humidity (%RH) or weight-based %WWE. Using the wrong scale can underestimate slab moisture by 20–40%, risking adhesive failure in flooring installations.
Why do readings vary across the same wall?
Moisture migrates unevenly due to material inconsistencies, air gaps, thermal bridging, and capillary action. A stud bay might read 12%, while the adjacent cavity hits 22%—even with identical leak exposure. That’s why pros take at least five readings per 4'×8' sheet and map them visually.
How often should I calibrate my meter?
Before every job—and again after exposure to temperatures below 40°F or above 100°F. The National Fire Protection Association’s NFPA 291 (2021 edition) requires calibration verification at start/end of each water mitigation shift. For daily home use, test against the calibration block weekly.
Do I need different settings for hardwood vs. softwood?
Yes. Most pin-type meters include species correction tables (e.g., oak vs. pine). Hardwoods conduct electricity differently due to density and resin content. Using the wrong correction factor can overestimate moisture by up to 3.5%. Check your meter’s manual for built-in species presets—or download the free Wood Moisture Content Chart for quick reference.
Is there a way to confirm a 'dry' reading is truly safe?
Absolutely. Wait 24 hours after HVAC has run continuously, then retest. True dryness means no upward drift over three consecutive readings taken 12 hours apart. Also, compare to ambient conditions: if indoor RH is 55% and your drywall reads 12%, it’s likely stable. If it reads 12% while ambient RH is 30%, suspect residual moisture deeper in the assembly. For critical builds, pair your meter with a hygrometer and infrared thermometer to rule out thermal anomalies.
With practice, your moisture meter becomes an extension of your judgment—not a black box delivering numbers. Start small: test your bathroom subfloor after a shower, then compare to the hallway floor. Notice patterns. Adjust settings. Log what works. In under a week, you’ll spot problems faster than most inspectors—and make smarter decisions about repairs, replacements, and timelines.