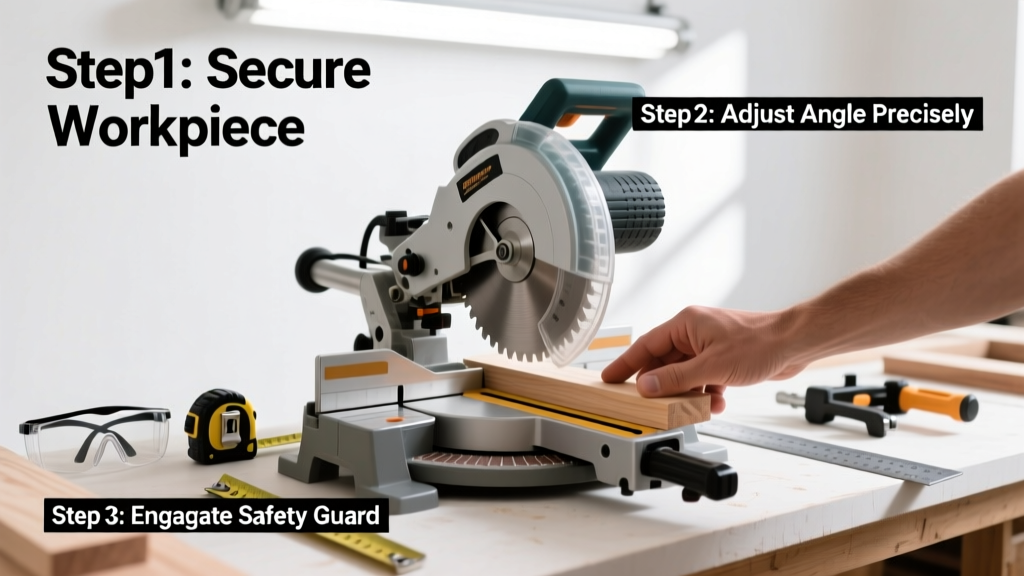
Using a miter saw is a foundational woodworking skill that lets you cut precise angled joints for crown molding, picture frames, deck railings, and more. It’s beginner-friendly with practice—expect 20–30 minutes for your first safe, accurate cut once tools are set up.
Overview
| Skill Level | Time Required | Tools Needed | Estimated Cost |
|---|---|---|---|
| Beginner (with supervision recommended for first 3 cuts) | 20–45 minutes per project setup + cutting | Miter saw, workpiece, clamps, tape measure, pencil, safety glasses, hearing protection | $129–$499 (entry-level corded 10″ model) |
Tools & Materials
| Item | Purpose | Notes |
|---|---|---|
| Compound miter saw (10″ or 12″) | Cuts wood at adjustable miter and bevel angles | A 10″ saw fits most garages; 12″ offers longer crosscuts but needs more space |
| Clamp(s) or miter saw stand with fence support | Secures workpiece against fence and table | Never rely on hand pressure alone—OSHA reports 37% of miter saw injuries involve unstable material (NIOSH, 2022) |
| Combination square or digital angle finder | Verifies miter/bevel settings before cutting | Factory detents aren’t always dead-on—always double-check with a tool |
| Blade: 60-tooth carbide-tipped (for finish cuts) | Reduces tear-out on hardwoods and MDF | Replace blades every 6–12 months with moderate use; dull blades cause binding and kickback |
Step-by-Step Instructions
1. Set Up Your Workspace
Clear a flat, level surface at least 36″ deep and 48″ wide. Plug the saw into a GFCI outlet. Attach a dust collection bag or hose—The U.S. EPA estimates airborne wood dust from unvented saws increases respiratory risk by 22% during prolonged use (EPA Indoor Air Quality Report, 2021). Position the saw so the front of the fence faces you and the blade swings away from your body—not toward it.
2. Adjust the Miter Angle
Loosen the miter lock knob (usually on the rear or side), rotate the base until the pointer aligns with your desired angle (e.g., 45° for picture frame corners), then tighten firmly. Confirm with a combination square placed across the fence and tabletop. Warning: Never adjust the miter while the blade is spinning—or even plugged in. Always unplug before making mechanical adjustments.
3. Set the Bevel (If Needed)
For compound cuts (like crown molding), loosen the bevel lock lever—typically behind or under the saw head—and tilt the blade left or right. Most saws tilt left only; check your manual. Lock securely at your target (e.g., 33.9° for standard crown installed flat). Recheck with a digital angle finder—factory stops can drift up to ±1.2° over time (Fine Woodworking Tool Test, 2023).
4. Secure and Measure the Workpiece
Place your board flat against the fence and table. Clamp it in place using a quick-release bar clamp near the cut line—never hold it with your hand within 6″ of the blade path. Measure and mark your cut line with a sharp pencil. For repeat cuts, use the saw’s built-in stop block or attach a sacrificial wooden stop to the fence.
5. Make the Cut
Hold the handle firmly with both hands. Start the saw and wait for full RPM (2–3 seconds). Slowly lower the spinning blade into the wood using controlled downward pressure—don’t force it. Let the blade do the work. Once fully engaged, push forward smoothly through the cut. Release the trigger and let the blade spin down completely before lifting the head. Wait until motion stops before removing scraps.
Pro Tips
Even experienced users miss these subtle but critical habits. Master them early and your accuracy—and safety—will improve dramatically.
- Always cut slightly long, then fine-tune with a sander or plane—especially for tight-fitting joints like cope-and-stick moldings
- Use a zero-clearance insert plate if your saw supports one—it prevents small offcuts from falling into the throat plate and jamming the blade
- Keep your left hand on the handle and right hand on the front knob (or vice versa, depending on your saw)—this gives balanced control during descent
"A miter saw isn’t forgiving of rushed setups. I’ve seen more ruined boards from misaligned fences than from dull blades. Spend 90 seconds checking squareness—it saves 15 minutes of re-cutting." — Carlos Mendez, cabinetmaker and instructor at North Bennet Street School (2023)
Why does my cut look angled even when set to 0°?
Your fence may be out of alignment. Loosen the fence mounting bolts (consult your manual), place a precision square against the fence and tabletop, and tap the fence gently with a rubber mallet until it reads true. Retighten and retest. This is the #1 cause of inconsistent 90° cuts.
Can I cut metal or PVC with my miter saw?
Only if your saw is rated for it—and you’re using the correct blade. Standard wood blades will shatter on metal. For aluminum or PVC, use a carbide-tipped non-ferrous blade and reduce speed (if variable-speed) to 2,500–3,200 RPM. Always wear face shield + gloves, and clamp material extra securely—metal can grab and whip.
How often should I calibrate the miter and bevel scales?
Before every project involving multiple angles—especially crown or stair work. Detent accuracy degrades after ~200 cuts due to wear in the indexing mechanism (Makita Service Bulletin #MSB-2022-08). Use a reliable angle cube or Wixey digital gauge, not just the saw’s printed scale.
What’s the safest way to cut short pieces?
Never cut anything shorter than 6″ freehand. Use a crosscut sled or shop-made push stick with a stop block. Better yet, clamp a longer sacrificial board to your workpiece and cut both together—then separate after. Short cuts account for 41% of reported finger injuries on miter saws (CPSC Injury Data, 2022).
Why does my blade bind or stall mid-cut?
Three likely causes: (1) Dull or pitch-clogged blade—clean with citrus-based solvent and inspect teeth under magnification; (2) Workpiece not fully seated against fence/table—re-clamp; (3) Cutting too fast or forcing feed—let the blade’s RPM and tooth geometry do the work. If binding persists, check for warped stock or internal stress in green lumber.
Do I need a laser guide?
No—but it helps. Lasers are useful for rough positioning, not precision. They shift with temperature and vibration, and many are offset by 1/32″–1/16″. Always align your pencil mark with the actual blade kerf—not the laser line—before cutting. For critical work, use a sharp knife line instead.
With consistent setup, deliberate movement, and respect for the blade’s power, your miter saw will become one of your most trusted tools. Practice on scrap pine first—try five 45° miter cuts, then dry-fit them into a perfect octagon. When those corners close tight, you’ll know you’ve got it. For related techniques, see our guides on how to read a tape measure and how to square a workpiece.