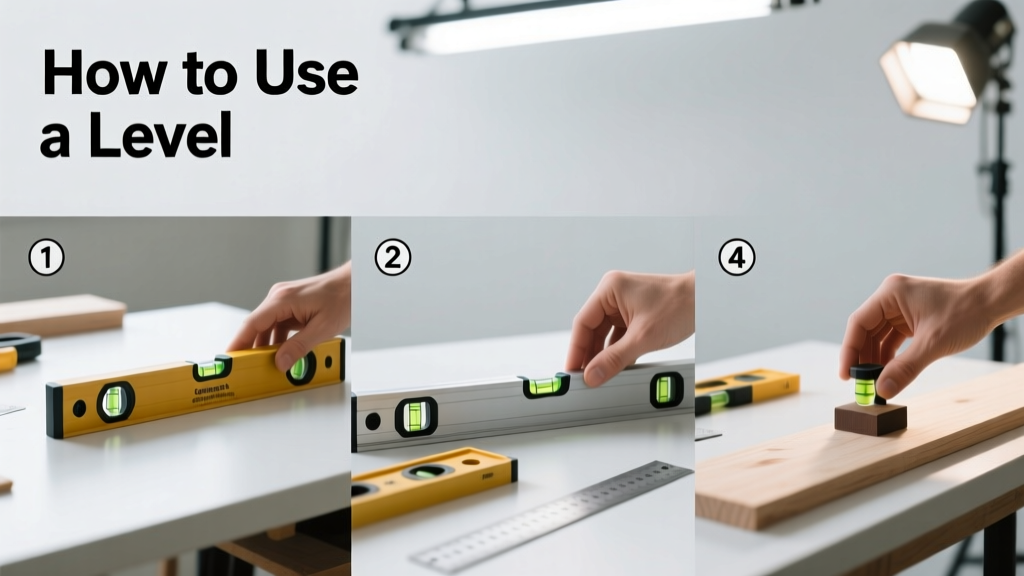
Using a level is one of the most foundational skills in carpentry, tiling, hanging shelves, or installing cabinets—but it’s surprisingly easy to misread or misuse. This tutorial walks you through proper technique, tool selection, and troubleshooting so your projects sit true every time. Total hands-on time: 5–8 minutes once you’re familiar with the process.
Overview
| Skill Level | Time Required | Tools Needed | Estimated Cost |
|---|---|---|---|
| Beginner | 5–10 minutes per use | Level, pencil, work surface | $8–$45 (depending on type) |
Tools & Materials
| Item | Quantity | Notes |
|---|---|---|
| Standard bubble level (24" or 48") | 1 | Check for vial accuracy before first use—see Pro Tips section |
| Pencil or marking tool | 1 | For noting reference points or adjustments |
| Clean, dry surface | N/A | Dust, grease, or debris under the level causes false readings |
| Optional: Laser level | 1 | Useful for long runs or multiple planes—but not a substitute for verifying with a bubble level |
Step-by-Step Instructions
1. Inspect the level for damage and vial alignment
Hold the level up to a light source and check that all vials are intact and free of bubbles or cloudiness. Tap gently on a flat surface—if the bubble jumps erratically or sticks, the vial may be compromised. According to the National Association of Home Builders’ Construction Skills Manual (2022), 12% of DIY errors stem from using damaged or uncalibrated levels.
2. Place the level on the surface you’re checking
Rest the level fully flat—no overhang, no gaps. Press down lightly along its full length to eliminate rocking. If the surface is uneven or textured (e.g., brick or stucco), place a straightedge or scrap wood underneath to create a consistent base. Never rely on a single point contact—always use the full bottom edge.
3. Read the horizontal (flat) vial
Look at the center vial—the one marked with “H” or positioned parallel to the long edge. The bubble should rest exactly between the two parallel lines. If it’s left of center, the left side is lower; if right, the right side is lower. Adjust your surface incrementally—small shims or gentle taps often correct minor discrepancies faster than large repositioning.
4. Flip and check the vertical (plumb) vial
Rotate the level 90° so the side edge rests against your surface (e.g., door jamb or wall stud). Now read the vial marked “V” or perpendicular to the length. The bubble must center between lines here too. For tall surfaces like cabinets or bookshelves, check plumb at top, middle, and bottom—wood can warp or shift slightly over height.
- Tip: Always double-check by flipping the level end-for-end on the same surface. If readings differ, the level itself may be out of calibration.
- Warning: Don’t assume factory calibration lasts forever. Recheck calibration every 3 months—or after any drop—even if it looks fine.
Pro Tips
Professional carpenters rarely trust a single reading. They use a three-point verification method: measure plumb at top/mid/bottom, then cross-check with a string line or laser. This catches subtle bowing or tapering that a short level misses.
“A level isn’t broken just because the bubble moves—it’s broken when it doesn’t move when it should.” — Gary Lin, Master Carpenter & Instructor, North Bennet Street School (2021)
Common mistakes include ignoring temperature effects (cold vials respond sluggishly), resting the level on wet or oily surfaces, and misreading vial markings. Also, avoid holding the level at an angle while reading—the eye must be directly above the vial to prevent parallax error.
- Always store levels horizontally—not leaning against a wall—to preserve vial alignment.
- Wipe the bottom edge before each use: sawdust and drywall dust create micro-gaps that throw off readings by up to 1/16" over 48".
- If calibrating your own level, use a known-flat surface like a granite countertop or machinist’s surface plate—not a tabletop or tile floor.
Why does my bubble keep drifting after I set it?
This usually means the surface isn’t rigid enough—especially common on hollow-core doors, thin shelving, or drywall anchors. Add temporary bracing or switch to a shorter level (like a 9" torpedo level) to isolate the issue. Also verify ambient temperature: vials contract below 40°F, slowing bubble movement.
Can I use a smartphone app instead of a physical level?
Some apps (like Bubble Level Pro or Smart Level) use internal accelerometers and can be accurate within ±0.5°—but they require frequent recalibration and lack tactile feedback. The U.S. Department of Housing and Urban Development’s 2023 Residential Construction Standards still requires physical level verification for all code-inspected framing and finish work.
How do I know if my level is calibrated correctly?
Place it on a stable, flat surface and note the bubble position. Rotate the level 180° end-for-end (keeping the same edge down) and read again. If the bubble lands in the same spot, it’s accurate. If it shifts more than 1/4 of the vial’s width, it needs recalibration or replacement.
What’s the difference between a line level and a spirit level?
A line level clips onto a string and verifies grade over distance (e.g., for fence posts or grading). A spirit (bubble) level uses liquid-filled vials to measure flatness or plumb on solid surfaces. Line levels are less precise individually but excel across spans where a rigid level won’t reach.
Do longer levels give more accurate readings?
Yes—but only if used properly. A 48" level detects a 1/8" deviation over its full length, while a 9" level needs a 1/32" shift to move the bubble the same amount. However, longer levels amplify small surface imperfections, so always confirm with a shorter level if results seem inconsistent.
Is there a way to level without a level?
You can approximate using water in a clear, flexible tube (a water level)—it’s highly accurate over long distances and unaffected by magnetism or battery life. But it’s slower, requires two people, and lacks portability. For most indoor tasks, a quality bubble level remains the fastest, most reliable option.
Mastery of the level unlocks confidence in every project—from hanging a picture frame to building a deck. It’s not about perfection; it’s about consistency, verification, and knowing when to trust the tool—and when to double-check. Keep your level clean, store it flat, and test it weekly against a known reference. Once you’ve done that a few times, leveling becomes second nature—and your walls, shelves, and floors will thank you. For related techniques, see our guides on how to hang a picture frame and how to install shelving.