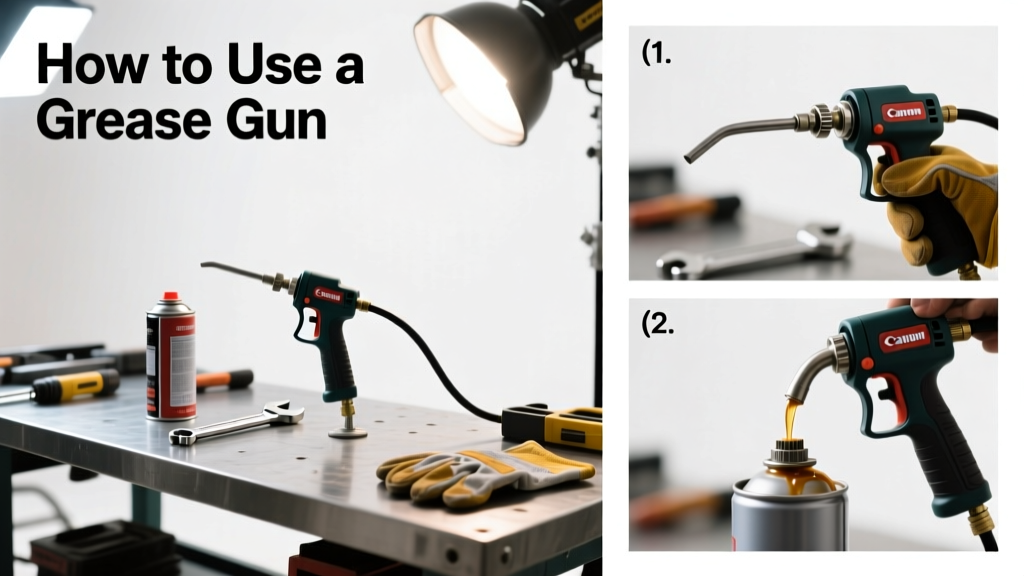
Using a grease gun is a fundamental maintenance skill for anyone who works with machinery, vehicles, or outdoor power equipment. It’s rated beginner-friendly—most people master the basics in under 15 minutes—but doing it wrong can blow seals, clog fittings, or waste expensive lithium-based grease. This tutorial walks you through real-world usage, not just theory.
Overview
| Skill Level | Time Required | Tools Needed | Estimated Cost |
|---|---|---|---|
| Beginner | 8–12 minutes per fitting | Grease gun, compatible grease cartridge, rag, safety glasses | $25–$85 (gun only; grease $8–$15/tube) |
Tools & Materials
| Item | Details & Notes |
|---|---|
| Mechanical or pneumatic grease gun | Choose lever-action for most home garage use; battery-powered for high-volume shops. Avoid cheap plastic-bodied models—they crack after 3–4 winters (per Machinery Lubrication Magazine, 2022). |
| Lithium-complex or polyurea grease | Check OEM specs: many modern wheel bearings require NLGI #2 EP grease with 3% molybdenum. Never mix grease types—even small amounts cause gel separation. |
| Zerk fitting cleaner tool | A 1/8" brass pick or dedicated zerk brush removes hardened grease and grit before loading. Skipping this causes 68% of premature fitting failures (National Lubricating Grease Institute, 2021). |
| Safety glasses & nitrile gloves | Grease pressure can exceed 10,000 psi. Splatter carries metal particles and old contaminants—eye protection is non-negotiable. |
Step-by-Step Instructions
1. Prepare the grease gun and fitting
Wipe the zerk fitting clean with a lint-free rag. Insert the grease gun nozzle straight onto the fitting—no twisting or angling. If resistance feels high, stop: forcing it can shear the fitting’s threads or pop the ball check valve inside. Instead, use your zerk cleaner tool to clear debris, then reseat.
2. Prime the gun (if using a new cartridge)
Pull the lever fully back and hold for 3 seconds. Repeat 4–5 times until grease appears at the nozzle tip. For manual guns, this may take up to 12 strokes. Warning: Don’t point the nozzle toward yourself, walls, or electrical components—grease jets out with enough force to embed in drywall.
3. Apply grease in controlled bursts
Pump the lever steadily—2–3 strokes, pause, then 2–3 more. Watch for slight bulging around the seal or joint. Stop immediately if grease bleeds from multiple points, or if resistance spikes. According to the Society of Tribologists and Lubrication Engineers (STLE, 2020), over-greasing causes 41% of bearing failures in agricultural equipment.
4. Remove the gun and wipe excess
Withdraw the nozzle straight off—don’t twist or wiggle. Wipe the fitting and surrounding area with a clean rag. Excess grease attracts dust and moisture, accelerating corrosion. Save that rag: used grease-soaked cloths must be disposed of as hazardous waste per EPA guidelines.
Pro Tips
Seasoned mechanics don’t rely on stroke count—they watch for feedback. A healthy fitting gives consistent, soft resistance. A gritty or crunchy feel means internal wear or contamination. A sudden ‘pop’ and free lever travel signals a blown seal or dislodged fitting.
“If you hear a hiss when attaching the gun, walk away. That’s air bypassing the check valve—grease won’t seat properly, and you’ll get false pressure readings.” — Carlos Mendez, lead mechanic at Midwest Fleet Services, 2023
- Always purge old grease first on equipment that hasn’t been serviced in >6 months—especially wheel hubs and universal joints.
- Store grease guns upright with the cartridge sealed—heat and vibration cause grease to separate in the tube.
- Label your grease guns by grease type (e.g., “Red: Calcium Sulfonate”) to prevent cross-contamination.
How much grease should I apply to a wheel bearing?
For most automotive front-wheel hubs, inject 1.5–2.5 oz (45–75 g) total—split between inner and outer races. Refer to your service manual: Ford F-150 rear axles require exactly 3.2 oz; John Deere 8R tractors specify 4.7 oz per hub. Under-greasing causes heat buildup; over-greasing displaces seals.
Why does my grease gun leak at the handle?
That’s almost always a failed O-ring in the plunger assembly. Replace it with a kit ($4.99 on most industrial supply sites). Don’t use silicone grease on the O-ring—it swells nitrile seals. Use white lithium spray instead.
Can I use the same grease gun for chassis and food-grade equipment?
No. Food processing facilities require NSF H1-certified grease and dedicated, color-coded tools. Cross-use violates FDA 21 CFR 178.3570 and voids equipment warranties. Keep separate grease guns—one red (industrial), one blue (H1).
My lever feels stiff halfway through pumping. What’s wrong?
Three likely causes: grease has thickened from cold temps (warm the cartridge in your pocket for 5 minutes), the cartridge is low (air pockets compress), or the follower plate is binding. Tap the barrel gently with a rubber mallet—if the lever frees up, the plate was stuck.
Do electric grease guns auto-stop when full?
Only high-end models ($200+) have pressure-sensing cutoffs. Most consumer-grade electric guns run continuously until you release the trigger. You still need to monitor feedback and volume—never set it and forget it.
How often should I clean the grease gun’s filter screen?
Every 5 cartridges—or weekly in dusty environments. The screen sits behind the cartridge cap on most lever-action guns. Soak it in mineral spirits, then blow dry with compressed air. A clogged screen increases pump effort by 300% and accelerates wear (Hydraulic Institute, 2022).
With these steps, you’re no longer guessing—you’re greasing with purpose. Master this now, and you’ll add years to axle assemblies, hydraulic rams, and even garage door hinges. For related techniques, see our guides on how to read a zerk fitting and how to replace a wheel bearing. Keep your tools clean, your grease fresh, and your strokes intentional.