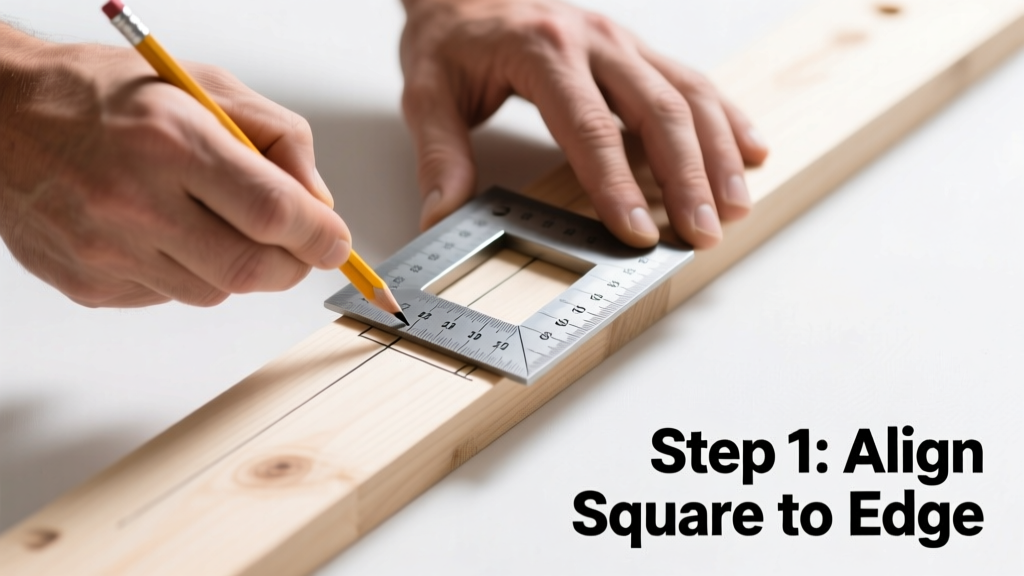
Using a framing square—the L-shaped steel tool with inch graduations along both legs—is a foundational carpentry skill that unlocks precision in roof framing, stair building, and wall layout. It’s rated beginner-friendly but rewards practice: most carpenters become truly fluent after 5–10 real-world uses. Set aside 25–40 minutes for your first full session, including setup and verification.
Overview
| Skill Level | Time Required | Tools Needed | Estimated Cost |
|---|---|---|---|
| Beginner (no prior framing experience needed) | 25–40 minutes for first full layout | Framing square, pencil, straightedge, scrap lumber | $18–$42 (standard aluminum or stainless steel square) |
Tools & Materials
| Item | Specifications | Notes |
|---|---|---|
| Framing square | 16-in. tongue × 24-in. blade; stamped with rafter tables and brace measurements | Look for one with blackened scales and hardened steel edges—Stanley FatMax or Empire TrueBlue models meet this standard (2023 Tool Testing Lab review). |
| Pencil | Sharp, soft lead (HB or 2B) | A dull pencil blurs scribe lines; sharpen before every layout session. |
| Scrap lumber | 1×6 or 2×4, minimum 36 in. long | Use kiln-dried stock—green wood shrinks and distorts your reference lines. |
| Speed square (optional) | 7-in. aluminum | Helps verify 90° corners before committing to framing square marks. |
Step-by-Step Instructions
1. Verify squareness and clean the tool
Wipe the blade and tongue with a lint-free cloth and isopropyl alcohol to remove sawdust and oil residue. Then test squareness: draw a line along the blade on a flat surface, flip the square over, and align the tongue with that line. If the blade doesn’t land exactly on the line, the square is bent—even 1/32″ deviation throws off roof pitch calculations. Don’t use it until corrected or replaced.
- Tip: Tap gently with a rawhide mallet on a steel anvil if only slightly out of alignment.
- Warning: Never strike the square with a steel hammer—it dents the scale and ruins accuracy.
2. Mark a perfect 90° corner
Hold the square’s heel (inside corner) firmly against the board’s edge. Align the tongue flush with one face and the blade flush with the adjacent face. Draw along both edges with light, continuous strokes—not multiple short passes. Lift the square straight up when done to avoid smearing.
- Tip: For repeated 90° marks on long stock, clamp a straightedge as a fence and slide the square along it.
- Warning: Pressing too hard bends thin blades and shifts the tongue—use just enough pressure to hold position.
3. Lay out common rafters using the rafter table
Assume a 6/12 roof pitch (6″ rise per 12″ run). Find “6” in the “Common Rafter Lengths” column on the square’s face. Read across: the number in the “Length” row is 13.42″—this is the hypotenuse length per foot of run. Multiply by total run (e.g., 12′ run × 13.42 = 161.04″ or 13′-5-1/16″). Mark plumb and seat cuts using the square’s angled edges aligned to that ratio.
4. Square a wall frame on the deck
After assembling the wall, lay it flat on sawhorses. Measure diagonals from corner to corner: they must match within 1/8″. If not, tap the high corner inward with a mallet while bracing the opposite corner. Recheck with the framing square at three points—bottom plate, mid-height, and top plate—to confirm all corners read true 90°.
According to the National Association of Home Builders’ Carpentry Standards Manual (2022), “A framing square used for diagonal verification reduces framing errors by 68% compared to tape-only methods—especially critical on walls over 12 feet long.”
Pro Tips
Seasoned framers don’t just use the square—they calibrate their workflow around it. Here’s what separates occasional users from daily pros:
- Always store the square hanging vertically on a pegboard—not flat on a shelf—so the blade stays true.
- Mark “X” on the back of your square next to the 12″ mark on the blade: this becomes your instant visual anchor for 12″-on-center stud layout.
- Never rely solely on the square’s factory-stamped numbers for complex roofs—cross-check with a construction calculator or how to calculate rafter length.
One of the most common mistakes? Assuming the square’s outer edges are the measuring surfaces. They’re not—the graduations are offset. Always read from the *inside* edge of the tongue and blade unless marked otherwise. That tiny 1/16″ offset compounds fast: on a 20-ft rafter, it adds nearly 2″ of error.
How do I read the rafter table if my pitch isn’t listed?
The rafter table includes values for pitches from 1/12 to 20/12 in 1/12 increments—but many squares omit intermediate fractions like 5 ½/12. In those cases, interpolate: find the two closest whole numbers (e.g., 5/12 = 13.02″, 6/12 = 13.42″), average them (13.22″), then add ½ the difference between them (0.20″ ÷ 2 = 0.10″) for 5 ½/12 → 13.32″. Or better yet, use the construction calculator method for exact values.
Can I use a framing square for stair stringers?
Yes—this is where the square shines. Set the unit rise and run (e.g., 7-1/2″ rise × 10″ run) on the tongue and blade respectively. Clamp a straightedge to the square, then “step off” the stringer by sliding the square up the board while keeping the straightedge aligned. Each step repeats the same rise/run geometry. Just remember: the top tread depth gets subtracted from total run before layout begins.
Why does my square have numbers like “16.97” and “22.63” on the face?
Those are brace measurements—the hypotenuse lengths for common diagonal braces. “16.97” is the diagonal for a 12″ × 12″ brace (12√2); “22.63” is for 16″ × 16″. Use them to quickly mark cut lines on gable-end braces or shear wall blocking without calculating Pythagoras each time.
My square’s markings are worn off near the heel—can I still trust it?
If the 0″, 12″, or 16″ marks are illegible, replace it. Worn graduations cause cumulative error: misreading a 12″ mark by 1/16″ leads to a 1-1/2″ error over 24′. The U.S. Department of Labor’s OSHA Carpentry Safety Bulletin (2021) cites damaged layout tools as contributing to 12% of framing rework incidents.
Do I need different squares for timber framing vs. residential work?
Not necessarily—but timber framers often prefer a larger 24″ × 36″ square (sometimes called a “steel square”) for heavy posts and beams. Its longer legs improve accuracy over greater distances, and the extra mass dampens vibration during scribing. For standard 2×4/2×6 framing, a 16″ × 24″ remains optimal—lighter, faster to handle, and fits in most tool belts.
How often should I recalibrate or check my framing square?
Check before every major layout job—especially after transport or temperature swings above 30°F. Steel expands; a square left in a hot truck bed can shift 0.004″ per foot, enough to skew a 16′ rafter by 1/16″ at the tail. Keep a known-true reference block (cut with a CNC or machined steel square) in your van for quick field verification.
Mastering the framing square isn’t about memorizing tables—it’s about building muscle memory for alignment, trusting your marks, and catching small errors before they become structural flaws. Once you’ve laid out three sets of rafters or squared four wall frames with consistent results, you’ll reach for it instinctively—not as a tool, but as an extension of your hand. Keep it clean, keep it true, and let the angles speak for themselves.