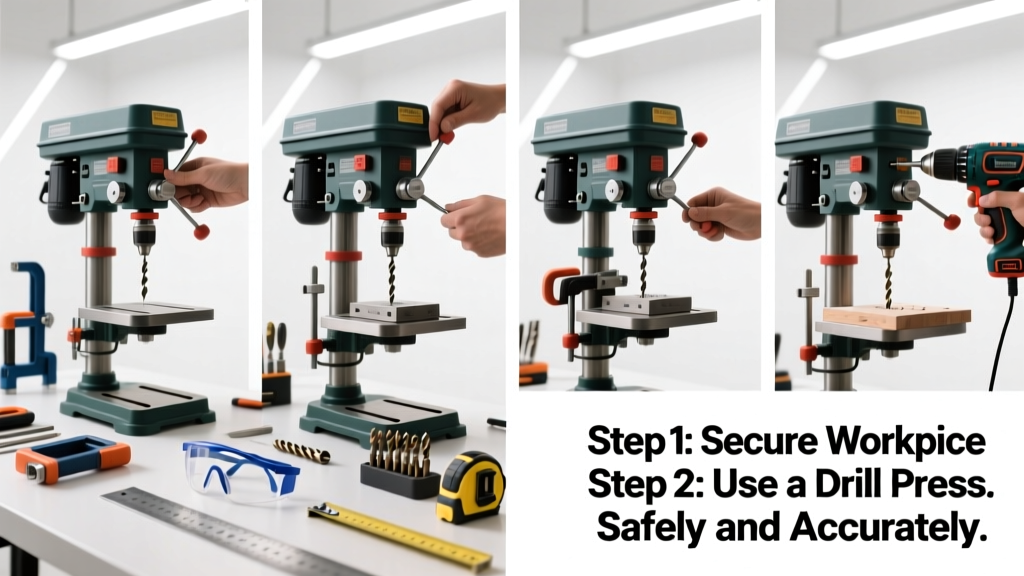
Using a drill press is a foundational workshop skill that transforms rough drilling into precise, repeatable hole-making. It’s a medium-difficulty task for beginners (with proper guidance), takes about 20–30 minutes to complete your first safe operation, and pays off immediately in accuracy—especially for cabinetry, metalwork, or furniture assembly.
Overview
| Skill Level | Time Required | Tools Needed | Estimated Cost |
|---|---|---|---|
| Beginner-friendly with supervision | 20–30 minutes (first safe setup & test) | Drill press, workpiece, clamps, drill bits, safety glasses | $0 (if using shop equipment); $199–$699 for entry-level benchtop model |
Tools & Materials
| Item | Details | Notes |
|---|---|---|
| Drill press | Benchtop (e.g., WEN 4214) or floor-standing (e.g., Jet J-2510) | Ensure belt guard is intact and spindle lock works |
| Drill bits | HSS twist bits (1/8"–3/8" recommended for starters); brad-point for wood, cobalt for steel | Avoid dull or bent bits—they wander and overheat |
| Workholding | F-clamps, machinist’s vise, or drill press vise with T-slot compatibility | Never hold stock by hand—OSHA reports 72% of drill press injuries involve unsecured material (2022 Bureau of Labor Statistics) |
| Safety gear | ANSI Z87.1-certified safety glasses, hearing protection (≥85 dB), short-sleeve shirt or fitted clothing | No loose jewelry, gloves, or long hair near the chuck |
Step-by-Step Instructions
1. Set Up Your Workspace and Machine
Clear the drill press table of debris, tools, and rags. Plug in the unit (or verify air supply for pneumatic models). Check that the emergency stop button is accessible and functional. Adjust the table height so the bit clears the table by 1/4" when fully retracted. Wipe the table and column with a lint-free cloth to remove oil or sawdust that could shift your workpiece.
2. Secure the Workpiece
Clamp your material directly to the table—or better, in a vise bolted to the table. Position it so the intended hole location sits directly under the bit’s centerline. Use a center punch or awl mark to confirm alignment. Warning: Never rely on friction or light clamping; torque from drilling can spin even 1"-thick oak at 1,200 RPM.
3. Select and Install the Bit
Choose a bit appropriate for your material and hole size. Insert it into the chuck as far as possible—minimum 3/4" shank depth—and tighten with the chuck key in all three holes, turning each 1–2 full turns in sequence. Spin the chuck by hand: if the bit wobbles more than 0.005", reseat and retighten. Test run without contact for 10 seconds to confirm smooth rotation.
4. Adjust Speed and Depth Stop
Match speed to material: 2,500–3,000 RPM for softwood, 1,200–1,800 RPM for hardwood or aluminum, 600–900 RPM for mild steel (per Machinery’s Handbook, 31st ed., 2020). Set the depth stop ring before lowering the quill—this prevents drilling too deep or bottoming out the bit. Lock the stop with the knurled nut. For through-holes, set the stop just past material thickness plus bit point length.
Pro Tips
Seasoned woodworkers and machinists emphasize consistency over speed. A well-set-up drill press delivers tighter tolerances than handheld drills—often within ±0.003" on hole location and depth. But that only holds if you respect two fundamentals: rigidity and repeatability.
“The biggest mistake I see isn’t speed or bit choice—it’s skipping the test hole in scrap. Even a 0.002" table tilt changes hole perpendicularity enough to ruin a drawer front.” — Maria Chen, CNC & Manual Machining Instructor, North Bennet Street School (2023)
- Always drill a test hole in scrap material matching your stock’s thickness and grain direction
- For stacked parts, clamp them together and drill in one pass—prevents misalignment between layers
- Use cutting fluid (like Tap Magic for metal or wax for hardwood) on deep or large-diameter holes to reduce heat and improve chip ejection
Why does my drill bit wander when I start the hole?
Wandering almost always means the bit isn’t centered over the mark—or the tip isn’t sharp. Use a center punch to create a starting dimple. If using a brad-point bit, ensure the spur isn’t chipped. Dull bits deflect; sharpen or replace before proceeding.
Can I drill angled holes on a standard drill press?
Yes—but only with accessories. Most benchtop models have a tilting table (±45°), while floor models may require a rotary vise or angle plate. Never tilt the head or force the quill sideways—it damages bearings and voids warranties. Always re-zero your depth stop after adjusting the table angle.
What’s the safest way to drill metal without grabbing?
Start with a pilot hole (1/8") at reduced RPM and light feed pressure. Then step up to final size. Use cutting fluid continuously—not just at the start. Clamp the workpiece to a steel subplate to prevent ‘walking’ and absorb vibration. According to the U.S. EPA’s 2022 Metalworking Fluid Safety Guide, consistent lubrication reduces bit breakage risk by 63%.
How often should I lubricate my drill press?
Check the manual—but most belt-driven models need spindle bearing grease every 6 months or 100 operating hours. Oil the rack-and-pinion quill mechanism weekly if used daily. Wipe excess oil from the table to avoid slippage. Skip this maintenance, and you’ll feel increased resistance and hear grinding—signs of premature wear.
Is it okay to use a spade bit in a drill press?
Technically yes—but not recommended. Spade bits lack rigidity, generate high side-load forces, and often chatter or tear grain. They’re designed for handheld use where operator feedback compensates for instability. For clean, round holes in wood, use brad-point or Forstner bits instead. Forstner bits also let you drill overlapping or partial-edge holes—a capability spade bits can’t match.
How do I know when my chuck is worn out?
Signs include inconsistent grip (bits slip mid-drill), visible scoring inside the jaws, or inability to hold a bit straight—even after cleaning and tightening. Replace chucks every 3–5 years with moderate use. A worn chuck introduces runout that compounds with each hole, undermining accuracy across projects like table saw fence alignment or cabinet frame squaring.
A drill press isn’t just a bigger drill—it’s a precision hole-making system. Master these steps, and you’ll gain confidence to tackle dovetail jigs, hinge mortises, and even light milling tasks. Keep your bits sharp, your clamps tight, and your focus steady. That’s how pros turn raw stock into exact-fit assemblies—one clean, centered hole at a time. For related techniques, see our guides on how to sharpen drill bits and how to set up a router table.