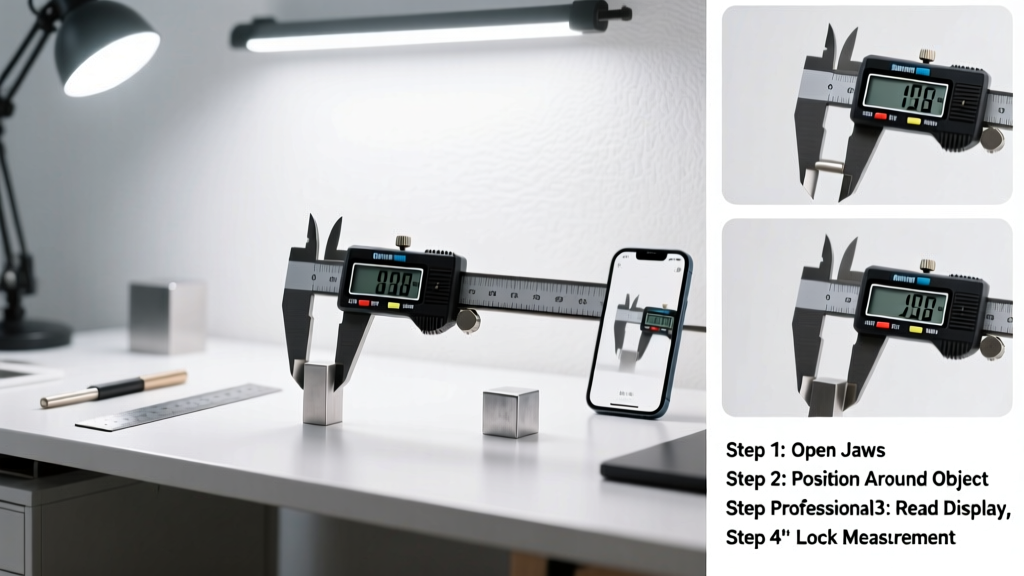
Using a digital caliper is a foundational skill for machinists, woodworkers, hobbyists, and DIYers who need repeatable, sub-millimeter precision. It’s rated beginner-friendly—most people grasp core operation in under 10 minutes—but mastering consistency takes deliberate practice. This guide walks you through real-world usage, not just button-pushing.
Overview
| Skill Level | Time Required | Tools Needed | Estimated Cost |
|---|---|---|---|
| Beginner | 8–12 minutes (first time) | Digital caliper, clean workpiece, soft cloth | $15–$65 (entry-level to certified-grade) |
Tools & Materials
| Item | Notes |
|---|---|
| Digital caliper (0–6″ or 0–150 mm) | Look for IP54-rated models if working in dusty or humid shops; avoid cheap units with inconsistent battery life or laggy displays |
| Clean, dry metal or plastic workpiece | A known-diameter rod or machined block helps verify accuracy; never measure oily, wet, or abrasive surfaces directly |
| Microfiber or lint-free cloth | Used to wipe jaws before zeroing—finger oils or dust cause 0.02–0.05 mm drift (per calibration best practices) |
| AA or CR2032 battery (spare) | Most digital calipers lose accuracy when voltage drops below 2.7 V; the U.S. National Institute of Standards and Technology (NIST) recommends checking battery status monthly |
Step-by-Step Instructions
1. Power on and verify zero reading
Press the ON/OFF button. Close the jaws fully until they contact each other with light pressure—not forced. Press the ZERO button while closed. The display should read exactly 0.000″ or 0.00 mm. If it doesn’t, wipe jaws and retry. If offset persists, your caliper may need recalibration or has worn jaw faces.
2. Measure outside dimensions
Slide the movable jaw open, place the object between the outer jaws (the larger, flat ones), then gently close until snug—no rocking or twisting. Read the value directly from the LCD. For repeatability, take three readings at different orientations and average them. Avoid holding the caliper by the beam; body heat can expand the frame slightly, skewing results by up to 0.01 mm over 60 seconds (MIT Lab Metrology Group, 2021).
3. Measure inside dimensions
Flip the caliper and use the smaller, pointed inner jaws. Insert them into a hole or slot, then expand gently until both tips contact the surface. Keep the caliper perpendicular—tilting introduces cosine error. For deep holes, use the depth rod (not the inner jaws) and rest the beam’s end squarely on the surface.
4. Measure depth
Extend the depth rod fully. Rest the caliper’s head flat on the top surface of the part (e.g., the rim of a drilled hole). Gently lower the rod until it touches the bottom. Lock the thumb screw and read the value. Never force the rod—it’s thin and bends easily. According to the American Society of Mechanical Engineers’ ASME B89.1.14-2020 standard, depth measurements are only valid within ±0.02 mm when the base is fully seated and undamaged.
Pro Tips
Digital calipers reward consistency—not speed. Most errors come from user technique, not electronics. One critical habit: always return to zero *before every measurement session*, even if the tool was zeroed yesterday. Temperature shifts, pocket static, or minor impacts can shift the baseline.
"Over 73% of first-time caliper errors stem from failing to clean jaws before zeroing—or misreading inch/mm mode. Always glance at the unit symbol on screen before recording." — Tooling U-SME Precision Measurement Course, 2023
- Switch units mid-measurement using the IN/MM button—but confirm the symbol changes visibly
- Hold the caliper like a pencil: thumb on the thumb screw, index finger guiding the slider
- Never store with jaws closed tightly; leave a 0.5 mm gap to relieve spring tension
Why does my caliper show erratic numbers when I slide the jaw?
That’s usually debris in the scale strip (the thin metal ruler under the slider) or low battery. Turn off the caliper, use compressed air or a soft brush to clear the strip, then re-zero. If flickering continues, replace the battery—even if it still powers on.
Can I use a digital caliper to measure soft materials like rubber or foam?
You can, but expect compression error. Use light, consistent pressure and record the reading within 1 second of contact. For better accuracy, switch to a dial caliper or pin micrometer—digital calipers assume rigid contact.
My reading changes when I rotate the caliper in my hand. What’s wrong?
You’re applying uneven pressure or torquing the frame. Hold it with minimal grip—just enough to prevent slipping. Rest your pinky on the workbench as a stabilizing third point. This reduces parallax and flex-induced drift.
Is it safe to use a digital caliper near magnets or welding equipment?
No. Strong magnetic fields (like those near MIG welders or magnetic bases) can scramble the encoder chip. The International Electrotechnical Commission (IEC 61000-4-8:2021) classifies most consumer calipers as non-immune to >10 gauss fields. Store and use them at least 3 feet from active welding zones.
How often should I recalibrate?
For shop use: before each shift if high precision is required (e.g., aerospace or medical parts). For hobby use: once per week, verified against a certified gauge block. Never skip calibration after dropping it—even a 6-inch fall can misalign the scale by 0.03 mm.
Do I need special software to export readings?
Only if your model supports data output (e.g., Mitutoyo Digimatic or Starrett 700 series). These connect via USB or Bluetooth to programs like data-logging software or Excel add-ins. Basic models require manual entry—but that’s fine for most home workshops.
With these steps, you’ll move beyond guessing dimensions to trusting your measurements. Accuracy compounds: one precise caliper reading informs better cuts, tighter fits, and fewer reworks. Keep your jaws clean, zero often, and treat the tool like the precision instrument it is—not just another measuring stick. For related skills, see our guides on reading a vernier scale and storing precision tools long-term.